
Can You Paint a Terra Cotta Pot?
Published on: February 16, 2025 | Last Updated: January 7, 2025
Written By: Sarah McClintock
A terra cotta pot is a clay container, often shaped like a bowl. They’re typically used for planting flowers or herbs.
Can you paint a terra cotta pot? It’s important to know because a splash of color can transform your garden or home. I painted my first one last summer, and it turned into a mini art project that brightened my space.
In this article, you’ll discover essential steps before painting, techniques for the process, color suggestions, types of pots suited for painting, and common problems to watch for while painting. We’ll also touch on what paint to use on terra cotta pots to make your art last.
Contents
- 1 Can You Paint a Terra Cotta Pot?
- 2 What is a Terra Cotta Pot?
- 3 Essential Preparations Before You Start Painting
- 4 Step-by-step Process for Painting a Terra Cotta Pot
- 5 Common Issues When Painting Terra Cotta Pots
- 6 Finishing Touches to Enhance Your Painted Terra Cotta Pot
- 7 Creative DIY Project Ideas Using Painted Terra Cotta Pots
- 8 Tips for Maintaining Your Painted Terra Cotta Pot
- 9 Enhancing Your Painted Terra Cotta Pot with Upcycling Techniques
- 10 Innovative Techniques for Painting Terra Cotta Pots
- 11 Color Combinations to Elevate Your Painted Terra Cotta Pot
- 12 Eco-friendly Paint Options for Your Terra Cotta Pots
- 13 Inspiration From Artists: Unique Designs for Your Terra Cotta Pots
- 14 Frequently Asked Questions About Painting Terra Cotta Pots
- 15 Conclusion
- 16 Additional Resources
Can You Paint a Terra Cotta Pot?
Absolutely, you can paint a terra cotta pot! Just use acrylic or spray paint for best results. Make sure to clean the pot first, and seal it afterward to protect your artwork. It’s an easy and fun DIY project! After painting, you’ll want to know how to properly maintain your brushes by cleaning acrylic paint effectively.
What is a Terra Cotta Pot?
A terra cotta pot is a clay container made from earthenware. These pots are fired at lower temperatures, around 980°C (1,800°F), making them porous and ideal for plants that need good airflow.
Many people enjoy personalizing their pots. I once painted a terra cotta pot for a friend’s birthday, transforming a plain off-white into a vibrant masterpiece!
For work, I used a terra cotta pot to showcase succulent arrangements. Choosing colors for my design was crucial; it helped me decide what paint to use. Matching the hues with the greenery created a visually stunning display. After completing my project, I needed to properly clean my brushes to maintain their quality and restore acrylic paint tools.
Essential Preparations Before You Start Painting
What do you need to start painting a terra cotta pot?
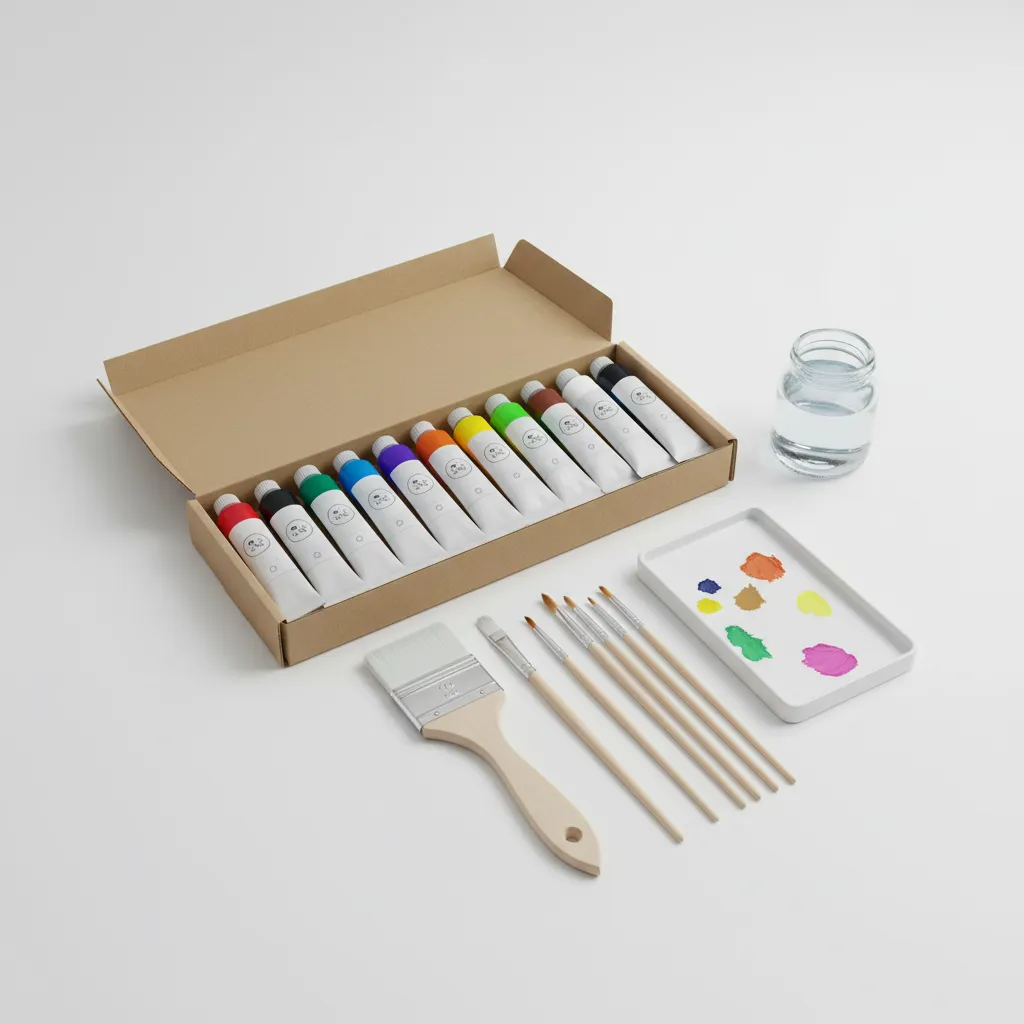
- Quality Paint: You’ll need outdoor acrylic paint, such as Krylon, specifically rated for terracotta. It adheres well and withstands weather.
- Primer: Use a terracotta primer, like Rust-Oleum’s Terracotta Primer, to improve adhesion. It prepares the surface for better paint adherence.
- Brushes: Get quality brushes, such as Artisan’s chip brushes. They’re ideal for even application and hard-to-reach areas.
- Sealant: A clear acrylic sealant, like Mod Podge, protects your paint from wear and tear. It’s crucial if your pot is outdoors.
- Sandpaper 💰 Save on Assorted Grit Sandpaper → : You’ll need medium grit (150-180) for smoothing the surface, which helps the paint adhere properly.
We’ve wrapped up essential preparations for painting. Let us turn our attention to the step-by-step process of painting a terra cotta pot.

Also See: Can You Paint Contact Paper? Yes, Here’s How.

Step-by-step Process for Painting a Terra Cotta Pot
Now, we’ll cover the steps to transform that plain terra cotta pot into a colorful masterpiece!
-
Clean the Terra Cotta Pot Thoroughly
Start by scrubbing your pot with warm water (Around 20°C or 68°F) and mild soap. This removes dirt, debris, and oils that could hinder paint adhesion.
For best results, let it dry completely for at least 24 hours. A clean surface ensures a smoother, more vibrant finish.
-
Choose the Right Paint
Select paint suitable for terracotta—acrylic or outdoor latex paint work best. These options adhere well and are durable against the weather.
I once made the mistake of using oil-based paint—don’t repeat it! Oil creates peeling, ruining your efforts. Stick to water-based paints for that outdoor beauty!
-
Apply a Primer (Optional)
Consider applying a primer if you want extra durability. A latex-based primer prevents paint from soaking into the porous clay, enhancing color vibrancy.
Allow the primer to dry completely, following the manufacturer’s directions. Generally, that’s about 2-4 hours for most products!
-
Start Painting Your Terra Cotta Pot
Grab a brush or sponge and start painting. Use multiple thin layers instead of one thick coat; typically, two to three coats work well.
Remember, each coat needs to dry—usually around 1-2 hours—before applying the next. Patience is key to achieving a professional finish!
-
Allow for Drying Time
Let your painted pot cure for at least 48 hours after the final coat. This drying period ensures the paint adheres and cures effectively.
Tip: Layering paint in a humid environment might require longer drying times. Keep that in mind to avoid smudging your art!
-
Seal the Painted Pot (Optional)
For longevity, consider applying a sealer after it’s fully dry. A clear acrylic spray protects your new colors from chipping or fading.
Spray from a distance of about 30 cm (12 in) and always follow the manufacturer’s instructions for the best results!
We have now covered the step-by-step process for painting a terra cotta pot. Next, we will discuss common painting issues.
Common Issues When Painting Terra Cotta Pots
When my friend tried to paint a terra cotta pot, the paint scratched off. This happened because she didn’t prime it first. Without a primer, paint can’t bond well.
To fix this, use a high-quality acrylic spray primer at 15-30 psi. After it dries, choose acrylic paints for better adhesion. Prime well for a long-lasting finish!
That covers common problems encountered while painting terra cotta pots. Let’s now take a look at final enhancements for your pots.
Finishing Touches to Enhance Your Painted Terra Cotta Pot
After painting a terra cotta pot, seal your work with a clear acrylic spray, like Krylon Crystal Clear, for protection. Let it dry for at least 24 hours to ensure optimal durability.
Inspect the painted surfaces for bubbling or scratches weekly, especially after rainfall. Check for more than five spots damaged from wear to stay ahead of issues.
For added depth, consider layering chalk paint. Apply a second coat after 12 hours to enhance the matte finish on finer textures.
We have now covered finishing touches to enhance your painted terra cotta pot. Next, we’ll explore creative DIY project ideas.
Creative DIY Project Ideas Using Painted Terra Cotta Pots
How about turning terra cotta pots into funky wall planters? Or, you could craft a vibrant herb garden in a tiered pot set, just bursting with color!
For these projects, I’d gather a few 15 cm (6 in) pots, acrylic paint, and a good sealer. You’ll likely spend around $20 and dedicate just a couple of hours to let those creative juices flow and the paint dry! If you’re curious about expanding your painting techniques to other surfaces like ceramic tiles, ceramic tile painting techniques can offer exciting new creative possibilities.
Looking for alternatives? Instead of traditional paint, try chalk markers for easy customization that wipes off if you change your mind. You can even decoupage fabric or pretty paper onto your pots—personalization galore with just some mod podge! If you’re considering painting outdoor surfaces like aluminum siding, professional techniques can help protect your exterior.
Tips for Maintaining Your Painted Terra Cotta Pot
Once you’ve painted your terra cotta pot, keeping it looking great requires some simple care.
-
Regular Cleaning
Gently wipe your pot with a damp cloth to remove dust. Avoid harsh chemicals. A little warm water goes a long way!
-
Avoid Direct Sunlight
Prolonged exposure can fade your colors. If possible, place your pot in a semi-shaded area, especially during the hottest months.
-
Seasonal Maintenance
Before winter, check for any chipping or fading paint. Reapply sealant once a year for durability, especially if left outdoors.
Enhancing Your Painted Terra Cotta Pot with Upcycling Techniques
Want to make your pot truly unique? Upcycling adds personality to your painted terra cotta pot.
-
Decoupage Techniques
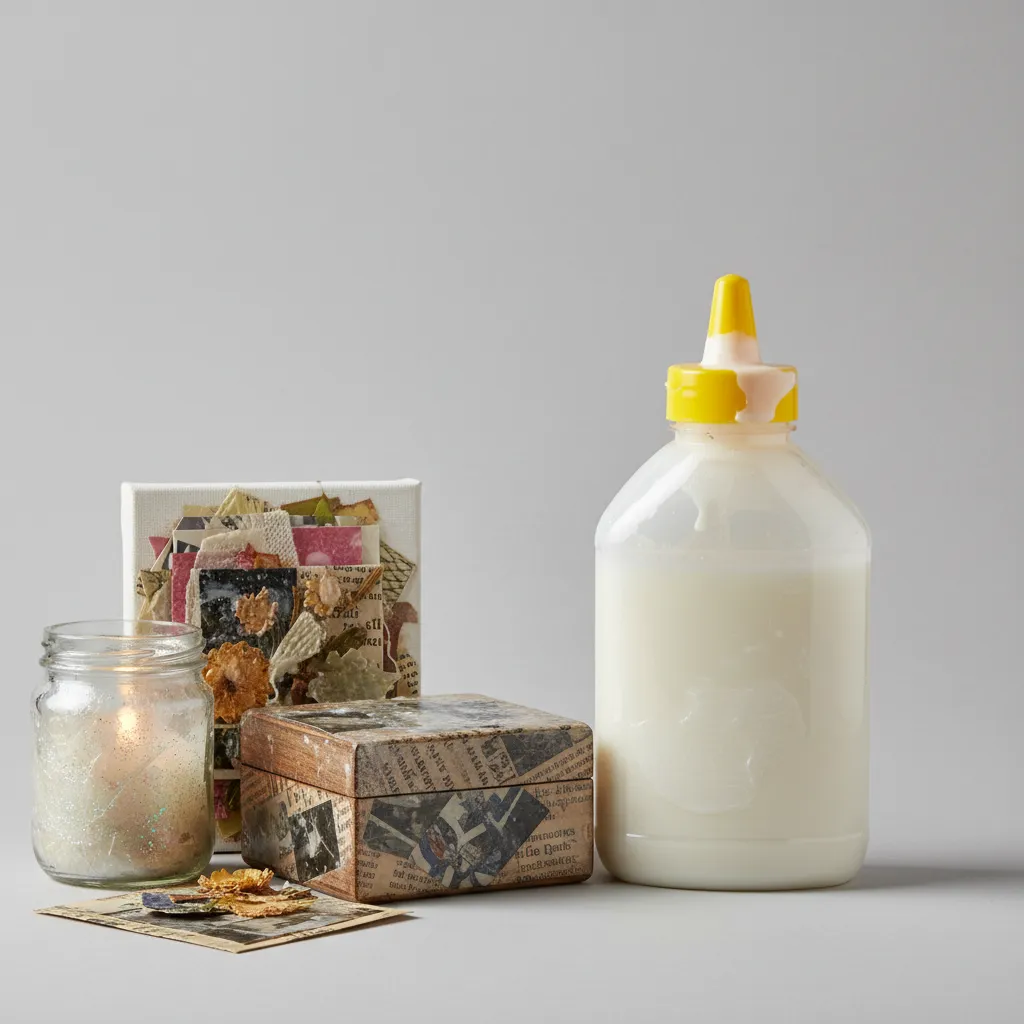
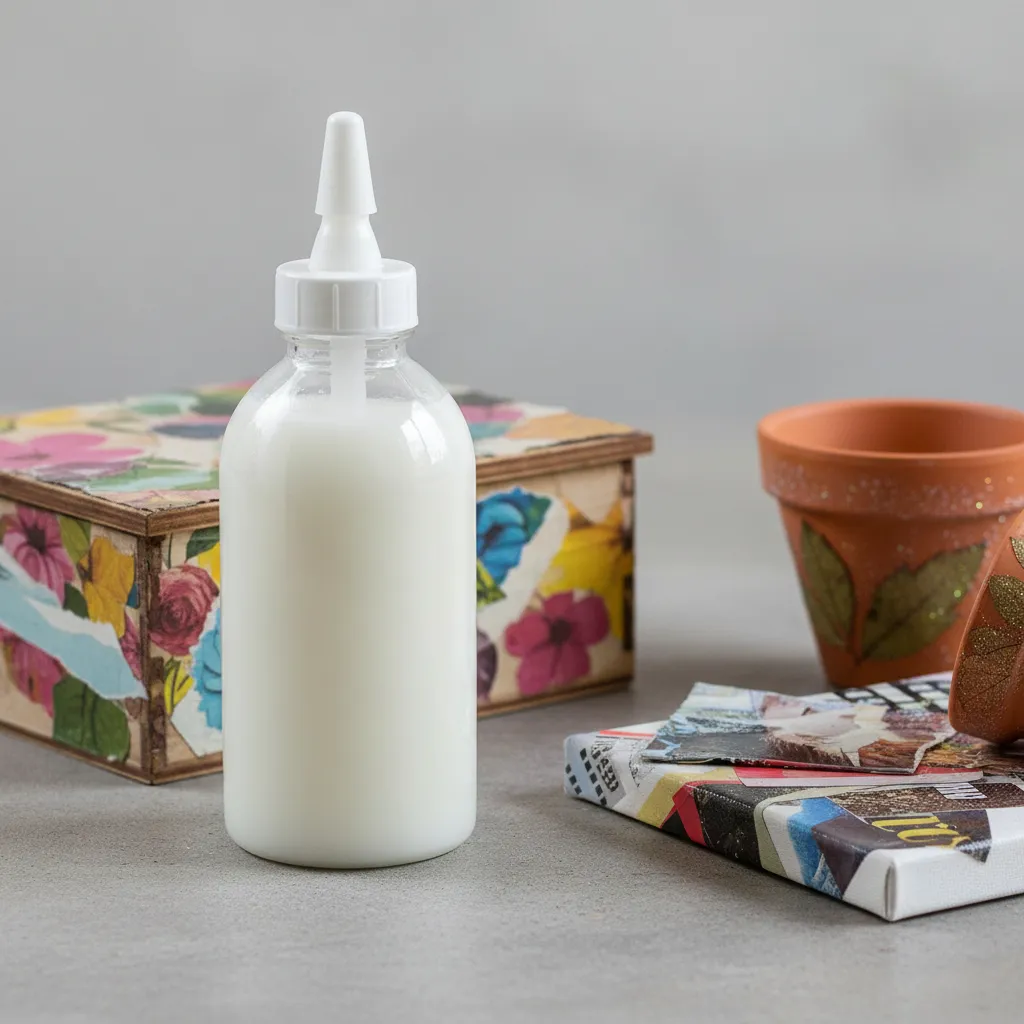
Use decorative paper or fabric to add layers on your pot. Mod Podge works great to stick and seal the materials!
Recommended SuppliesAs an Amazon Associate, I earn from qualifying purchases. Images are representative. -
Adding Texture with Natural Elements
Attach small pebbles or shells to the surface for a 3D effect. Use a strong adhesive suitable for outdoor conditions.
-
Custom Labels and Markers
Create fun labels using chalk markers for plant names. This adds a playful touch and is easy to change.

Innovative Techniques for Painting Terra Cotta Pots
Let’s dive into some creative techniques that can take your terra cotta pots to the next level!
Watercolor Effect
Ever thought about a watercolor look on your pots? Use diluted acrylics to create a soft, flowing design. Blend colors while they’re wet for a stunning gradient. Use at least three colors for better depth. If you’re looking to expand your painting techniques, you might want to explore painting techniques for different materials.
Stenciling Designs
Stensils can really make your pot pop! Pick designs like flowers or geometric shapes. Secure the stencil with painter’s tape and use a small brush to fill in the design. This isn’t just easy; it’s fun! If you’re looking to expand your decorative skills beyond pottery, you might want to explore painting bathroom tiles.
Sponging Technique
For a textured finish, try sponging. Use a damp sponge to dab paint onto the pot. This technique adds an organic, rustic look. Mix two colors for a beautiful contrast.
Color Combinations to Elevate Your Painted Terra Cotta Pot
Let’s explore harmonious color combos to inspire your creativity!
| Combo | Main Color | Accent Color |
|---|---|---|
| Ocean Breeze | Turquoise Blue | Coral Pink |
| Sunset Glow | Warm Orange | Soft Yellow |
| Forest Delight | Forest Green | Rusty Brown |
| Whimsical Garden | Lavender Purple | Pale Mint Green |
Eco-friendly Paint Options for Your Terra Cotta Pots
Did you know you can paint responsibly? Let’s look into eco-friendly options.
- Natural Clay Paints: Made for outdoor use, these are breathable and safe for plants.
- Milk Paint: A non-toxic option that’s biodegradable and gives a matte finish.
- Acrylic Paints with Low VOC: These are less harmful, making them perfect for garden use.
Inspiration From Artists: Unique Designs for Your Terra Cotta Pots
Looking for ideas? Here are some creative design inspirations to get your imagination flowing.
| Design Idea | Materials Needed | Time Required |
|---|---|---|
| Galaxy Pot | Acrylic paints in dark blue, purple, white; sponge | 2 hours |
| Floral Patterns | Acrylic paint brushes, pastel colors | 3 hours |
| Color Gradient | Acrylic paint, paint sponge or brush | 2 hours |
| Farmhouse Style | Chalk paint, sandpaper for distressing | 2-3 hours |
Frequently Asked Questions About Painting Terra Cotta Pots
Can I Use Spray Paint on a Terra Cotta Pot?
Yes, you can use spray paint on a terra cotta pot. Spray paint provides even coverage and works great for smaller details.
How Do I Make Sure the Paint Adheres Well?
To make sure the paint adheres well, clean your terra cotta pot and use a primer. Cleaning removes dirt, while primer helps the paint stick better.
Is It Safe to Plant in Painted Terra Cotta Pots?
Yes, it is safe to plant in painted terra cotta pots, as long as you use non-toxic paints. This ensures no harmful chemicals leach into your plants.
Can I Paint a Terra Cotta Pot Without Sealing It?
While you can paint a terra cotta pot without sealing, sealing helps protect your design. A sealant keeps the paint looking fresh and prevents fading.
What Types Of Designs Can I Create on My Terra Cotta Pot?
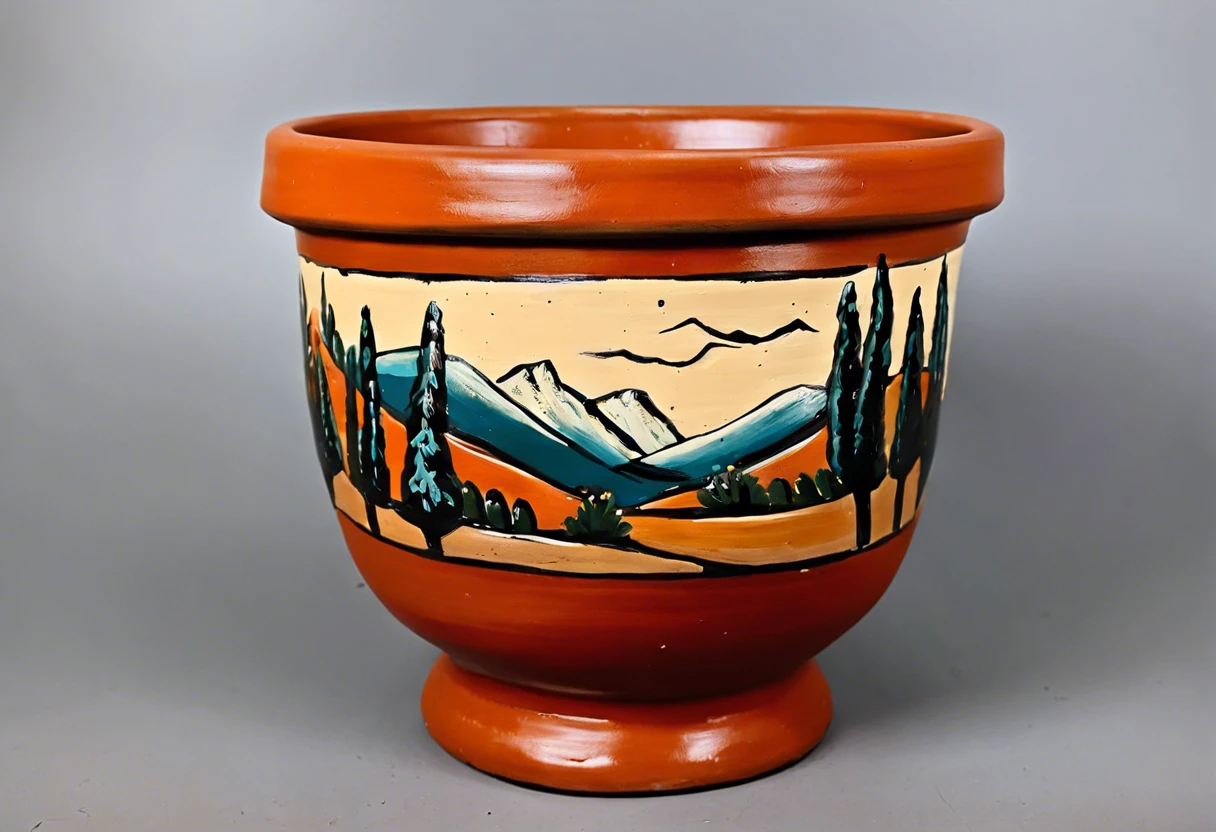
You can create vibrant colors or intricate patterns on your terra cotta pot. Try abstract art, floral designs, or even fun quotes—let your imagination run wild!
How Should I Prepare the Pot Before Painting?
To prepare the pot before painting, wash it with soap and water. This removes dust and oils that can affect the paint’s adhesion.
Can I Use Acrylic Paint for Terra Cotta Pots?
Yes, you can use acrylic paint for terra cotta pots. Acrylic is suitable because it’s durable and dries quickly, making it ideal for outdoor projects.
How Can I Create Texture on My Painted Terra Cotta Pot?
To create texture on your painted terra cotta pot, layer different paint thicknesses or use tools like sponges or brushes. This method adds depth and uniqueness to your pot.
How Do I Remove Paint From Terra Cotta Pots?
To remove paint from terra cotta pots, soak them in warm soapy water and scrub gently. Harsh chemicals can damage the pot, so opt for a gentler approach.
Also See: What Dynasty is the Above Silk Painting From?
Conclusion
Phew, we covered a lot regarding painting a terra cotta pot.
We discussed what a terra cotta pot is, essential preparations before painting, a step-by-step process, recommended color palettes, different types you can paint, factors affecting the painting, common issues you might face, finishing touches, and creative DIY project ideas. So, can you paint a terra cotta pot? Yes, you can certainly paint it using the right paints and techniques. Wishing you success in your painting projects.
If you’re interested in exploring more topics or finding additional resources, visit Paint Answers for further insights.


