
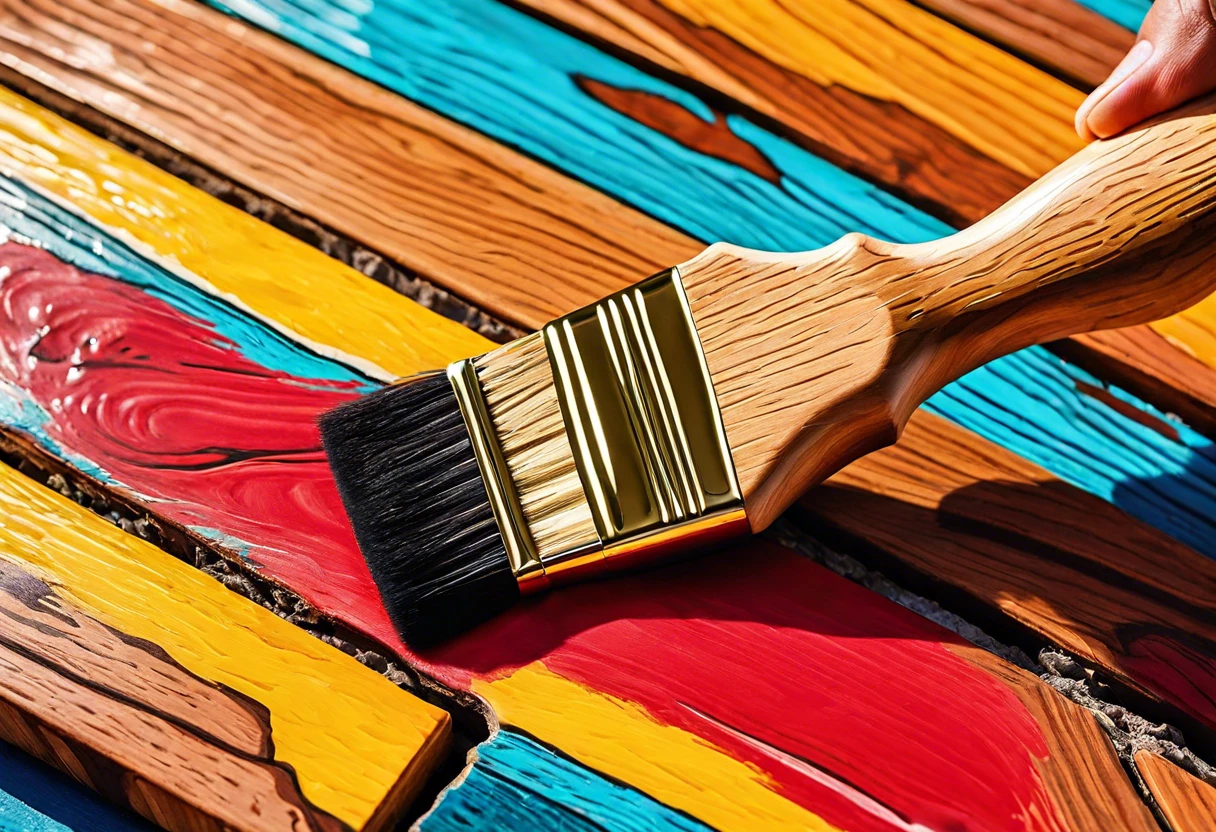
Can You Paint Pressure Treated Wood?
Published on: April 30, 2025 | Last Updated: January 7, 2025
Written By: Alisha Winters
Pressure treated wood is special wood that’s soaked in good stuff to help it resist bugs and rot. It’s like giving wood a superpower, so it can last longer outside.
So, can you paint pressure treated wood surfaces? It’s super important to know this because painting can help protect the wood and make it look great. I’ve painted some pressure treated wood in my yard, and trust me, it makes a big difference!

- ✓
- ✓
- ✓

- ✓
- ✓
- ✓

In this article, we’ll explore what pressure treated wood is, what to think about before painting, the steps to paint it right, color ideas, types of paint that work best, and common problems you may face. Whether you’re asking can you paint pressure treated wood or seeking creative DIY ideas, I’ve got you covered!
Contents
- 1 Can You Paint Pressure Treated Wood?
- 2 What is Pressure Treated Wood?
- 3 What to Consider Before You Start Painting?
- 4 Steps to Successfully Paint Pressure-treated Wood
- 5 Different Types Of Paint Suitable for Pressure Treated Wood
- 6 Can I Stain Pressure Treated Wood Instead of Painting?
- 7 Impact of Pressure Treatment on Paint and Stain Adhesion
- 8 Factors Affecting the Painting Process Of Pressure-treated Wood
- 9 Common Issues When Painting Pressure-treated Wood
- 10 Finishing Touches: Ensuring Long-lasting Results
- 11 Tips for Maintaining Painted Pressure Treated Wood
- 12 Understanding the Lifecycle of Pressure Treated Wood After Painting
- 13 Creative DIY Project Ideas Using Painted Pressure Treated Wood
- 14 Frequently Asked Questions About Painting Pressure Treated Wood
- 15 Conclusion: Final Thoughts on Painting Pressure Treated Wood
- 16 Useful Resources
Can You Paint Pressure Treated Wood?
Yes, you can paint pressure treated wood! Just wait about 3-6 months after installation for it to dry out. Use a primer made for exterior wood first. This helps the paint stick better and lasts longer. If you’re looking to achieve a professional finish, spray painting techniques can enhance your results.

What is Pressure Treated Wood?
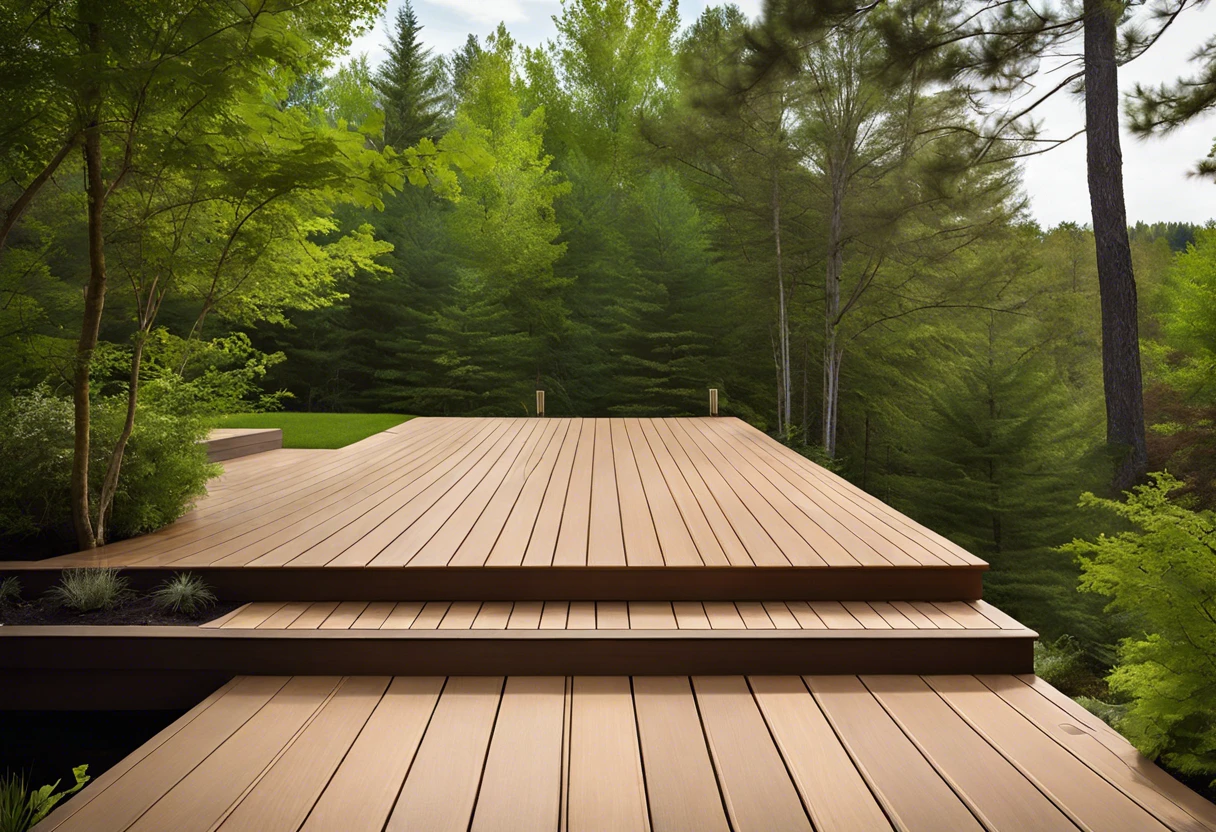
Pressure treated wood is timber infused with chemical preservatives under high pressure. This process protects the wood from rot, insects, and fungal decay, giving it a lifespan of about 20-40 years—much longer than untreated wood. If you’re considering using wood for exterior projects, you might want to explore painting cedar siding techniques for additional protection and aesthetic appeal.
I remember when I first worked with pressure treated wood. Its density made it a top choice for outdoor projects, especially since it resists moisture and pests like termites.
I found it useful for building my garden deck. The durability impressed me, especially its ability to withstand the elements. Understanding if you can paint pressure treated wood is important when gearing up for a project. Certain paints can ensure a smooth finish, providing durability and style.
What to Consider Before You Start Painting?
What do you need to get started?
- High-Quality Paint: Choose an exterior-grade paint like Behr Premium or Sherwin-Williams SuperPaint. It withstands moisture and UV rays.
- Wood Primer: Use a primer such as Zinsser Cover Stain or Rust-Oleum Zinsser B-I-N 💰 Save on Shellac-Based Primer Sealer → . Priming helps paint adhere better to pressure-treated wood, preventing peeling.
- Anti-Mold Solution: A product like RgT Rinse & Clean is essential for prepping wood to combat mold growth, especially in damp conditions.
- Protective Gear: Wear gloves and a mask, like 3M Respirators, to protect against chemicals and fumes while painting.
- Brushes and Rollers: Opt for high-density foam rollers or brushes, such as Purdy XL Series, for a smoother finish on textured surfaces.
We have now covered key considerations before painting. The next section will outline steps for successfully painting pressure-treated wood.
Also See: Can You Paint on Top Of Gel Nails? Find Out Here
Steps to Successfully Paint Pressure-treated Wood
Here are the steps to effectively paint pressure-treated wood for the best results.
-
Preparing the Surface
Start by cleaning the wood with a power washer (About 1700-2000 Psi) to remove dirt and mold. Wet soils and plant debris can hold moisture, making paint adhesion difficult.
Once cleaned, let the wood dry overnight. Proper drying is crucial; the moisture content should ideally be 14% or less for good paint adhesion.
-
Choosing the Right Primer
Select a high-quality exterior primer specially made for pressure-treated wood. Look for primers labeled as “oil-based” or “alkyd,” as they block tannins that can bleed through paint.
Apply the primer evenly with a brush or roller, covering all surfaces, including cracks. This primer layer enhances durability and prevents moisture-related issues.
-
Selecting the Appropriate Paint
Choose a semi-gloss or satin finish paint, which offers better moisture resistance than flat finishes. Acrylic paint is often best due to its adhesion properties and flexibility, allowing it to expand and contract without cracking.
For optimum performance, look for paints specifically designed for exterior use and pressure-treated surfaces. It makes a noticeable difference in longevity!
-
Applying the Paint
Start painting after the primer is completely dry—wait about 24 hours. Use a brush for edges and a roller for larger areas, applying thin, even layers for the best results.
To avoid drips, don’t overload your brush or roller. Typically, two coats are necessary for lasting craftsmanship, allowing each coat to dry completely between applications.
-
Sealing the Paint
After the final coat dries for at least 48 hours, apply a clear sealer rated for wood. This extra layer protects against moisture and UV light, which can fade colors and warp wood.
Allow the sealer to dry for several days before exposing the wood to rain or intense sunlight. By sealing your work, you extend the life and appearance of your painted pressure-treated wood!
We have now covered the steps for successfully painting pressure-treated wood. Next, we will explore the various suitable paint types.
Different Types Of Paint Suitable for Pressure Treated Wood
Let’s examine the types of paint you can use on pressure treated wood: Oil-based, Water-based, Acrylic, and Enamel paints.
-
Oil-based Paint
Oil-based paint is durable and offers excellent adhesion. It typically takes 24 hours to dry, which is longer than some options.
-
Water-based Paint
Water-based paint dries faster, often within 1-2 hours. Its low odor makes it user-friendly, but it’s less durable than oil-based alternatives.
-
Acrylic Paint
Acrylic paint is versatile and dries quickly, usually in about 30 minutes to an hour. It adheres well to pressure treated surfaces and resists fading.
-
Enamel Paint
Enamel paint provides a hard finish that’s scratch-resistant. It typically dries in 6-8 hours, making it a strong choice for outdoor projects.
From my experience, I prefer acrylic paint because it dries quickly, allowing me to complete projects without waiting all day. The shades pop beautifully on pressure treated wood, making it an easy choice for outdoor furniture. However, when working with different surfaces, it’s crucial to be aware of potential paint interactions and potential solvent risks to paint finishes.
You should now have a good understanding of various paints for pressure treated wood. In the next part, we’ll discuss staining options.
Can I Stain Pressure Treated Wood Instead of Painting?
Absolutely! Staining can enhance the wood’s natural beauty while still providing protection.
- Enhancements: Stains penetrate the wood, preserving its texture and grain.
- Variety: Choose between transparent, semi-transparent, or solid stains.
- Durability: Quality stains can shield against UV rays and moisture.
Pros and Cons of Staining vs. Painting
| Aspect | Staining | Painting |
|---|---|---|
| Appearance | Highlight wood grain | Solid color, hides grain |
| Durability | Weathers gently, may need reapplication every 2-3 years | Long-lasting with fewer touch-ups (up to 10 years) |
| Maintenance | Easy to refresh by applying more stain | May require scraping and sanding before repainting |
You should now have a good understanding of staining pressure-treated wood compared to painting. In the next part, we’ll discuss how pressure treatment affects paint and stain adhesion.
Impact of Pressure Treatment on Paint and Stain Adhesion
The chemicals in pressure treated wood can affect how well paint or stain sticks. Here’s what you should know:
- Tannins: Some woods release tannins, which can bleed through finishes, affecting color.
- Chemical Treatment: High levels of moisture and preservative chemicals need sufficient drying time for better adhesion.
- Surface Preparation: Always clean and sand the surface. It enhances bond strength—critical for lasting results!
Factors Affecting the Painting Process Of Pressure-treated Wood
What factors matter when you’re considering painting treated wood?
-
Moisture Content: High moisture levels can cause paint to peel and blister.
-
Type of Treatment: Different chemical treatments affect paint adhesion and durability.
-
Age of Wood: Newer wood contains preservatives that can block paint absorption.
-
Paint Choice: Some paints perform better on treated surfaces, while others may lead to poor finishes.
Common Issues When Painting Pressure-treated Wood
My friend Linda learned the hard way you can’t paint pressure-treated wood right away. It took her months to wait for it to dry properly for a clean surface. You have to let it dry for at least six months, or your paint won’t stick! When you’re ready to seal your project, properly seal your paint can to maintain the quality of your remaining paint.
To fix it, gently sand the surface to improve adhesion. Use 120-grit sandpaper 🔥 Deal: Assorted Grit Sandpaper → , then clean off the dust with a damp cloth. Make sure it’s moisture-free before applying outdoor latex paint!
Finishing Touches: Ensuring Long-lasting Results
After tackling painted pressure-treated wood, apply a high-quality acrylic sealer within 24-48 hours. This helps protect the finish, ensuring it withstands the elements for five years or more.
Inspect every five months for signs of wear using a moisture meter. A device like the General Moisture Meter (GMP-832) should read under 15% for optimal performance.
An insider tip: Always sand lightly with 220-grit paper before reapplying paint. This blends the surfaces, allowing for better adhesion and finish.
Tips for Maintaining Painted Pressure Treated Wood
Once you’ve painted your pressure treated wood, keeping it looking great is essential. Here are some maintenance tips to help you out.
-
Regular Cleaning
Clean your painted wood at least once a year to remove dirt and debris. A simple mixture of warm soapy water works wonders. Just grab a sponge and scrub those surfaces!
-
Inspect for Damage
Check your wooden surfaces every six months for signs of wear or peeling paint. Catching issues early means you can tackle them before they become bigger problems.
-
Repainting Schedule
Every 3 to 5 years, consider repainting. This keeps your wood protected and fresh, plus it allows you to change it up whenever you want!
-
Moisture Control
Watch out for high moisture levels around your painted wood. If it’s near gardens, make sure water drains away, preventing water from sitting against it.
Understanding the Lifecycle of Pressure Treated Wood After Painting
When you paint pressure treated wood, it undergoes changes over its lifecycle. Here’s a quick snapshot!
| Lifecycle Stage | Description | Expected Timeframe |
|---|---|---|
| Installation | Wood is treated and placed; essential to let it settle and dry before painting. | 0-3 months |
| Initial Painting | Paint applied after waiting at least 3 months; optimal adhesion achieved. | 3-6 months |
| First Maintenance Check | Inspect and clean to maintain appearance and integrity. | 6-12 months |
| Repainting | Reapply paint to refresh finish and protection. | 3-5 years |
Creative DIY Project Ideas Using Painted Pressure Treated Wood
How about crafting a whimsical garden bench or a colorful birdhouse 🔥 Deal: Outdoor Wooden Birdhouse → ? These aren’t just projects—they’re pieces of art you can bring to life!
For the bench, grab some pressure treated wood, exterior paint, and paints, which should run about $100. You’ll spend around 4-5 hours on this, maybe a day if you factor in drying time.
Instead of simply painting pressure treated wood, why not try staining it with a natural finish or using a wood sealer to deepen its color? From my experience, these methods not only enhance the wood’s beauty but also prolong its life! If you’re considering alternative finishing techniques, painting without sanding might offer additional creative options for your woodworking project.
Frequently Asked Questions About Painting Pressure Treated Wood
What’s the Best Type Of Paint for Pressure Treated Wood?
For painting pressure treated wood, the best type of paint is typically an exterior acrylic latex paint. This type of paint offers durability, while being water-resistant and flexible, which helps prevent cracking. Acrylic latex paint adheres well, lasts up to 10 years, and comes in various colors.
Do I Need to Sand Pressure Treated Wood Before Painting?
Yes, you usually need to sand pressure treated wood before painting. Sanding helps create a smooth surface that improves paint adhesion and reduces the risk of peeling. A medium grit (Around 120) is ideal for most pressure treated wood. If you’re considering painting different wood types like cedar, you might want to explore specific painting techniques.
How Can I Tell if the Pressure Treated Wood is Dry Enough to Paint?
To check if the pressure treated wood is dry enough to paint, look for moisture content below 15%. You can use a moisture meter or test using a few drops of water; if it beads up, the wood’s still too wet. Wait until it’s fully dry. If you’re considering painting a brick surface alongside your wood project, you might want to explore painting techniques for brick surfaces.
What Should I Do if the Paint Starts to Peel?
If the paint starts to peel on pressure treated wood, you should remove the peeling paint with a scraper or sandpaper. Once the surface is smooth, clean it and apply a high-quality primer before repainting. This improves adherence and prevents future peeling.
How Long Does Acrylic Paint Take to Dry on Pressure Treated Wood?
Acrylic paint typically takes about 1 to 2 hours to dry to the touch when applied to pressure treated wood. However, for full curing, it can take up to 24 hours. Weather conditions like humidity and temperature can affect drying time. If you’re curious about professional painting techniques, you might want to explore the specific paint brands used by experts.
Also See: Can You Melt Diamond Painting Beads? Find Out Here!
Conclusion: Final Thoughts on Painting Pressure Treated Wood
You made it to the end, and there’s a lot to digest. We covered what pressure treated wood is, what to consider before painting, the steps for successful painting, suitable paint types, recommended color palettes, factors affecting the paint process, common issues faced, finishing touches for durability, creative DIY project ideas, and FAQs on the topic.
So, can you paint pressure treated wood? Yes, you can, but wait at least 3 to 6 months after treatment for optimal adhesion and results. If you need additional advice, I’m here to help with any specific projects or paint questions you may have.
If you found this information helpful, explore more insights and tips at Paint Answers.
Useful Resources
- Loomis, A. (2011). Figure Drawing for All It’s Worth. New York, NY: Titan Books.
- Can You Paint Pressure Treated Wood? – The Craftsman Blog
- Can You Paint Pressure Treated Wood? How and When You Can Do It – PaintRite Pros
Experienced interior designer with 15+ years in transforming spaces, blending artistry with expertise in color and design. Rhode Island School of Design graduate, specializing in restorations and modern makeovers.
Material, Wood


