


Can You Put Stain in a Paint Sprayer?
Published on: March 28, 2025 | Last Updated: January 7, 2025
Written By: Sarah McClintock
The Magnum X7 sprayer is a special tool that sprays paint and stain. Imagine a magic wand that makes your walls colorful!
You might wonder, can you put stain in a paint sprayer? It’s super important to know because using the right materials saves time and effort. I’ve learned the hard way to always check before I start a project. Trust me, it avoids a lot of headaches!
In this guide, we’ll explore how to prepare your sprayer, step-by-step instructions for using stain, types of stains suitable for sprayers, and common issues like how to adjust paint sprayer settings, plus tips for cleaning your sprayer.
Contents
- 1 Can You Put Stain in a Paint Sprayer?
- 2 What is the Magnum X7 Sprayer?
- 3 Essential Preparations Before You Start Spraying Stain
- 4 Step-by-step Guide to Spraying Stain With a Paint Sprayer
- 5 Types Of Stains Suitable for Use in a Paint Sprayer
- 6 Factors Affecting the Quality Of Your Stain Application
- 7 Common Issues to Watch Out for When Spraying Stain
- 8 Important Maintenance Tips for Your Paint Sprayer
- 9 Understanding Stain Viscosity for Spraying
- 10 Understanding Sprayer Settings for Different Stains
- 11 Tips for Achieving the Best Finish with Stains
- 12 Final Touches to Enhance Your Staining Project
- 13 Frequently Asked Questions
- 14 Conclusion
- 15 Additional Resources
Can You Put Stain in a Paint Sprayer?
Yes, you can put stain in a paint sprayer like the Magnum X7. Just make sure to thin the stain if needed. Check your sprayer’s instructions for mixing ratios. Clean the sprayer well afterward to avoid clogs! If you’re looking to expand your DIY skills beyond spraying, you might want to explore refinishing bathroom surfaces professionally.

The Finishing Touch
A freshly painted wall is a blank canvas. The best way to bring your room to life is with a single piece of statement art that ties everything together.
Browse Wall Art at Big Wall DecorWhat is the Magnum X7 Sprayer?
The Magnum X7 sprayer is a high-efficiency paint sprayer designed for both DIY enthusiasts and professionals. It features a powerful 5/8-horsepower motor, allowing you to spray unthinned paints effortlessly at 0.31 GPM (1.18 L/min). Professional painters often want to know more about the composition of the paints they use with advanced equipment like the X7, and exploring spray paint techniques can enhance their technical understanding.
I’ve often wondered, “Can you use stain in a paint sprayer?” When I first tried one, I was surprised by how much smoother the finish was compared to using a brush.
That moment taught me the importance of adjusting the paint sprayer properly. For thicker materials like stains, you need to tweak the settings. Proper paint dilution prevents potential issues during application. When working with specialized surfaces like bat houses, you’ll want to prepare your paint carefully. Avoiding these common mistakes makes all the difference!
Essential Preparations Before You Start Spraying Stain
What do you need to prepare?
- Magnum X7 Sprayer: You need a sprayer like the Magnum X7 for effective stain application. It easily handles thicker materials.
- Stain Strainer: Use a strainer, such as Bosco Glide, to filter your stain and prevent clogging in the sprayer gun.
- Protective Gear: Wear a respirator, like the 3M 7500 Series, for safety. It protects your lungs from harmful fumes.
- Quality Stain: Choose a quality product, such as Behr Premium Stain. High-quality stain provides better adhesion and durability.
- Paint Thinner: Get paint thinner, like Klean-Strip, for dilution if necessary. This ensures the right viscosity for spraying.
We’ve wrapped up essential preparations before staining here. Let us turn our attention to the step-by-step guide for spraying stain.
Also See: How to Paint a Gingerbread Man? Get Creative Today!
The Finishing Touch
A freshly painted wall is a blank canvas. The best way to bring your room to life is with a single piece of statement art that ties everything together.
Browse Wall Art at Big Wall DecorStep-by-step Guide to Spraying Stain With a Paint Sprayer
Here are the steps for using a paint sprayer to stain wood effectively.
-
Choose the Right Stain
Select a stain based on the surface you’ll treat; both water-based and oil-based stains work well. For example, a water-based stain dries quickly in about 1-2 hours, allowing for quick recoating.
If you choose a translucent tint, it’ll showcase the wood grain beautifully. Consider testing several stains on a small piece for the best color match.
-
Mix the Stain Properly
Mix your stain according to the manufacturer’s instructions. This often means thinning the stain by 10-20% with water or mineral spirits (50-100 Ml Per 500 Ml), enhancing flow for smoother spraying.
I once added too much thinner, which caused the sprayer to spit out the stain unevenly. Always stir well and do a test run to ensure the consistency feels right.
-
Set the Magnum X7 Sprayer
Configure your Magnum X7 paint sprayer based on the stain. A fine or airless tip of about 0.015 to 0.019 inches (0.38-0.48 Mm) usually works best for stains, ensuring an even spray.
Adjust the pressure setting; a range of 1000 to 1500 PSI (6.9 To 10.3 Mpa) typically provides good coverage without overspray. Maintain a distance of 8 to 12 inches (20 to 30 Cm) from the surface. Artists and professionals often explore unique techniques that transform ordinary tools into creative painting mediums, much like how some artists reimagine everyday objects artistically.
-
Test Your Patterns
Before spraying the main surface, test on a scrap piece. This helps you understand how the sprayer disperses the stain and fine-tune settings.
If you spot runs or uncolored patches, adjust the pressure or application speed, and retry. Practicing on scrap wood can save you headaches later!
-
Apply the Stain Evenly
Move consistently across the surface with steady strokes. Keep your direction consistent and overlap strokes by about 50% to avoid stripes and achieve uniform coverage.
Pause briefly at the end of each stroke to create better adhesion. If the stain dries before you finish, add a bit more thinner to keep it workable without marking the surface.
-
Allow the Stain to Dry Properly
Let your stained item dry for the time specified on the can—usually around 4-6 hours for oil-based stains and 1-2 hours for water-based stains. This ensures a hardened finish before applying any additional coats or sealers. If you’re working with specialized paints like alkyds, you’ll want to explore their unique alkyd paint application techniques.
Don’t rush to clean your sprayer while waiting. A well-stained result requires patience, and proper drying time prevents issues like tacky surfaces.
So far we covered the process for applying stain with a paint sprayer. Let’s look at the types of stains that work with it next.
Types Of Stains Suitable for Use in a Paint Sprayer
Let’s explore the various types of stains you can use: oil-based, water-based, gel stains, and dimensional stains.
-
Oil-based Stains
Oil-based stains penetrate deeply into wood surfaces, providing a rich color. They typically dry in 6 to 8 hours and can be thinned with paint thinner for sprayers.
-
Water-based Stains
Water-based stains dry quickly and have low odors, typically drying in 1 to 2 hours. They clean up easily with soap and water and can be thinned with water for your sprayer.
-
Gel Stains
Gel stains sit on top of the wood and have a thicker consistency, requiring about 8 to 10 hours to dry. They don’t run easily in a sprayer, so be sure to dilute them properly.
-
Dimensional Stains
Dimensional stains create a unique finish by producing contrasts on different surfaces. When using a sprayer, they often require a specific mix to prevent clogging.
Personally, I prefer water-based stains. Their quick drying time and easy cleanup make projects smoother, especially when I’m using my Magnum X7 sprayer!
So far we covered the different types of stains that can be used with a paint sprayer. Let’s look at the factors that impact stain application quality next.
Factors Affecting the Quality Of Your Stain Application
What factors affect the effective use of stains with spray tools?
-
Stain Consistency: Thick stains can clog the nozzle, causing uneven application.
-
Tip Size: The wrong tip size may cause drips or poor coverage. Choose wisely!
-
Sprayer Settings: Incorrect pressure settings can impact stain atomization, leaving surfaces patchy.
-
Stain Type: Different stains (Gel Vs. Liquid) need specific adjustments for smooth application.
We covered elements impacting stain application quality here. We will now cover typical problems to be aware of when spraying stain.
Common Issues to Watch Out for When Spraying Stain
My friend once tried to spray stain using a Magnum X7 sprayer, and it clogged quickly! The stain’s viscosity (Thickness) was too high for .015” to .019” nozzle sizes.
To fix this, thin the stain with about 10% mineral spirits by volume. Always strain your mix through a fine mesh to prevent clogs. Keep those sprayers running smoothly!
Important Maintenance Tips for Your Paint Sprayer
Keep your paint sprayer running smoothly with these easy maintenance tips.
-
Regular Cleaning
After each use, clean your sprayer immediately. Flush with water for water-based stains or mineral spirits for oil-based stains. This prevents build-up and clogs.
-
Inspect Before Use
Always check the spray tip and hoses for damage. Replacing worn parts can save you headaches during your project.
-
Store Properly
Store the sprayer in a dry, cool place. Protect it from dust and temperature fluctuations to extend its lifespan.
-
Lubricate Moving Parts
Every few uses, lubricate moving parts like the piston. This ensures smoother operation and reduces wear.
Understanding Stain Viscosity for Spraying
Viscosity impacts how well your sprayer applies stain. Let’s break it down.
| Stain Type | Recommended Viscosity (cP) | Thinning Agent | Mixing Ratio |
|---|---|---|---|
| Oil-based Stain | 10-20 cP | Mineral Spirits | 10-20% with thinner |
| Water-based Stain | 5-10 cP | Water | 10-20% with water |
| Gel Stain | 20-30 cP | Mineral Spirits | 15-25% with thinner |
The Finishing Touch
A freshly painted wall is a blank canvas. The best way to bring your room to life is with a single piece of statement art that ties everything together.
Browse Wall Art at Big Wall DecorUnderstanding Sprayer Settings for Different Stains
Getting the settings right on your paint sprayer changes everything!
| Stain Type | Sprayer Tip Size (inches) | Recommended Pressure (PSI) | Mixing Ratio (Thinner to Stain) |
|---|---|---|---|
| Oil-based Stain | 0.015 – 0.019 | 1500 – 2500 | 10-20% |
| Water-based Stain | 0.013 – 0.015 | 1000 – 1500 | 10-15% |
| Gel Stain | 0.019 – 0.021 | 2000 – 2500 | 15-25% |
Tips for Achieving the Best Finish with Stains
Eager to make your staining project shine? Here are some personal tidbits!
- Test before the main event! Always try your settings on a scrap piece first.
- Maintain a steady speed. Moving too fast or too slow shifts the finish quality.
- Keep an eye on the weather. Humidity and temperature can change drying times and finishes.
- Layer, layer, layer! Applying multiple thin coats often yields a more professional look.
Final Touches to Enhance Your Staining Project
After using your Magnum X7 sprayer with wood stain, flush the system with mineral spirits (About 3.8 L or 1 Gallon). Then, inspect the spray tip; a clogged tip can ruin your finish.
Check the 515 spray tip for wear after every 100 gallons (About 378.5 Liters) of stain used. If you notice any damage, replace it with a compatible Graco tip for the best results.
I recommend adjusting your pressure level based on surface texture. For experienced users, use a pressure gauge to maintain optimal psi (Pounds Per Square Inch) between 2000 and 2500 psi for smooth finishes.
Frequently Asked Questions
Can You Use Oil-based Stain in a Paint Sprayer?
Yes, you can use oil-based stain in a paint sprayer. Oil-based stains provide great color and protective finishes, that can reach around 500 L (132 Gallons) on a single mix, depending on application methods and surface type.
What Type Of Paint Sprayer is Best for Stain?
The best type of paint sprayer for stain is an airless or high-volume low-pressure (HVLP) sprayer. The airless sprayer operates efficiently for larger projects, while HVLP is ideal for detail work below 50 psi. If you’re curious about exploring alternative painting techniques, you might want to experiment with acrylic paint applications.
How Do You Clean a Paint Sprayer After Using Stain?
You should clean a paint sprayer with thinner immediately after using stain. For oil-based stains, use mineral spirits to remove residue and prevent clogs effectively, maintaining your sprayer’s lifespan. If you’re curious about alternative paint techniques, you might want to explore creating acrylic ink from paint.
Can You Thin Stain for Use in a Paint Sprayer?
Yes, you can thin stain for use in a paint sprayer. Thinning improves flow and reduces clogging; typically, a 10-20% dilution with mineral spirits or a recommended thinner works best.
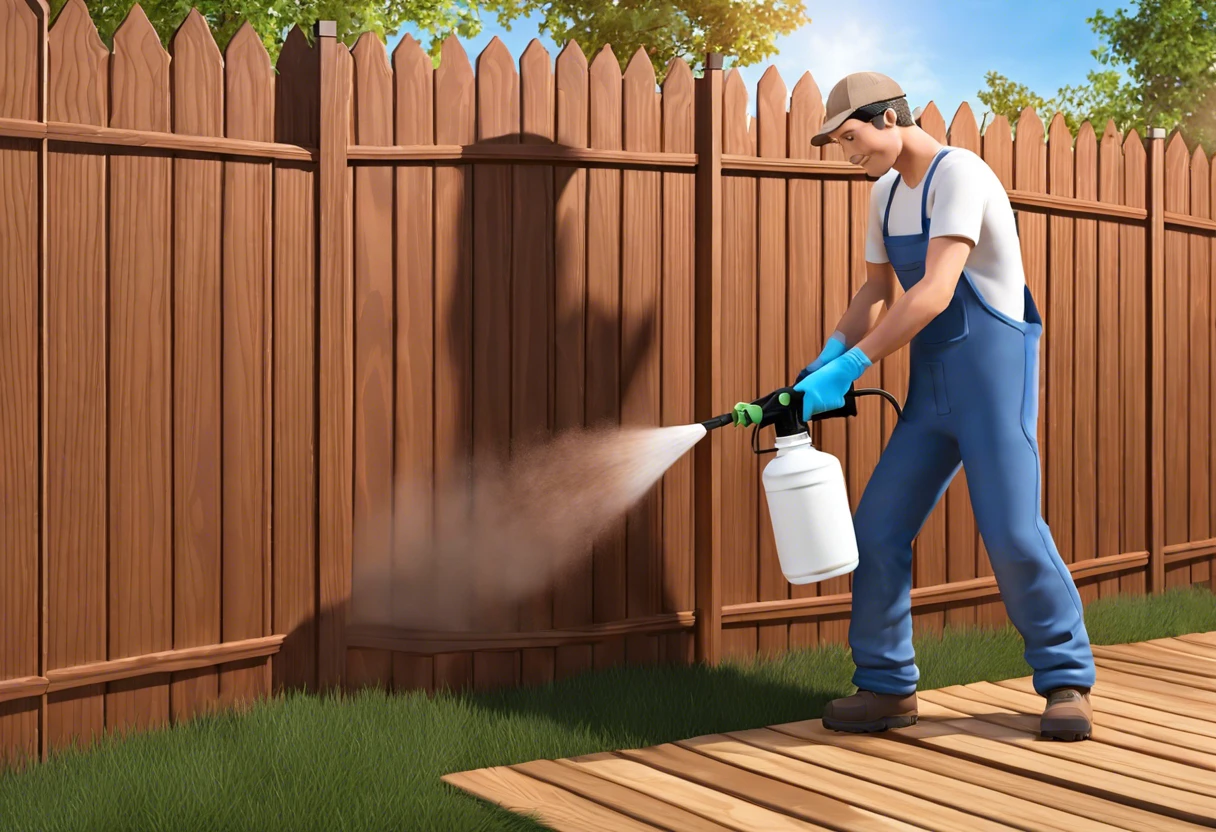
What Surfaces Can You Stain With a Paint Sprayer?
You can stain various surfaces with a paint sprayer, like wood decks, fences, and furniture. It’s essential to prepare surfaces properly, like sanding or cleaning, to enhance adhesion and finish quality. If you’re considering painting delicate items like baby cribs, you’ll want to follow specific safety guidelines for painting baby furniture safely.
How to Fix Runny Spray Paint?
To fix runny spray paint, simply reduce the spray pressure slightly. Ensuring appropriate pressure can prevent oversaturation and drips, allowing for a smoother application.
How to Adjust a Paint Sprayer?
To adjust a paint sprayer, check the fluid control knob and the spray width adjustment. Proper adjustments lead to improved precision and coverage, reducing waste by up to 30%.
How to Mix Paint for a Paint Sprayer?
To mix paint for a paint sprayer, follow a 10% thinning rule, if needed. A consistent mix ensures optimal flow and coverage, saving time and ensuring smoother applications.
Conclusion
You made it to the end of our exploration! We covered essential items like the Magnum X7 sprayer, preparations before spraying, step-by-step stain application methods, recommended color palettes, suitable types of stains, factors affecting application quality, common issues, final touches, and creative DIY project ideas.
So, can you put stain in a paint sprayer? Yes, you can, as we’ve discussed various types, how to mix and adjust the sprayer, and what to watch out for to ensure a smooth application.
For more insights and expert guidance, visit us at Paint Answers.
Additional Resources
- Betti, C., & Sale, T. (2012). Drawing: A Contemporary Approach (6th ed.). Belmont, CA: Cengage Learning.
- r/paint on Reddit: Running stain through an airless sprayer.
- How to Paint or Stain a Fence Using an Airless Sprayer


