Can You Use Acrylic Paint on Walls?
Published on: April 17, 2025 | Last Updated: January 7, 2025
Written By: Alisha Winters
Walls are the strong, vertical parts that make up a room. They keep the inside cozy and separate from the outside world.
Can you use acrylic paint on walls? It’s super important to know this before you grab that brush. From my experience, using the right paint can make your space feel more alive and creative!
In this article, we’ll cover essential points like what walls are, how to prepare before painting, step-by-step tips, color palettes, types of acrylic paint, and common issues. We’ll even touch on how to clean up acrylic paint and get it off your hands quickly!
Contents
- 1 Can You Use Acrylic Paint on Walls?
- 2 Walls are vertical structures that define spaces. They typically measure around 2.4 m (8 Ft) high and can be made from various materials like wood, drywall, or brick. In residential buildings, wall thickness ranges from 10 to 15 cm (4 to 6 Inches). This thickness supports the floor above while providing insulation and security. Now, can you use acrylic paint on walls? I’ve had some creative fun with it. Once, I transformed an old room with bright acrylic colors, and the result was stunning! I remember using it for a colorful mural in my workroom. I learned that to seal acrylic paint on walls properly, you should use a clear acrylic sealant to ensure lasting vibrancy. This not only protected the art but also kept the walls looking fresh over time. If you’re wondering about painting techniques between different paint types, painting acrylic over latex requires specific preparation steps. Preliminary Considerations Before You Start Painting
- 3 Step-by-step Process for Using Acrylic Paint on Walls
- 4 Types Of Acrylic Paint Suitable for Wall Applications
- 5 Factors Affecting the Use Of Acrylic Paint on Walls
- 6 Common Issues to Anticipate When Painting Walls With Acrylic Paint
- 7 Finishing Touches: Enhancing Your Painted Walls
- 8 Artistic Techniques for Using Acrylic Paint on Walls
- 9 Comparing Acrylic Paint to Other Paint Types for Walls
- 10 Benefits of Using Acrylic Paint on Walls
- 11 When Not to Use Acrylic Paint on Walls
- 12 Understanding the Cost of Painting Walls with Acrylic
- 13 DIY Project Ideas Utilizing Acrylic Paint on Walls
- 14 Frequently Asked Questions (FAQs)
- 15 Conclusion
- 16 Additional Resources
Can You Use Acrylic Paint on Walls?
Yes, you can use acrylic paint on walls! It’s a versatile option that adheres well. Just make sure the surface is clean and primed. Acrylic paint dries quickly and is easy to clean up with water. If you’re looking to expand your painting skills, check out wall painting techniques.
Walls are vertical structures that define spaces. They typically measure around 2.4 m (8 Ft) high and can be made from various materials like wood, drywall, or brick. In residential buildings, wall thickness ranges from 10 to 15 cm (4 to 6 Inches). This thickness supports the floor above while providing insulation and security.
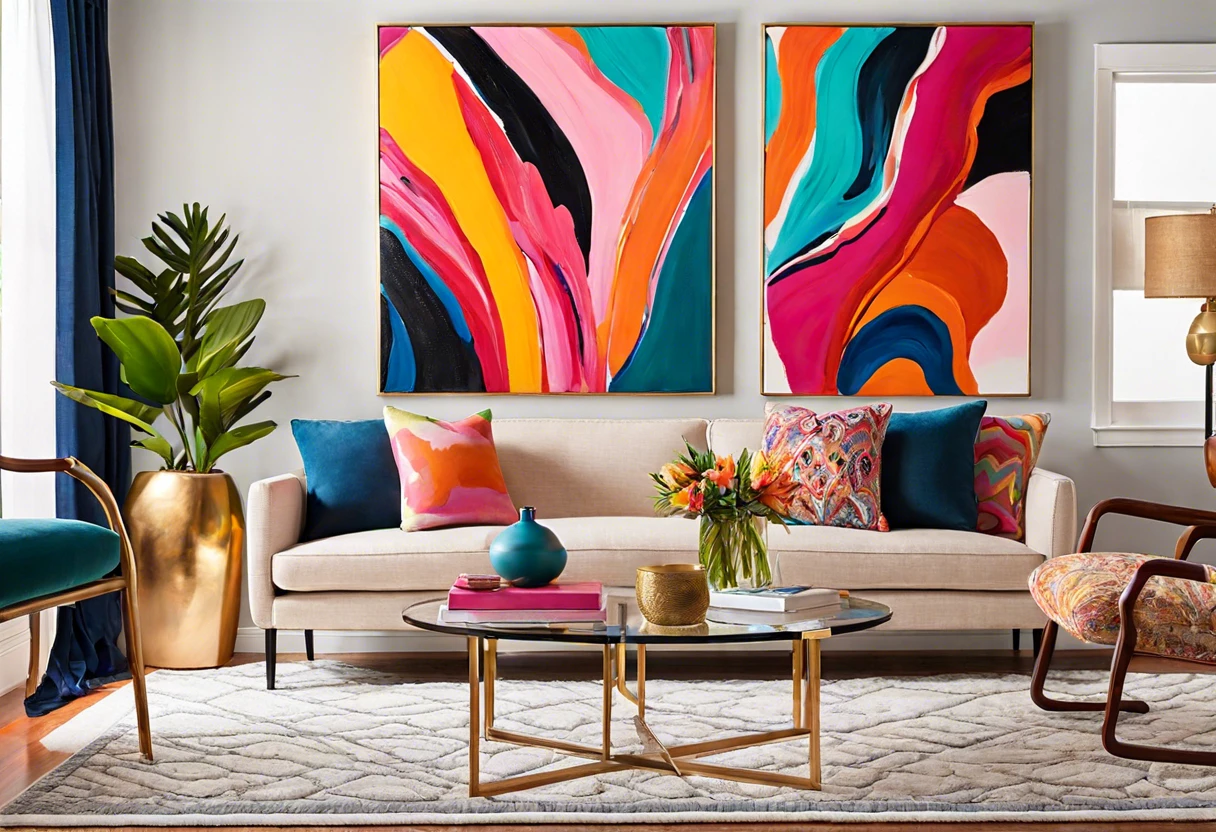
Now, can you use acrylic paint on walls? I’ve had some creative fun with it. Once, I transformed an old room with bright acrylic colors, and the result was stunning!
I remember using it for a colorful mural in my workroom. I learned that to seal acrylic paint on walls properly, you should use a clear acrylic sealant to ensure lasting vibrancy. This not only protected the art but also kept the walls looking fresh over time. If you’re wondering about painting techniques between different paint types, painting acrylic over latex requires specific preparation steps.
Preliminary Considerations Before You Start Painting
What do you need to prepare for painting your walls with acrylic?
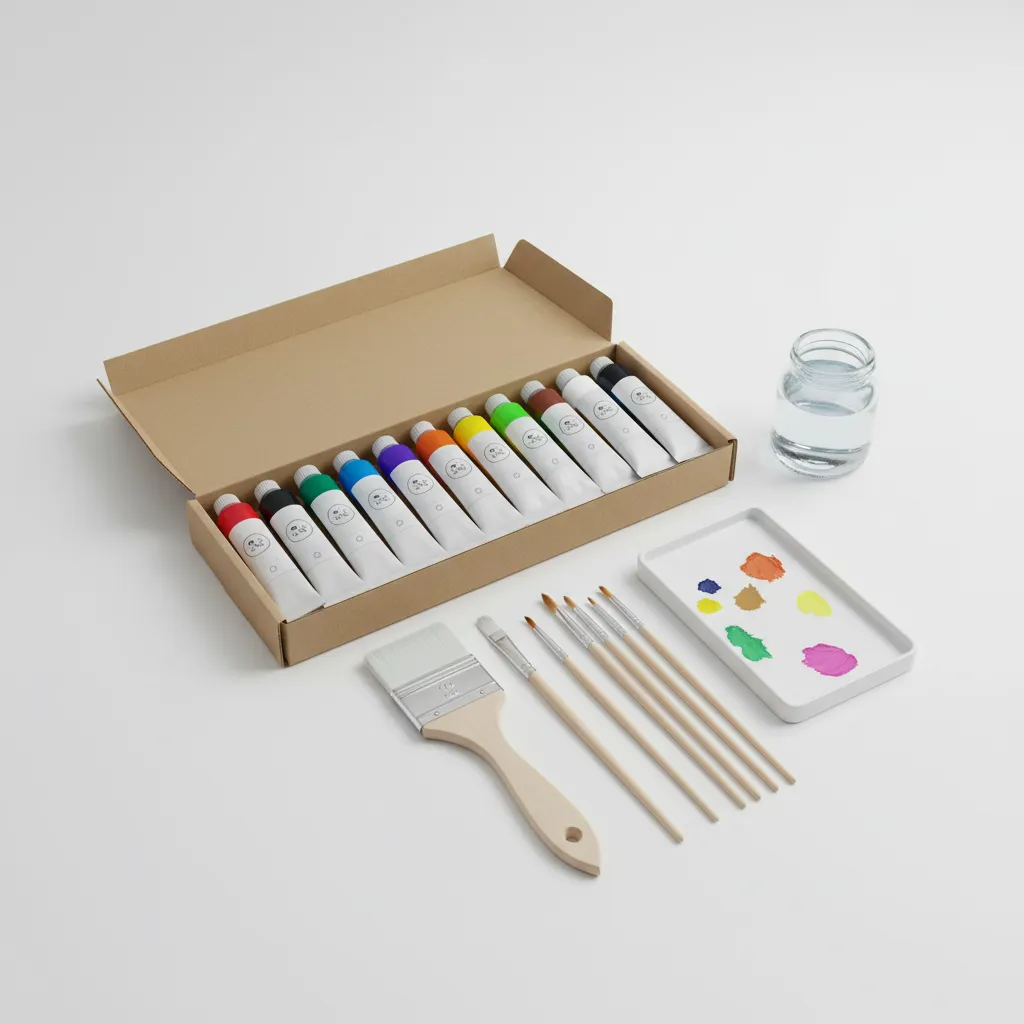
- Acrylic Paint: Use quality acrylic paint like Golden Heavy Body (3.79 L – 1 Gallon). It provides good coverage and adheres well to walls.
- Paint Primer: Apply a primer such as KILZ 2 All Purpose Primer (3.78 L – 1 Gallon). This improves paint adhesion on surfaces, especially unpainted or glossy ones.
- Brushes and Rollers: Choose a roller like the Wooster Soft-Touch Roller (23 Cm – 9 Inches) and a brush like the Purdy XL Dale (5 Cm – 2 Inches). They’re perfect for an even finish on walls.
- Drop Cloths: Use heavy-duty drop cloths (3.66 M X 2.74 M – 12 Ft X 9 Ft) to protect floors from spills and messes.
- Paint Tray: A paint tray like the Wooster Stylist (1 Liter) helps load your rollers easily, keeps paint organized, and minimizes waste.
We have now covered initial factors to consider before painting. The next section details the step-by-step method for applying acrylic paint.
Also See: Can Trex Decking Be Painted? Learn How to Do It
Step-by-step Process for Using Acrylic Paint on Walls
This section covers the steps to apply acrylic paint on walls successfully.
-
Prepare the Wall Surface
Clean your walls with a mixture of water (2 L or Half a Gallon) and mild detergent. Scrub away dirt or grease for a smooth surface.
Rinse with clean water and let them dry completely, about 2 hours, before painting for the best results.
-
Prime the Walls
Apply a primer designed for acrylic paint—choose a quality latex primer. Two coats are often necessary; wait four hours between coats for adequate drying time.
This step helps the paint adhere better and enhances color vibrancy and durability.
-
Select Your Acrylic Paint
Choose high-quality acrylic paint suited for walls. Brands with good reviews typically offer higher pigment concentration and better weather resistance.
Trust me, spending a little more upfront saves trouble later. A gallon (3.78 L) usually covers about 400 sq ft (37 M²) for one coat. Keep your color choice in mind; it can significantly affect the room’s ambiance. If you encounter unexpected surface issues like mold during your painting project, you might need specialized treatment addressing black mold effectively.
-
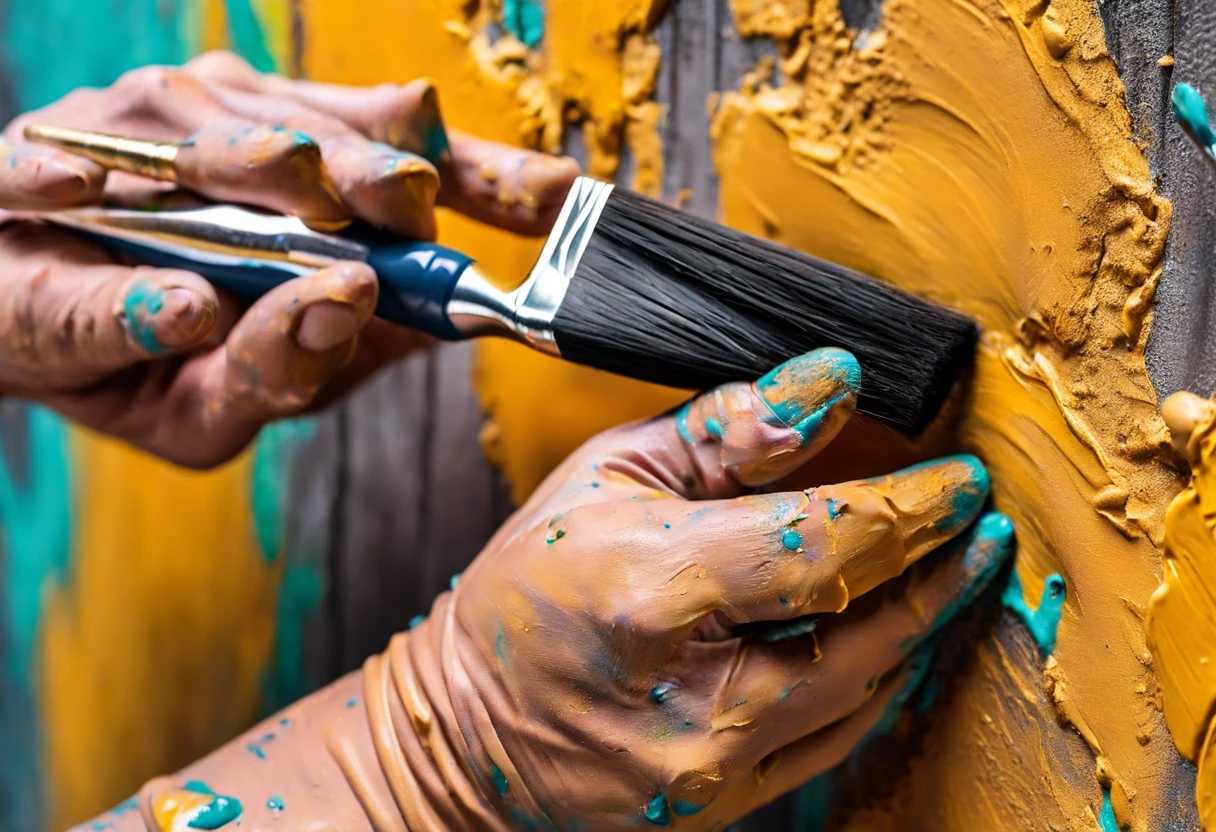
Apply the Acrylic Paint
Start with a brush for edges and use a roller for the remaining walls. Use long, even strokes to avoid streaks.
If a second coat is needed (Which is Likely), wait at least 4 to 6 hours for the first coat to dry. This ensures even coverage and a professional finish.
-
Clean Up After Painting
After painting, clean your brushes and rollers with warm, soapy water immediately. Acrylic paint is water-based, so this should be relatively easy.
Don’t let used materials dry out; it can take time to restore them.
That covers the procedure for applying acrylic paint on walls. Let’s now take a look at suitable types of acrylic paint.
Types Of Acrylic Paint Suitable for Wall Applications
Let’s cover the types: Premium, Matte, Gloss, and Textured.
-
Premium Acrylic Paint
Premium acrylic paint offers high quality with excellent coverage. It’s perfect for walls as it adheres well and lasts long.
-
Matte Acrylic Paint
Matte acrylic paint provides a flat finish, reducing glare on walls. It’s easy to touch up but may need sealing to withstand wet areas.
-
Gloss Acrylic Paint
Gloss acrylic paint is shiny and wipeable, making it ideal for high-traffic walls. It reflects light beautifully but might show surface imperfections.
-
Textured Acrylic Paint
Textured acrylic paint adds depth and uniqueness to your walls. It’s versatile for artistic designs and practical uses, like hiding imperfections.
I’ve found that premium acrylic paint significantly improves durability and finish. It’s my top choice for walls because it withstands wear and tear like no other.
So far we covered the different types of acrylic paint ideal for wall use. Let’s look at factors influencing acrylic paint application on walls.
Factors Affecting the Use Of Acrylic Paint on Walls
What factors influence your choice of acrylic paint for wall applications?
-
Surface Type: Smooth walls allow better adhesion for acrylic paint, while rough surfaces can cause peeling.
-
Moisture Levels: High humidity can prevent proper drying, affecting the finish and durability.
-
Paint Thickness: Thicker layers may crack over time; use compatible products for maximum flexibility.
-
Previous Coats: Old glossy paint needs priming; otherwise, new acrylic won’t adhere well.
So far we covered the elements influencing acrylic paint application on walls. Let’s look at the usual challenges when using it.
Common Issues to Anticipate When Painting Walls With Acrylic Paint
When my friend tried to use acrylic paint on walls, he faced a major problem—peeling. The walls hadn’t been properly primed. Use a primer like Zinsser 1-2-3 for smooth adhesion.
To fix this, sand uneven areas, then apply a high-quality primer before the acrylic paint. With the right preparation, you’ll ensure a lasting finish!
Finishing Touches: Enhancing Your Painted Walls
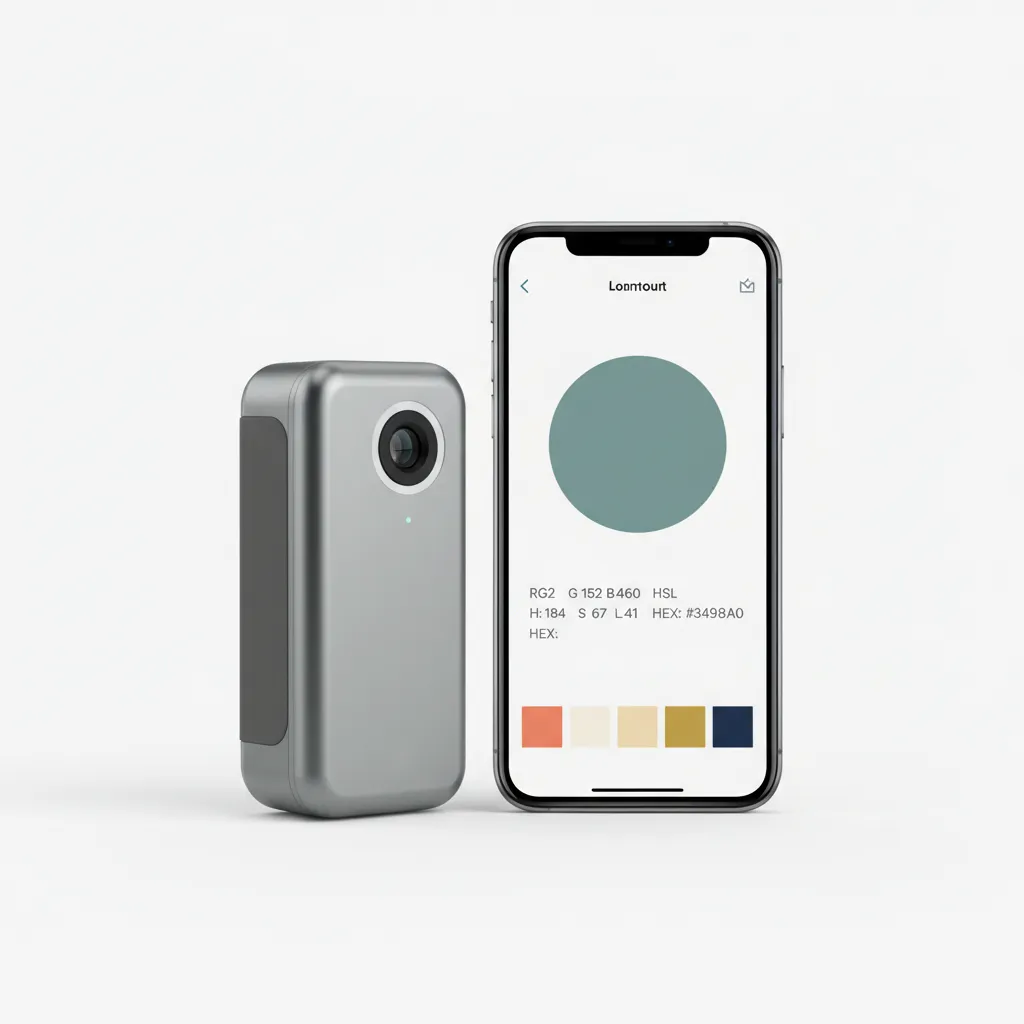
After applying acrylic paint to your walls, allow at least 72 hours for full curing. Enhance durability by applying a clear acrylic sealer, such as Varathane, in a 2:1 ratio of paint to sealer. If you’re looking to explore professional paint matching techniques, professional color matching strategies can help you achieve precise color replication across different brands.
Recommended Supplies
As an Amazon Associate, I earn from qualifying purchases. Images are representative.
Inspect your walls for imperfections, like drips or brush strokes. Pay close attention to edges; trim with a fine artist’s brush, using sizes 00 or 0 for precise application.
From one expert to another, consider using a grid method for artwork placement 1.5 m (5 Ft) above the ground. This ensures balanced depth and viewer perspective with your painted walls.
Artistic Techniques for Using Acrylic Paint on Walls
How can you take your wall painting to the next level? Let’s explore some artistic techniques!
-
Sponging Technique
This method adds texture and depth. Use a damp sponge to dab contrasting colors onto a dry base coat. It creates a soft, layered look.
-
Ombre Effect
To achieve an ombre effect, blend two or more shades of the same color. Start with your darkest shade at the bottom, transitioning to the lightest at the top. Blend while the paint is wet for a seamless look!
-
Stenciling Designs
Stencils can help you create intricate designs easily. Place the stencil on your wall, then apply acrylic paint using a sponge or brush. Remove the stencil carefully for clean edges!
-
Striping
For bold stripes, use painter’s tape to mark your lines. Paint between the tape and remove it while the paint is still wet. This technique adds a modern and chic touch to any room!
Comparing Acrylic Paint to Other Paint Types for Walls
Let’s dive into how acrylic paint stacks up against other options.
Paint Type
Durability
Indoor Use
Outdoor Use
Drying Time
Acrylic Paint
High
Excellent
Good
1-2 hours
Latex Paint
Medium
Good
Fair
1-2 hours
Oil-Based Paint
Very High
Fair
Excellent
6-8 hours
Benefits of Using Acrylic Paint on Walls
Why should you choose acrylic paint for your walls? Here are some standout benefits:
- Quick Drying: Dries in 1-2 hours, allowing you to paint multiple coats in one day.
- Easier Clean-up: Being water-based, clean-up requires just soap and water—no harsh chemicals!
- Color Retention: Retains color vibrancy over time, making your walls look fresh longer.
- Low Odor: Much less smell compared to oil-based paints, making it safer for indoor environments.
When Not to Use Acrylic Paint on Walls
Despite its advantages, there are times when acrylic isn’t the best choice.
- High-Moisture Areas: Avoid using it in bathrooms or kitchens without proper sealing.
- Oil Paints Underneath: If the existing paint is oil-based, it needs specific priming.
- Rough Surfaces: If your wall has heavy texture, acrylic might not adhere as well without proper prep.
Understanding the Cost of Painting Walls with Acrylic
Want to know how much this project might cost? Here’s a quick breakdown of typical expenses.
Recommended Supplies
As an Amazon Associate, I earn from qualifying purchases. Images are representative.
Item
Estimated Cost (USD)
Details
Acrylic Paint (1 Gallon)
$25 – $50
Covers around 400 sq ft (37 M²)
Primer (1 Gallon)
$15 – $30
Essential for better adhesion and finish
Brushes and Rollers
$10 – $30
Depending on quality and size
Drop Cloths
$10 – $20
Protects your floors
Miscellaneous Supplies
$5 – $15
Includes paint trays, tape, and clean-up supplies
So, painting a standard room could cost anywhere from $75 to over $145, depending on your choices. Planning ahead helps you stick to your budget!
DIY Project Ideas Utilizing Acrylic Paint on Walls
Have you ever thought about creating a dreamy galaxy mural on your bedroom wall? Or how about a vibrant jungle scene that transports you to another world every time you enter?
For the galaxy, grab some black and blue acrylics, a few sponges, and a star stencil—guessing around $30 for everything! Expect to spend a weekend on it—nothing fancy, just paint and fun!
If you’re curious about alternatives, how about creating textured wall art using acrylic paste mixed with paint for extra depth? You can also wash the paint with water to watercolorize your project—I’ve had great results with that too! When traveling with art supplies, it’s crucial to know the specific guidelines for transporting paint when flying with art materials.
Also See: How Much is White Paint? Get Cost Details Here!
Frequently Asked Questions (FAQs)
Can You Add Water to Acrylic Paint?
Yes, you can add water to acrylic paint. Adding water helps thin the paint, improving flow and creating a watercolor-like effect. It’s recommended to use up to 30% water for optimal results, ensuring consistency without affecting adhesion.
How Do You Seal Acrylic Paint?
To seal acrylic paint, you need to apply a clear sealant or varnish. This process protects your artwork from UV damage and dust. Using a spray or brush-on sealant can enhance durability, especially indoors. If you’re wondering about potential painting costs in rental spaces, apartment painting regulations vary.
How Can You Make Brown in Acrylic Paint?
To make brown in acrylic paint, combine equal parts of red, yellow, and blue. This basic technique yields shades of brown depending on the color ratio used, allowing for versatile mixing according to desired nuance. If you want to explore more advanced techniques for painting wood with acrylics, experimenting with color blending can enhance your artistic results.
How Do You Clean Up Acrylic Paint?
You clean up acrylic paint easily with soap and water. Since acrylics are water-based, a simple rinse with warm water right after use minimizes mess, making your cleanup quick and straightforward. If you’re curious about alternative uses for acrylic paint, you might want to explore safe painting techniques for skin.
How to Dry Acrylic Paint Fast?
To dry acrylic paint fast, increase air circulation. Using a fan to promote airflow can reduce drying time significantly. Additionally, applying a thin layer of paint and minimizing humidity levels aids in quick drying.
Conclusion
We are almost done. We covered the types of acrylic paint, preliminary considerations, step-by-step processes, recommended exterior painting techniques, factors affecting usage, common issues, and DIY ideas for painting walls.
Free Tool
Exterior Paint Cost Estimator
Planning a repaint? Don't let contractors overcharge you. Calculate your exact siding and trim paint needs instantly.
Open Calculator →
You can indeed use acrylic paint on walls. It’s versatile, dries quickly, and offers great color options, serving your painting needs quite well.
For more insights and updates, feel free to visit our homepage at Paint Answers.
Additional Resources
By: Alisha Winters
Experienced interior designer with 15+ years in transforming spaces, blending artistry with expertise in color and design. Rhode Island School of Design graduate, specializing in restorations and modern makeovers.
Exterior, Wall
Prepare the Wall Surface
Clean your walls with a mixture of water (2 L or Half a Gallon) and mild detergent. Scrub away dirt or grease for a smooth surface.
Rinse with clean water and let them dry completely, about 2 hours, before painting for the best results.
Prime the Walls
Apply a primer designed for acrylic paint—choose a quality latex primer. Two coats are often necessary; wait four hours between coats for adequate drying time.
This step helps the paint adhere better and enhances color vibrancy and durability.
Select Your Acrylic Paint
Choose high-quality acrylic paint suited for walls. Brands with good reviews typically offer higher pigment concentration and better weather resistance.
Trust me, spending a little more upfront saves trouble later. A gallon (3.78 L) usually covers about 400 sq ft (37 M²) for one coat. Keep your color choice in mind; it can significantly affect the room’s ambiance. If you encounter unexpected surface issues like mold during your painting project, you might need specialized treatment addressing black mold effectively.
Apply the Acrylic Paint
Start with a brush for edges and use a roller for the remaining walls. Use long, even strokes to avoid streaks.
If a second coat is needed (Which is Likely), wait at least 4 to 6 hours for the first coat to dry. This ensures even coverage and a professional finish.
Clean Up After Painting
After painting, clean your brushes and rollers with warm, soapy water immediately. Acrylic paint is water-based, so this should be relatively easy.
Don’t let used materials dry out; it can take time to restore them.
Premium Acrylic Paint
Premium acrylic paint offers high quality with excellent coverage. It’s perfect for walls as it adheres well and lasts long.
Matte Acrylic Paint
Matte acrylic paint provides a flat finish, reducing glare on walls. It’s easy to touch up but may need sealing to withstand wet areas.
Gloss Acrylic Paint
Gloss acrylic paint is shiny and wipeable, making it ideal for high-traffic walls. It reflects light beautifully but might show surface imperfections.
Textured Acrylic Paint
Textured acrylic paint adds depth and uniqueness to your walls. It’s versatile for artistic designs and practical uses, like hiding imperfections.
Surface Type: Smooth walls allow better adhesion for acrylic paint, while rough surfaces can cause peeling.
Moisture Levels: High humidity can prevent proper drying, affecting the finish and durability.
Paint Thickness: Thicker layers may crack over time; use compatible products for maximum flexibility.
Previous Coats: Old glossy paint needs priming; otherwise, new acrylic won’t adhere well.
Sponging Technique
This method adds texture and depth. Use a damp sponge to dab contrasting colors onto a dry base coat. It creates a soft, layered look.
Ombre Effect
To achieve an ombre effect, blend two or more shades of the same color. Start with your darkest shade at the bottom, transitioning to the lightest at the top. Blend while the paint is wet for a seamless look!
Stenciling Designs
Stencils can help you create intricate designs easily. Place the stencil on your wall, then apply acrylic paint using a sponge or brush. Remove the stencil carefully for clean edges!
Striping
For bold stripes, use painter’s tape to mark your lines. Paint between the tape and remove it while the paint is still wet. This technique adds a modern and chic touch to any room!

Experienced interior designer with 15+ years in transforming spaces, blending artistry with expertise in color and design. Rhode Island School of Design graduate, specializing in restorations and modern makeovers.
Exterior, Wall