
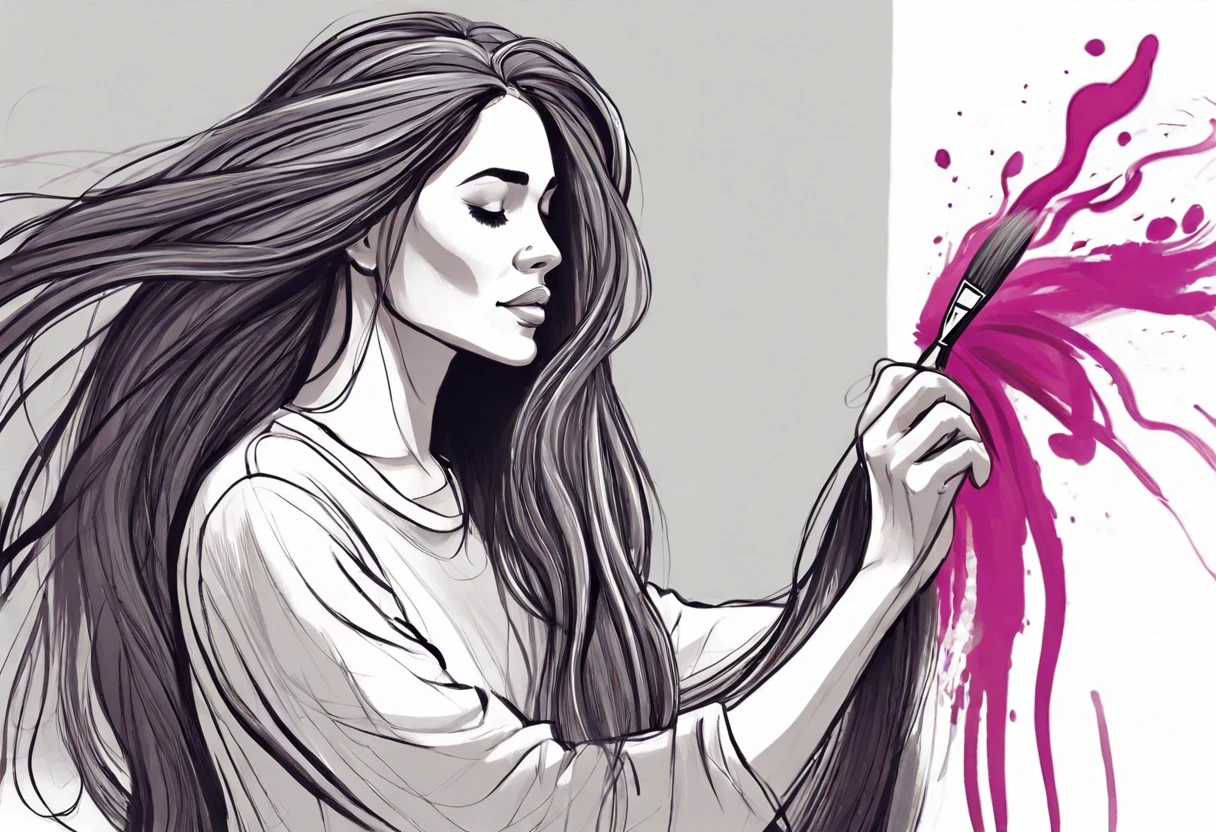
How Paint Hair?
Published on: January 29, 2025 | Last Updated: January 7, 2025
Written By: Sarah McClintock
Hair is like a colorful waving blanket that grows on your head. It’s soft and can be shiny or fluffy, just like a cotton candy cloud!
Knowing how to paint hair is super important for making your art look real and alive. When I first started, I struggled, but breaking it down made it way easier and a lot more fun.
In this guide, we’ll explore painting hair techniques, color choices, tips for curly hair, common mistakes, and creative DIY ideas. If you’re curious about how paint hair, you’re in the right place!

- ✓
- ✓
- ✓

- ✓
- ✓
- ✓

Contents
- 1 How to Paint Hair?
- 2 What is Hair?
- 3 Before You Start Painting Hair
- 4 Step-by-step Guide to Painting Hair
- 5 Recommended Color Palette for Hair Painting
- 6 Understanding Hair Colors and Their Impact on Painting
- 7 Different Techniques for Painting Hair
- 8 Factors Affecting the Outcome Of Hair Painting
- 9 Understanding Hair Texture and Its Influence on Painting
- 10 Color Theory for Hair Painting
- 11 Common Issues Encountered When Painting Hair
- 12 Finishing Touches to Perfect Your Hair Painting
- 13 Creative DIY Project Ideas for Hair Painting
- 14 Frequently Asked Questions About How to Paint Hair
- 15 Conclusion
- 16 Additional Resources
How to Paint Hair?
To paint hair, start with a clean canvas—apply a base color. Use lighter shades for highlights and darker shades for shadows. Brush in quick, smooth strokes to mimic texture. Blend colors for a natural look! Professional artists often invest in high-quality pigments that can dramatically enhance their paint color selection techniques.
What is Hair?
Hair is a filamentous (Thread-like) biomaterial, primarily made of a protein called keratin. On average, humans have about 100,000 to 150,000 strands of hair, with each strand measuring about 0.017 to 0.181 mm (0.00067 To 0.0071 Inches) in diameter.
When it comes to painting hair, it presents a world of fun challenges. I recall the first time I painted hair, trying to replicate intricate highlights with just a few strokes.
Using this technique for my art piece on textured styles was incredibly helpful. Painting hair, especially curly hair, taught me the importance of light and shadow to create depth and vibrancy. Mastering hair depiction can elevate any portrait! When working with different painting mediums, I discovered some crucial tips for spray painting techniques.

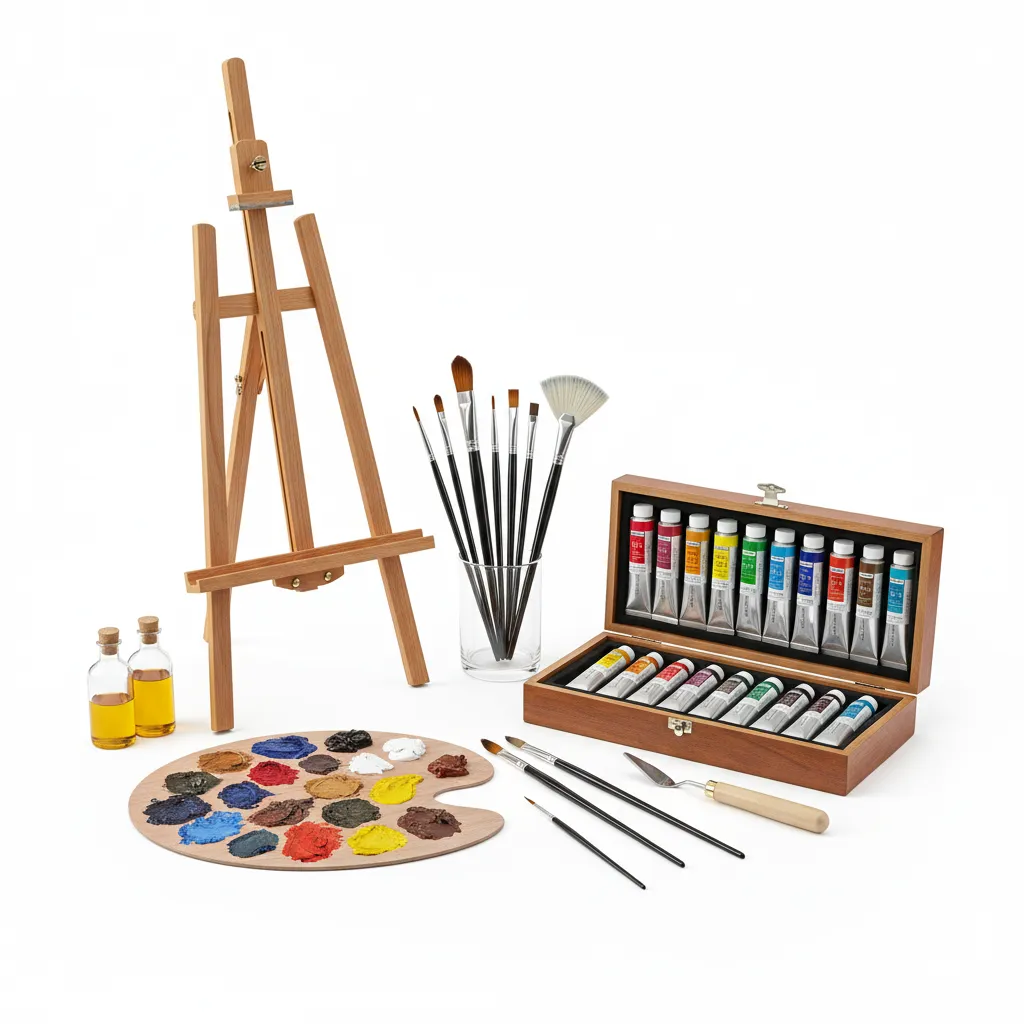
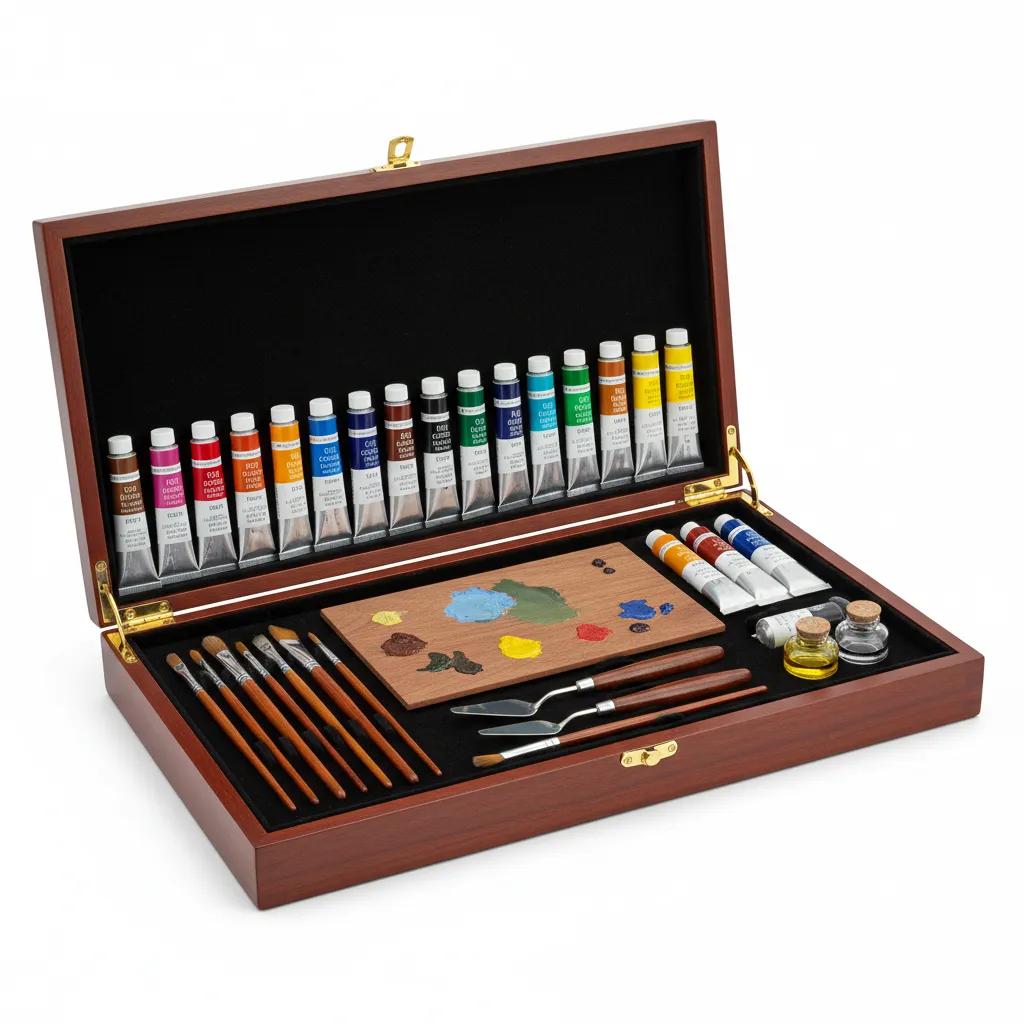
Before You Start Painting Hair
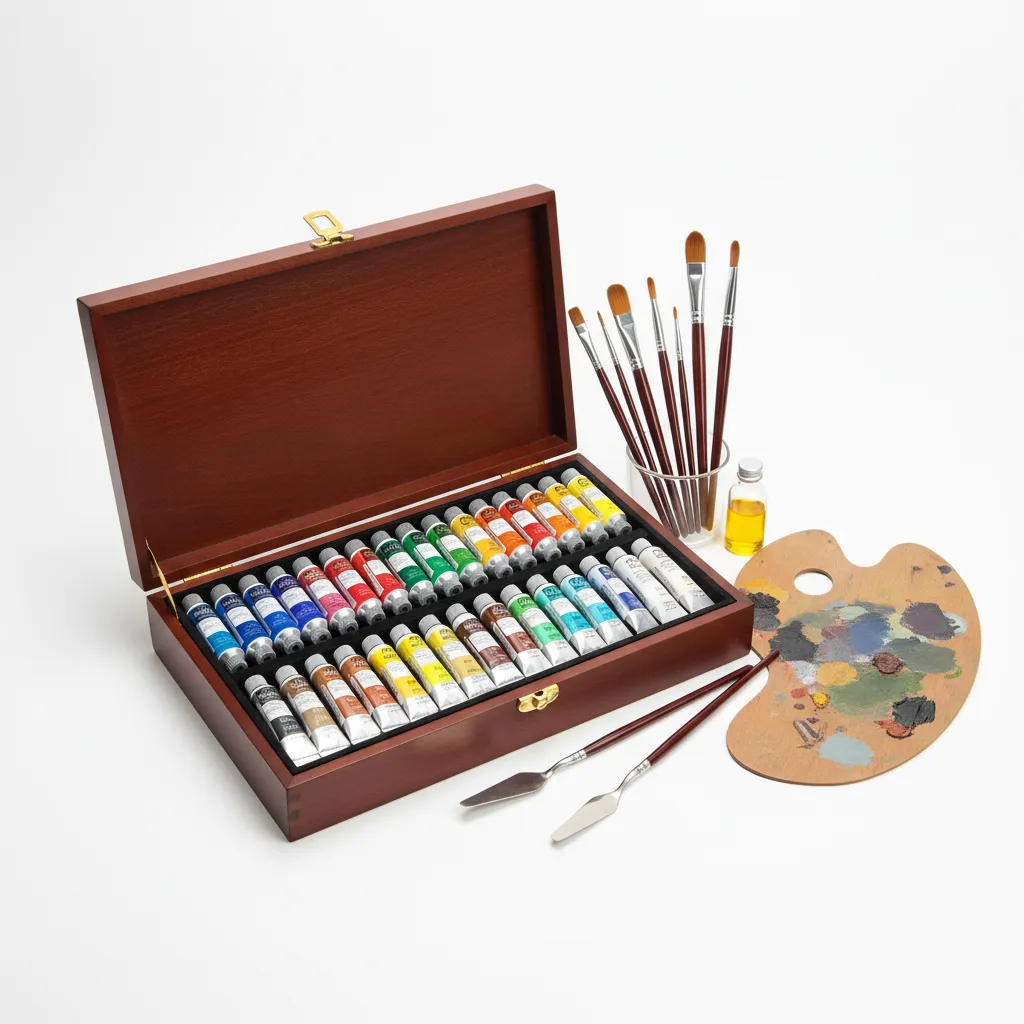
What do you need to get started?
- High-quality paint: Choose brands like Golden or Liquitex. They blend well for vibrant colors.
- Brushes: A flat brush, size #8 or #10, is essential for covering larger areas easily.
- Water container: Have a mixed-size container (0.5 L, 16 Oz) handy for rinsing brushes and thinning paint.
- Palette: A non-porous palette, such as plastic or glass, helps mix colors smoothly.
You should now have a good understanding of preparing to paint hair. In the next part, we’ll discuss a step-by-step guide to painting hair.
Also See: How to Paint a Airsoft Gun? A Quick Guide!
Step-by-step Guide to Painting Hair
This guide outlines the steps to paint hair with precision and flair.
-
Choose the Right Palette
Select colors that mimic natural hair tones. Consider shades like blonde, chestnut, or black—aim for a ratio of 3-5 tones for realism.
A good mix includes a base color, two highlighting tones, and one shadow tone. Focus on your subject’s unique hair characteristics for the best results!
-
Prepare Your Canvas
Ensure your canvas or surface is clean and primed. For optimal texture, use a gesso primer to create a suitable layering surface.
A smooth surface can significantly affect the visual result, providing about 5-10 micrometers thickness for ideal absorption. Let it dry thoroughly—at least one hour—before starting your layers. If you’re planning to decorate a pumpkin with paint, you’ll want to ensure proper surface preparation for acrylic painting techniques.
-
Select Your Stroke Method
Decide how you’ll apply the paint. A fan brush or thin detail brush works well for creating the illusion of strands.
Use varying pressure while painting to mimic hair thickness. Layer different strokes for depth and make it look believable!
-
Base Layer Application
Start with a solid base color. Use broad strokes to fill in the primary sections, moving your brush in the same direction as the hair grows.
A well-applied base is crucial—apply it in thin layers, about 3-5 millimeters thick, to avoid buildup. Allow each layer to dry briefly to prevent colors from mixing too quickly.
-
Add Highlights and Shadows
Layer highlights with lighter tones for sunlit areas; apply sparingly, focusing on where light hits. Similarly, add shadow tones in the less illuminated regions.
Effectively blending these tones takes practice—work in layers, about 2-3 at a time. Aim for a 15-25% shade difference between highlighted and shadowed sections for realism.
-
Final Touch-ups
Review and refine any rough edges. Add stray hair strands with small strokes for a natural look.
You might want to adjust color values slightly to perfect the depth—the ideal finish should resemble organic hair. Take your time to enhance every detail!
We have now covered techniques for painting hair. The next section will discuss the recommended color palette for hair painting.
Recommended Color Palette for Hair Painting
I recommend the ‘Dreamy Pastels’ palette for hair painting because its soft colors blend harmoniously, perfect for creating a whimsical look.
| Color Box | Hex Code | Color Name |
|---|---|---|
| #FFB3BA | Light Pink | |
| #FFDFBA | Peach | |
| #BAFFB3 | Mint Green | |
| #BAE1FF | Sky Blue | |
| #FFBAFF | Lavender |
That covers suggested color combinations for hair painting. Let’s now take a look at hair colors and their influence on artwork.
Understanding Hair Colors and Their Impact on Painting
Hair color plays a vital role in how you approach painting hair. Let’s break down the main types.
| Hair Color | Color Code | Painting Tips |
|---|---|---|
| Blonde | #F0E68C | Use a mix of yellow and light brown shades for highlights and depth. Aim for a soft blending of tones. |
| Brunette | #8B4513 | Experiment with dark brown and chestnut colors; this provides a rich base. Add lighter highlights around the face. |
| Black | #000000 | Use black with gray or dark blue for highlights. Be mindful of shadows to avoid a flat look. |
| Red | #FF4500 | Layer fiery red with auburn hues. Aim for vibrant contrasts for a striking appearance. |
| Unnatural Colors (e.g., Blue) | #1E90FF | Mix bold and pastel shades for a unique look. Use brighter colors for highlights to enhance vibrancy! |
We’ve wrapped up the effects of hair colors on painting here. Let us turn our attention to various techniques for painting hair.
Different Techniques for Painting Hair
Let’s explore different techniques for painting hair: Straight, Curly, Wavy, and Abstract.
-
Straight Hair
Straight hair needs smooth strokes. Use a flat brush to create realistic lines that show shine and dimension—about 8 to 12 strokes (20 to 30 Cm) per section reveals texture.
-
Curly Hair
For curly hair, use circular motions with a fine brush. Think of the spiral patterns; 10 to 15 loops (25 to 38 Cm) create depth and highlights that enhance the curls.
-
Wavy Hair
Wavy hair requires gentle strokes to convey movement. A round brush works well; using about 7 to 10 waves (15 to 25 Cm) adds softness to the overall look.
-
Abstract Hair
For abstract hair, breaking formal shapes captures emotional essence. Play with unexpected colors—I often use ΔV (Delta V) of 25 to 40 nanometers for a visual pop!
Let me share my experience painting curly hair. The fun is in the spirals! They bring life and movement to the piece, making each stroke feel like a dance.
Factors Affecting the Outcome Of Hair Painting
What factors impact your results when you choose to paint hair?
-
Hair Type: Curly, straight, or wavy hair affects how the paint adheres and blends.
-
Paint Consistency: Thicker paint produces more vibrant colors, while runny paint can lead to drips.
-
Application Technique: Different methods, like flicking or stroking, alter the final texture and appearance.
-
Condition of Hair: Clean, dry hair absorbs color better; damaged hair may wash out easily.
Understanding Hair Texture and Its Influence on Painting
Hair texture can change everything in your painting. Let’s break down the main textures!
| Hair Texture | Description | Painting Technique |
|---|---|---|
| Straight | Smooth and shiny, reflects light well. | Use broad, even strokes with a flat brush for shine. |
| Wavy | Soft, flowing waves with natural bends. | Employ gentle, sweeping motions for movement and dimension. |
| Curly | Spiraled textures with volume and bounce. | Use circular brush strokes to create loops and spirals. |
| Kinky | Tight curls with lots of texture and depth. | Employ dabbing and stippling techniques to capture intricate details. |
Color Theory for Hair Painting
Understanding color theory helps you pick complementary shades.
- Complementary Colors: Colors opposite each other enhance vibrancy. For example, orange and blue boost each other.
- Analogous Colors: Colors next to each other create harmony. Use shades like yellow, orange, and red for a smooth transition.
- Monochromatic Schemes: Different shades of the same color add depth without clashing. Try using light to dark browns for brunette hair.
Common Issues Encountered When Painting Hair
My friend once struggled with painting curly hair. It turned out clumpy, ruining her look. She didn’t blend the shades well, and it showed!
To fix this, she should use a fine brush (1 Mm) for precision and a blending sponge for smoother transitions. A 1:1 ratio of paint and medium can help, too!
Finishing Touches to Perfect Your Hair Painting
After painting hair, keep your masterpiece fresh. Rinse with cool water (Below 20°C or 68°F) to seal colors. Apply a sulfate-free conditioner weekly for optimal shine.
Inspection’s vital after the process! Check roots for uneven pigment with a color-checking comb. Apply whitening toner at 2% (20 Volume) if necessary—this ensures balanced hues throughout.
I’d use a high-intensity color refresher like Wella Color Charm on stubborn spots for lively curls. This boosts vibrance and keeps copper tones in check.
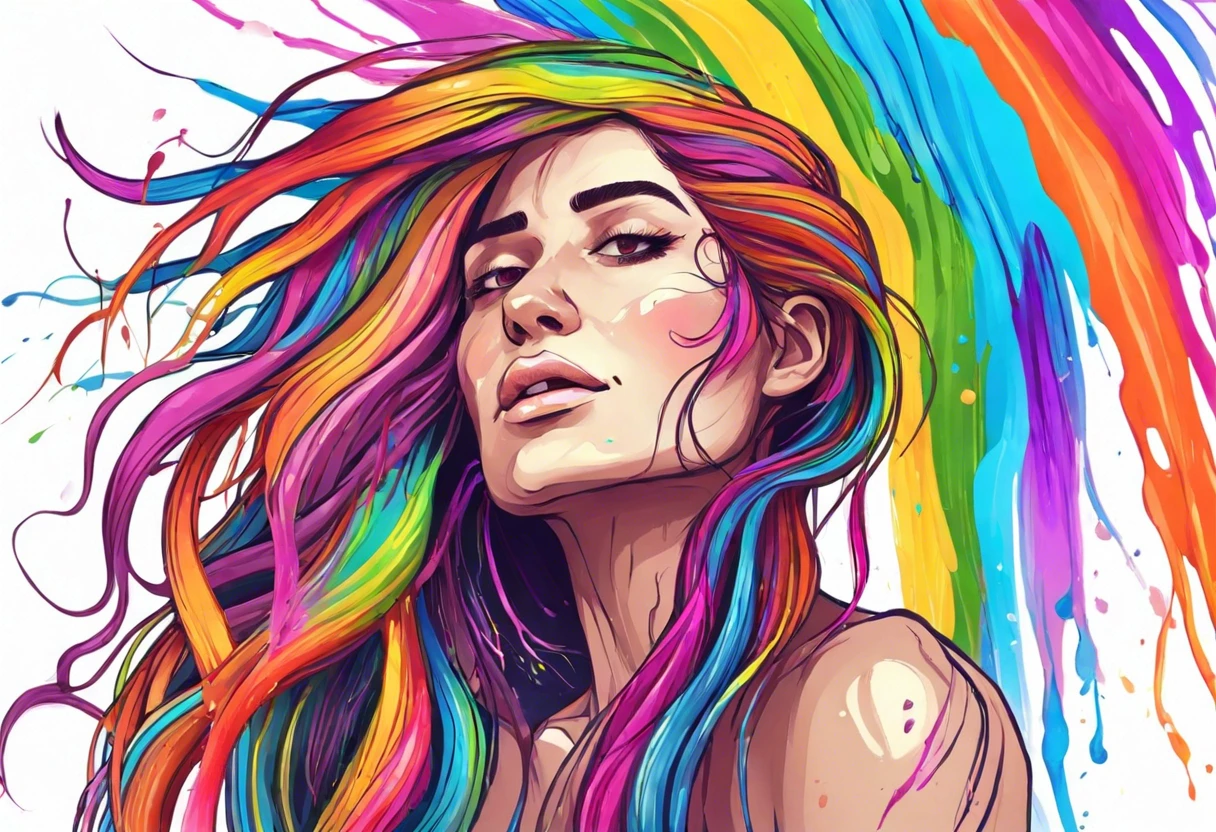
Creative DIY Project Ideas for Hair Painting
Ever thought about using watercolor or fabric paint to jazz up your hairstyle? You can create a stunning tye-dye effect or even a rainbow charm with your hair that’ll melt hearts everywhere!


For tye-dye hair, grab some non-toxic fabric paints (Around $10-$20) and spray bottles. You’ll need about an hour for setup and paint application, and another hour for drying.
If you want a different approach, consider hair chalks or temporary hair sprays. They wash out easily and let you experiment without long-term commitment—perfect for a fun night out or a wild event! If you’re curious about creative color techniques, crafting unique hair color effects can add excitement to your style.
Frequently Asked Questions About How to Paint Hair
What Type Of Paint is Best for Painting Hair?
When choosing the best type of paint for painting hair, acrylic paint is recommended. Acrylics are water-based, quick-drying, and adhere well to canvases, making them ideal for hair art.
Can I Use Regular Paint Brushes for Hair Painting?
Yes, you can use regular paint brushes for painting hair. It’s best to opt for fine, soft-bristled brushes to capture details and texture effectively.
How Do I Ensure My Painted Hair Looks Realistic?
To ensure your painted hair looks realistic, use a variety of shades to create depth. Layering highlights and shadows mimics natural hair texture and dimension.
What Are the Best Colors for Painting Hair?
The best colors for painting hair vary by the desired effect, but generally, using a mix of lighter and darker shades brings realism. Common choices include browns, blondes, blacks, and even vibrant colors like blue or purple. If you accidentally get paint on your clothing during your artistic process, you can remove acrylic paint 🔥 Deal: Heavy-Duty Paint Cleaning → stains with the right techniques.
How Can I Fix Mistakes When Painting Hair?
You can fix mistakes when painting hair by using a clean brush to gently blend the area or removing paint with water, if acrylic. Quick touch-ups can restore the desired look without a drastic overhaul. If you’re looking to experiment further, you might want to explore creating custom acrylic ink ⚡ Best Pick: Acrylic Ink Color → techniques.
What’s the Best Canvas Type for Hair Painting?
The best canvas for hair painting is a stretched cotton canvas, measuring at least 30 x 40 cm (12 X 16 in). Cotton holds paint well and offers a sturdy surface for detail work.
How Do I Choose the Right Brushes for Painting Hair Textures?
Choosing the right brushes for painting hair textures depends on the detail required. Filbert and round brushes, for instance, can create different textures, enhancing the flow and realism in your artwork. If you encounter mistakes or unwanted paint marks, you might want to explore effective paint removal techniques.
Can I Mix Types Of Paint for Hair Painting?
Yes, you can mix types of paint for hair painting. Combining acrylic and oil paints can give you unique effects, but it’s crucial to layer correctly as they have different drying times.
Also See: Can Acrylic Paint Be Baked? Tips for Baked Projects!
Conclusion
We are almost done. We covered how to paint hair, understanding hair itself, prep steps, a step-by-step guide, a recommended color palette, different techniques, factors affecting outcomes, common issues, finishing touches, creative DIY project ideas, and FAQs.
To paint hair, simply follow the steps we’ve outlined, using the right techniques and colors. If you need additional advice, I’m here to help with how to paint curly hair, how to paint tie dye, or even how to remove paint from hair.
For further insights and helpful tips, be sure to check out Paint Answers, which provides a wealth of information on techniques and best practices.
Additional Resources
- Gurney, J. (2009). Color and Light: A Guide for the Realist Painter. Kansas City, MO: Andrews McMeel Publishing.
- Hair Paint
- How to Paint Realistic Hair in Your Acrylic Portrait – Realistic Acrylic Portrait School
- How To Dye Your Hair At Home Using Box Dye


