
How to Paint A Cherry?
Published on: January 15, 2025 | Last Updated: January 7, 2025
Written By: Alisha Winters
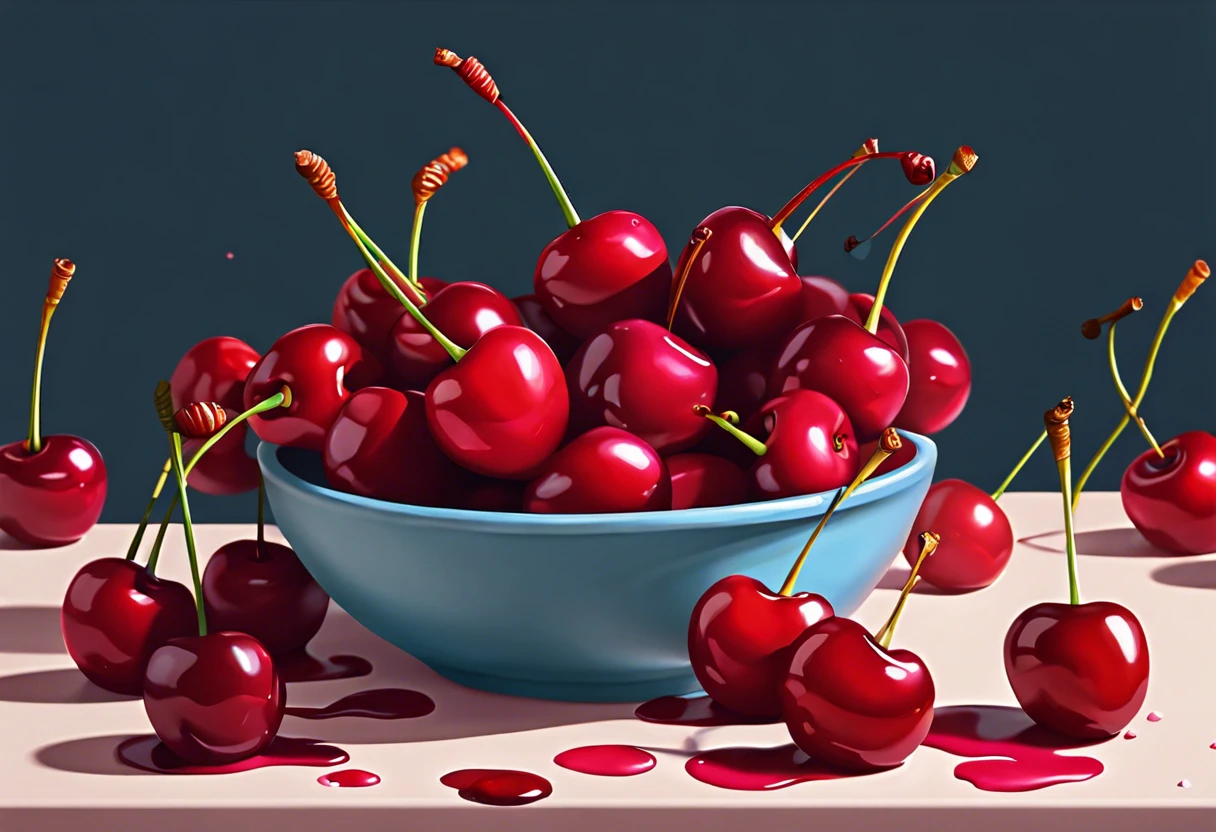
A cherry is a small, round fruit that’s usually red or black, and it’s super tasty, like candy! They’re sweet, juicy, and loved by many, which makes them fun to paint.
Knowing how to paint a cherry is important because it helps you capture its beauty and share it with others. From my experience, when I painted my first cherry, I realized the colors just pop on the canvas!
In this article, you’ll learn about the materials you need, effective painting steps, the best colors to use, and common challenges others face. We’ll dive into various types of cherries to consider, along with tips for finishing touches to make your cherry painting shine, all linked to how to paint a cherry.
Contents
- 1 How to Paint a Cherry?
- 2 What is a Cherry?
- 3 Before You Start Painting a Cherry
- 4 Understanding Cherry Anatomy for Better Painting
- 5 Color Mixing Techniques for Painting Cherries
- 6 Using Reference Photos to Improve Accuracy
- 7 Steps to Paint a Cherry
- 8 Recommended Color Palette for Painting a Cherry
- 9 Factors Affecting Your Cherry Painting Technique
- 10 Cherry Painting Techniques from Famous Artists
- 11 Exploring Cherry Painting Styles
- 12 Common Issues When Painting a Cherry
- 13 Finishing Touches for Your Cherry Artwork
- 14 Creative DIY Project Ideas Featuring Cherry Paintings
- 15 FAQ
- 16 Conclusion
- 17 Additional Resources
How to Paint a Cherry?
To paint a cherry, start with a round shape using red paint. Mix in darker shades for depth. Add a highlight with white on top for shine. Finally, paint a green stem and leaf for the perfect touch. If you want to expand your painting skills to larger surfaces like fences, painting chain link fences requires similar careful techniques.
What is a Cherry?
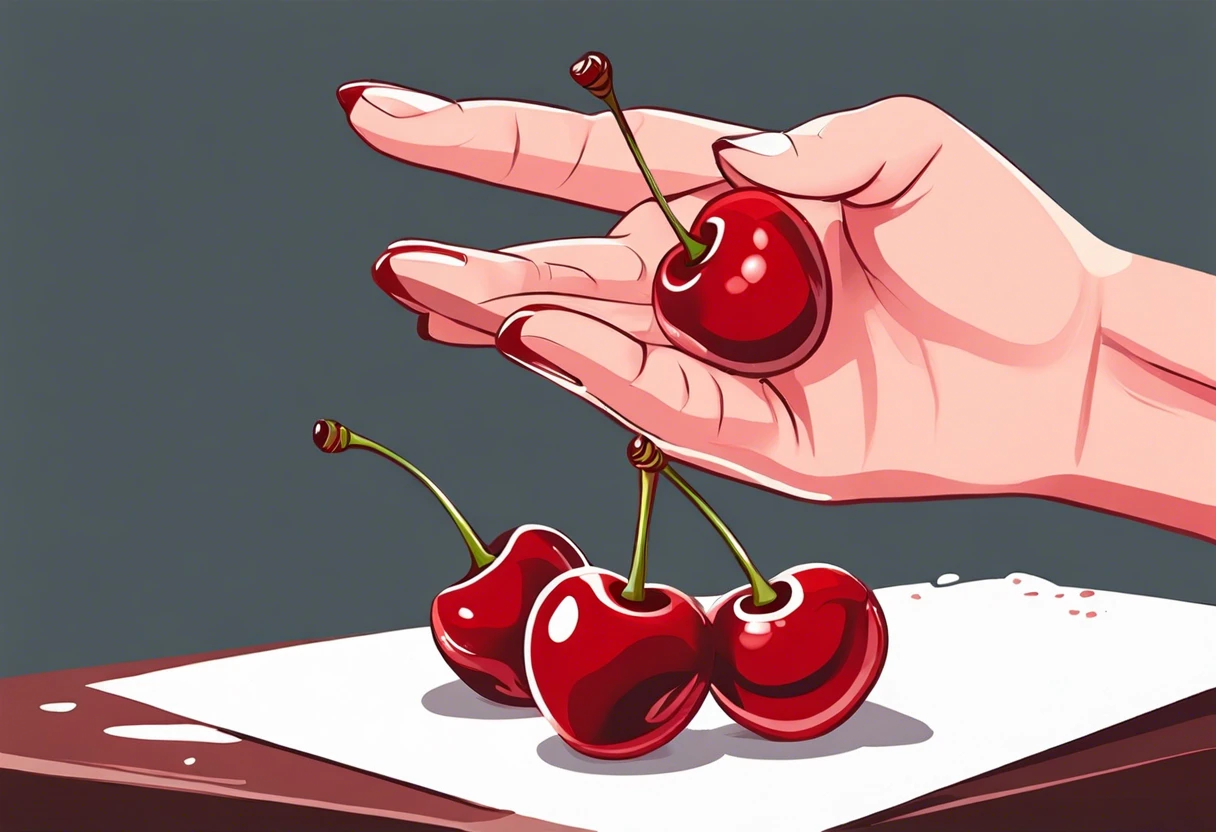
A cherry is a small stone fruit belonging to the genus Prunus. Typically, cherries measure about 1 to 2 centimeters (0.4 To 0.8 Inches) in diameter and contain a single seed surrounded by juicy, sweet, or tart flesh.
Painting a cherry is a fun challenge. I remember my first attempt; the vibrant red and glossy finish caught my eye!
Looking back, I realized that painting cherries improved my skills. Capturing the shine and depth helped me appreciate related techniques, like painting a cherry blossom, where emphasizing textures and colors can tell a story on the canvas. If you’re curious about exploring alternative painting materials like aluminium, artists can discover unique surfaces for creative expression.
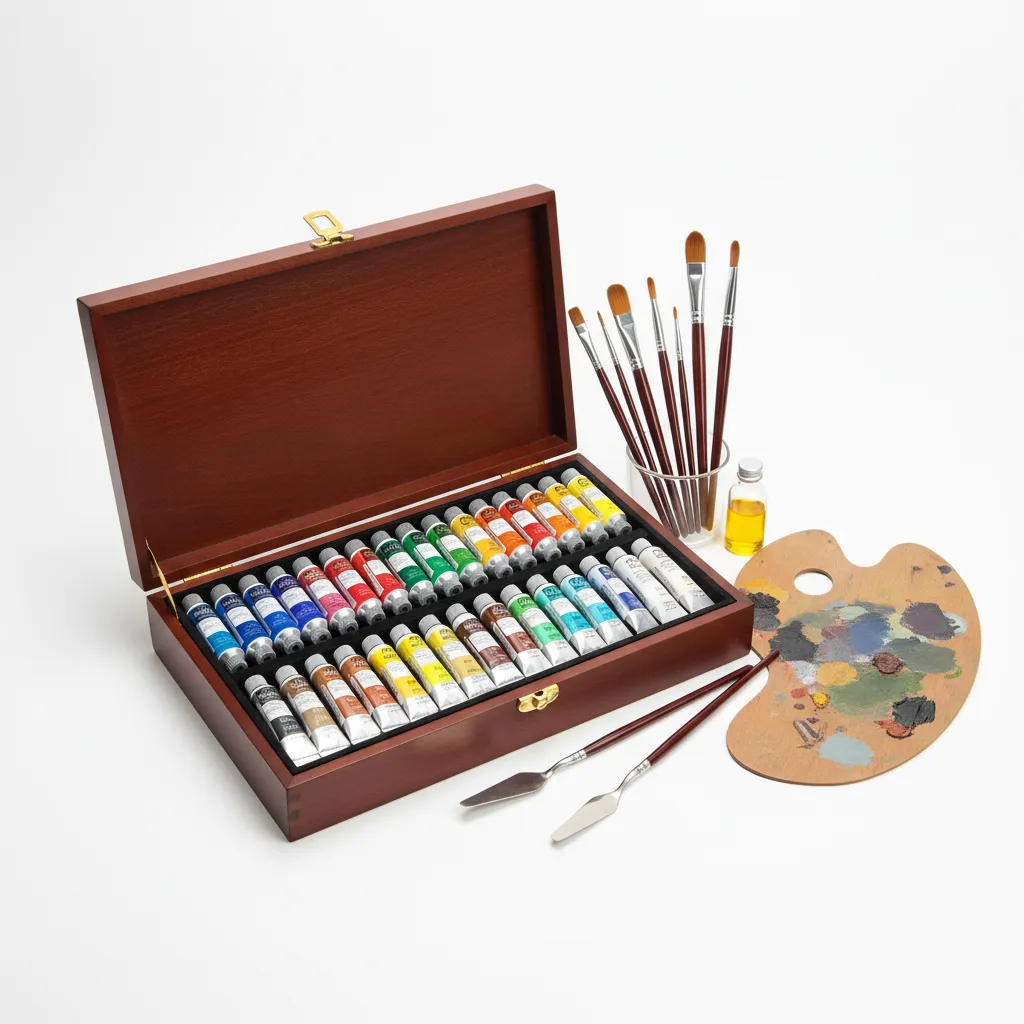
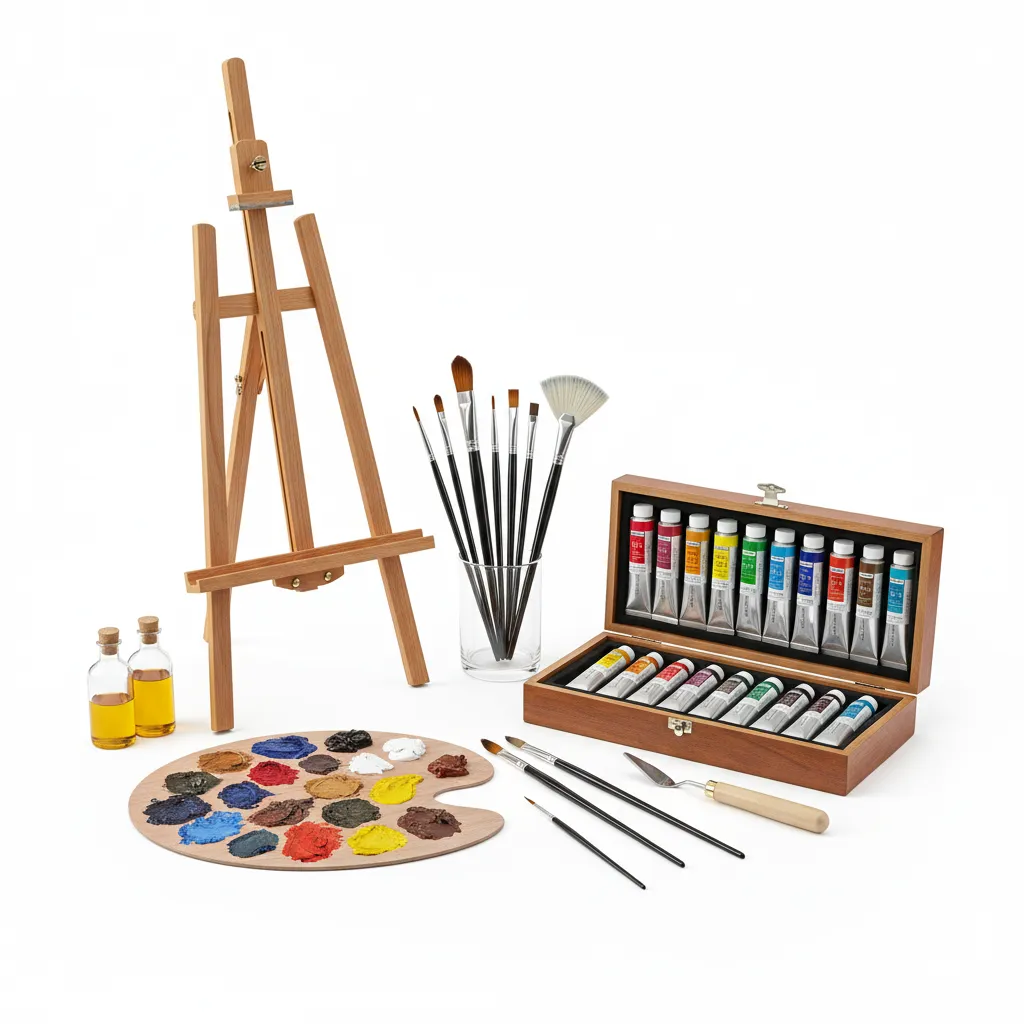
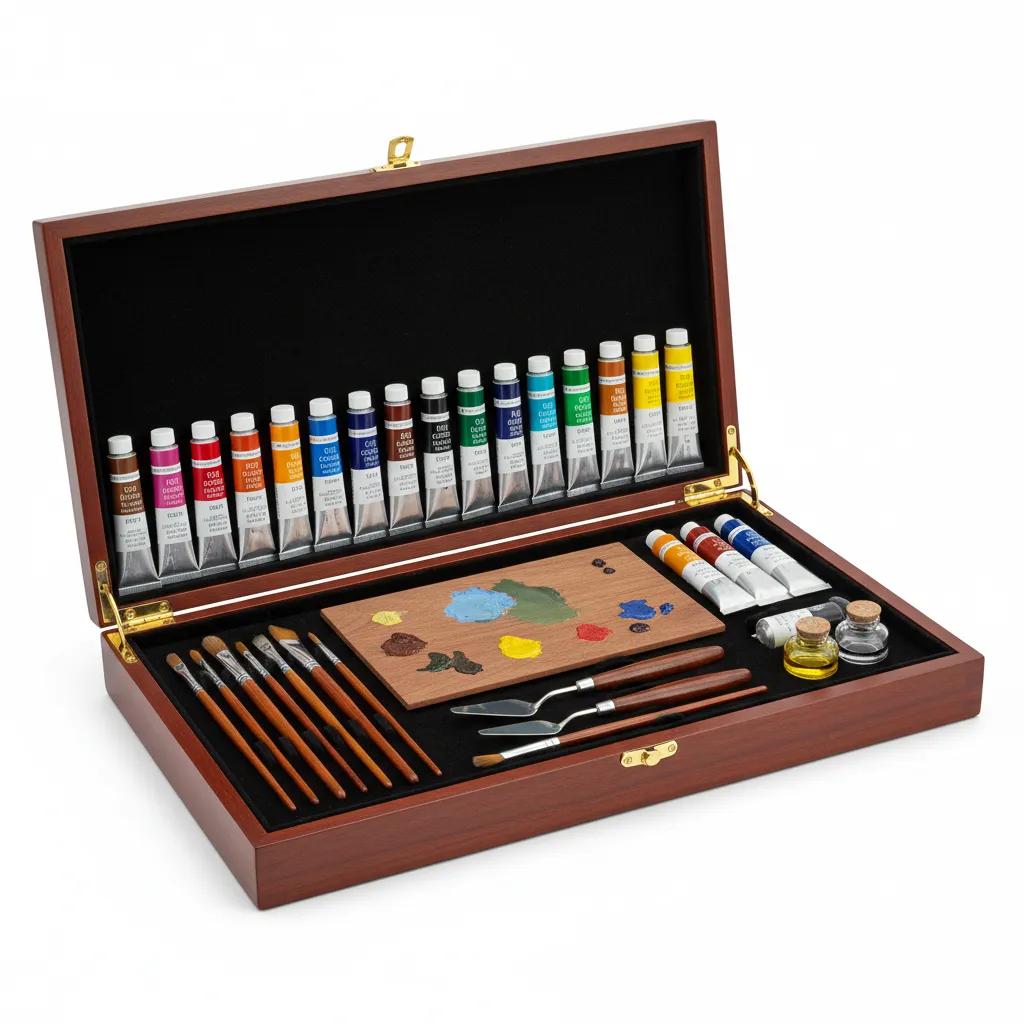
Before You Start Painting a Cherry
What do you need to paint cherries?
- Quality watercolors: Brands like Winsor & Newton or Schmincke provide vibrant colors and excellent coverage.
- Quality brushes: A round brush, size #4 or #6, is essential for fine details like the cherry stem.
- Water container: Use a container with at least 250 mL (8.5 Fl Oz) capacity for washing brushes and diluting colors.
- Heavyweight paper: Select 300 gsm (140 Lb) paper to prevent warping when wet, ensuring a clean finish.
- Palette: A sturdy palette, like Masterson’s Stay-Wet Palette, keeps paints fresh throughout your session.
We’ve wrapped up preparing for painting a cherry, including tips and techniques. Let us turn our attention to understanding cherry anatomy for better painting.
Also See: Can You Get Paint Off Concrete? Quick Solutions!
Understanding Cherry Anatomy for Better Painting
Getting to know a cherry’s anatomy can elevate your artwork. Let’s break it down!
- Skin: The first layer. Pay attention to glossiness, which enhances realism. Reflective highlights are key!
- Pulp: The fleshy part is where colors bloom. Capture its juiciness with varied red tones.
- Seed: Hidden inside. While you may not paint it, knowing its position adds depth to your understanding of the cherry’s shape.
- Stem: Connects the cherry to the tree. A healthy, green shade is crucial for that lifelike feel!
We have now covered cherry anatomy and its importance for painting. The next section will discuss color mixing techniques for painting cherries.
Color Mixing Techniques for Painting Cherries
Mixing colors can be tricky. Here’s how to nail the perfect cherry shades!
| Base Color | Mixing Ratio | Resulting Color |
|---|---|---|
| Cherry Red | 2 parts Red + 1 part Blue | Dark Crimson |
| Cherry Red | 1 part Red + 1 part White | Soft Pink |
| Bright Yellow | 2 parts Yellow + 1 part Red | Peach |
| Leaf Green | 1 part Yellow + 1 part Blue | Fresh Green |
So far we covered color blending methods for painting cherries. Let’s look at how reference photos enhance accuracy next.
Using Reference Photos to Improve Accuracy
Reference photos are great tools when painting cherries. Here’s why:
- Light and Shadow: Observe where light hits and creates shadow for depth.
- Color Variation: Real cherries have different hues; studying photos helps capture that.
- Realistic Form: Photos show the shape and volume of your subject, helping you achieve a 3D look.
- Details: Zoom in on the surface to replicate the texture of a cherry’s skin.
So far we covered how reference photos enhance accuracy. Let’s look at the steps involved in painting a cherry next.
Steps to Paint a Cherry
Now, we’ll cover steps to create a stunning cherry painting. Follow these steps closely for the best results!
-
Sketch the Cherry Outline
Start by lightly sketching the cherry’s outline. Use a soft pencil (Like a 2B) to keep it light, ensuring you can erase later without leaving marks.
Focus on getting the basic shapes right. An average cherry is about 2.5 cm (1 Inch) in diameter, so keep that scale in mind while drawing.
-
Apply the Base Color
Choose a rich crimson hue for your base color. Using acrylic paint, apply a thin, even layer—about 50 µm thick; this helps avoid texture issues later.
Allow the base layer to dry completely. I usually wait about 20-30 minutes before moving on to the next step; this patience pays off with clarity in colors!
-
Add Highlights and Shadows
Mix a lighter shade by adding white paint to your base color for highlights. Focus on the areas where light hits, usually the top and sides of the cherry.
Create a darker shadow by adding a drop of black to your base. Apply this to the bottom to add depth. I’ve learned that blending it well makes a significant difference!
-
Refine the Shape
Use a small detail brush and a bit of your initial base color to refine the edges of the cherry. This creates a crisp, clean look and sharpens the shape.
Take your time with this! Often, repeating edge corrections leads to the best results while ensuring a dynamic look.
-
Details and Finishing Touches
Add the stem and small highlights with a thin brush. Remember, the stem is typically about 10 cm (4 Inches) long; make it proportional to the cherry.
Finally, step back and assess your painting. The little final touch-ups pull everything together. An extra splatter here and there keeps it feeling fresh!
Recommended Color Palette for Painting a Cherry
For painting a cherry, I recommend the ‘Juicy Cherry’ palette because it captures the vibrant essence of the fruit with colors that harmonize beautifully.
| Color Box | Hex Code | Color Name |
|---|---|---|
| #A50034 | Cherry Red | |
| #FFEBB3 | Pale Peach | |
| #4CAF50 | Leafy Green | |
| #C9DAF8 | Sky Blue |
Factors Affecting Your Cherry Painting Technique
What factors shape your skills in depicting this delightful fruit?
-
Color Choice: The shade you choose directly influences how realistic your cherry looks.
-
Light Source: Knowing where the light falls creates shadows and depth in your work.
-
Brush Technique: Different strokes produce varied textures, affecting the cherry’s surface appearance.
-
Canvas Texture: The surface of your canvas affects how paint adheres, impacting your results.
Cherry Painting Techniques from Famous Artists
Learning from the masters can elevate your cherry painting skills.
Impressionist Approaches
Impressionist artists like Claude Monet focused on light and color. Here are some techniques they used:
- Loose Brush Strokes: Use quick, expressive strokes. It helps convey the cherry’s glossiness.
- Color Layering: Apply colors wet-on-wet to create vibrant blends that resemble cherry skins.
Realism Techniques
For a realistic look, draw inspiration from artists like John Singer Sargent:
- Detail Work: Focus on capturing minute details like the sheen on the skin.
- Shadow Placement: Observe light carefully. Sargent emphasized shadow depth, making pieces pop.
Exploring Cherry Painting Styles
Diving into different styles will widen your skills. Here’s a look:
| Style | Description | Recommended Techniques |
|---|---|---|
| Abstract | Focusing on color and form rather than realism. | Use bold colors and shapes to introduce cherries creatively. |
| Hyperrealism | Ultimate detail mimicry to the point of looking like a photo. | Study every detail and pick colors meticulously for sparkles and shadows. |
| Southern Folk Art | Bright colors and simplistic styles reflecting regional culture. | Use vibrant, flat colors to resemble cherries in a more stylized manner. |
Common Issues When Painting a Cherry
My friend struggled with uneven color while learning to paint a cherry. She used too much water, diluting her paint excessively.
To fix this, she switched to a heavier body paint, like acrylic or oil, and used a brush with the right bristle stiffness to ensure smooth, vibrant strokes.
Finishing Touches for Your Cherry Artwork
After painting your cherry, wait 24 hours before applying varnish to lock in colors. Use a high-gloss varnish, about 150 mL, to coat 2-3 artworks effectively.
Check for color saturation differences, aiming for a consistent 80% shine across the surface. Use products like Winsor & Newton Galeria Gloss Varnish to enhance luster and depth.
From one expert to another, focus on glazing techniques: mix a 10% flow medium with acrylic for overlays. This enhances realism around highlights and shadows for better depth perception.
Creative DIY Project Ideas Featuring Cherry Paintings
Want to create something fresh and fruity? Try painting a cherry-themed canvas bag or upcycle furniture with cherry motifs!
For the bag, grab a cotton tote, acrylic paint, and some brushes. You’re looking at about $15 for materials and just a couple of hours for a vibrant new accessory.
As for alternatives, why not experiment with digital art? Use an app to digitally paint cherries, then print them out as stickers. Trust me, it’s a lot of fun and way less messy!
Also See: Can You Paint Aluminum Clad Windows? Learn How!
FAQ
Now let us look at some common questions. I typically get asked…
What Type Of Paint is Best for Painting Cherries?
The best type of paint for painting cherries is acrylic paint. Acrylics are versatile, water-soluble, and dry quickly, making them ideal for fruit depictions.
How Can I Make My Cherry Painting Look More Realistic?
To make your cherry painting look more realistic, focus on using highlights and shadows. This adds depth and captures the shiny surface of cherries. Consider mixing white for highlights and a darker red for shadows. If you’re looking to enhance your painting technique, spray paint techniques can offer unique textures.
Can I Paint Cherries on Different Surfaces?
Yes, you can paint cherries on different surfaces like canvas, wood, or paper. Each surface offers a unique texture and finish, giving you creative freedom. Just ensure it’s primed properly.
What Brushes Are Ideal for Painting Cherries?
The ideal brushes for painting cherries are round and filbert brushes 🔥 Deal: Filbert Artist Paint → . Round brushes allow for details, while filberts help with softer edges and blending.
How Do I Protect My Finished Cherry Painting?
To protect your finished cherry painting, use a varnish specifically designed for your paint type. A matte or gloss finish preserves colors and prevents dust damage.
Can I Use Oil Paint for Cherry Paintings?
Yes, you can use oil paint for cherry paintings. Oil paint offers rich color saturation and longer drying times, allowing for detailed work and blending. Just be ready for extended drying and proper ventilation. When working with oil paints, you might also want to consider updating your painting hardware to enhance your artistic process.
What Colors Should I Use to Paint Cherries?
You should use a mix of red, dark red, and purple for realistic cherries. Each color mimics the depth found in real cherries, especially with light variations.Add green for the stems and leaves.
Can I Paint Cherry Blossoms, and How Are They Different From Cherries?
Yes, you can paint cherry blossoms. They are different from cherries as they are typically a soft pink or white with delicate petals, unlike the deep reds and greens of cherries. This requires different techniques and color mixing. If you’re curious about painting techniques for different surfaces, acrylic paint offers versatile options.
Conclusion
That’s everything I wanted to share with you about how to paint a cherry.
We covered what a cherry is, essential steps to start painting, the recommended color palette, types of cherries to consider, factors affecting painting technique, common issues faced, and finishing touches for your artwork.
To wrap it up, painting a cherry involves knowing its shape, selecting the right colors, and progressing through each step with care. I wish you great success in your painting endeavors and hope you enjoy the journey of bringing cherries to life on canvas.
For more tips and resources, visit Paint Answers.
Additional Resources
- Gurney, J. (2009). Color and Light: A Guide for the Realist Painter. Kansas City, MO: Andrews McMeel Publishing.
- How To Paint Watercolor Cherry Blossom (In 15 Minutes!)
- Beginners Acrylic Still Life Course – Part 3 & 4
Experienced interior designer with 15+ years in transforming spaces, blending artistry with expertise in color and design. Rhode Island School of Design graduate, specializing in restorations and modern makeovers.
Aluminium, Material


