
How to Paint A Deer Skull?
A deer skull is the bony structure of a deer’s head. It’s kind of like the skeleton of your own head, only much cooler and with antlers!
Learning how to paint a deer skull is important because it lets you create a unique piece of art. I remember the first time I painted one—I was nervous, but seeing my finished work filled me with pride!
In this guide, I’ll cover what a deer skull is, tips before you start, key steps to paint a deer skull, color palette suggestions, paint types, and common issues you might face. Plus, I’ll share finishing touches to enhance your artwork and some fun DIY project ideas.
Contents
- 1 How to Paint a Deer Skull?
- 2 What is a Deer Skull?
- 3 Before You Start Your Deer Skull Painting Project
- 4 Considerations for Choosing the Right Deer Skull for Painting
- 5 Blending Art Techniques for Deer Skull Painting
- 6 Steps to Successfully Paint a Deer Skull
- 7 Recommended Color Palette for Painting a Deer Skull
- 8 Types Of Paint Suitable for Deer Skull Painting
- 9 DIY Project Ideas: Creative Uses for Painted Deer Skulls
- 10 Frequently Asked Questions (FAQs)
- 11 Conclusion
- 12 Useful Resources
How to Paint a Deer Skull?
To paint a deer skull, clean it first. Apply a white base coat for a smooth finish. Then, use acrylic paints to add your desired designs. Seal with a clear varnish to protect your artwork.
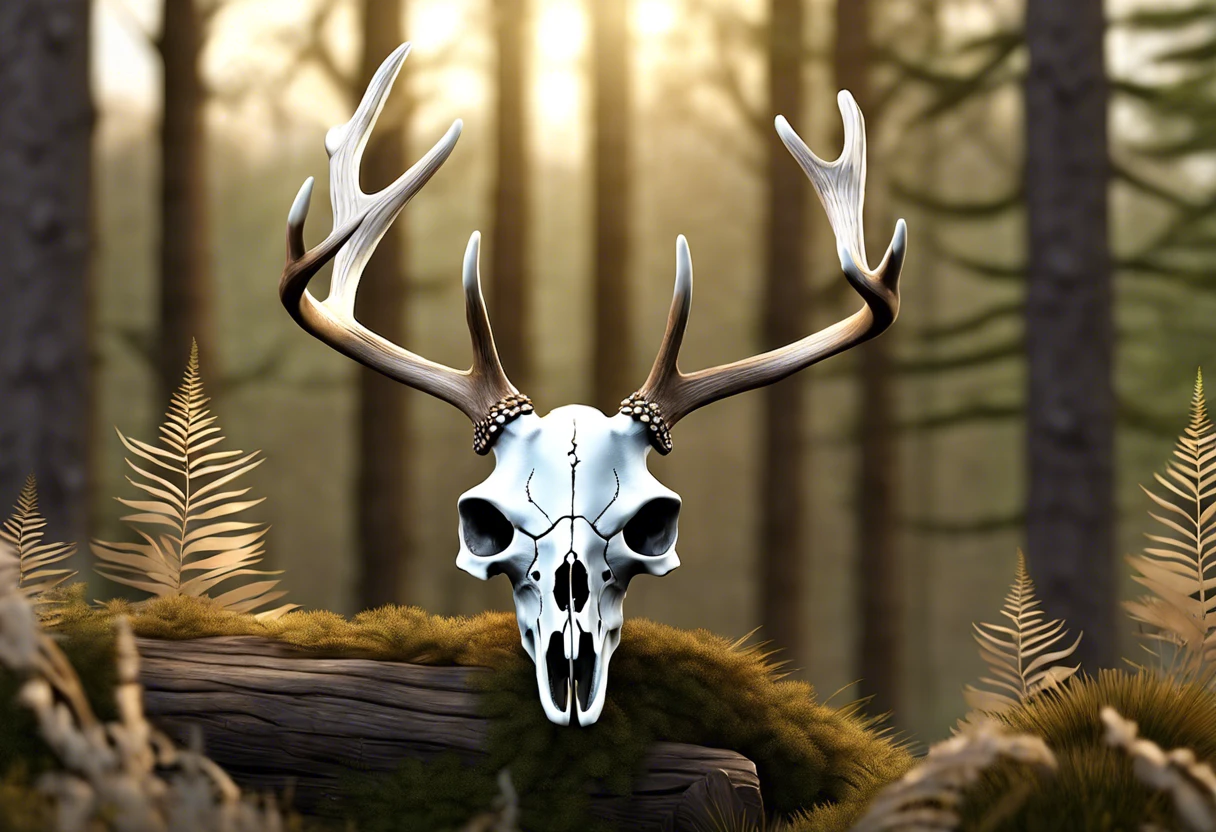
What is a Deer Skull?
The deer skull is a bony structure that houses a deer’s brain and has distinct features. Typically, a deer skull measures about 30 cm (11.8 Inches) in length and 20 cm (7.9 Inches) in width.
On the creative side, painting a deer skull brings out its details. Adding patterns and colors enhances its natural beauty; it’s a chance to express myself.
When I first experimented with painting a deer skull, I felt an unexpected connection to nature. As I worked on it, I realized that transforming a simple deer skull into something vivid sparks conversations about the fragility of life. Related crafts, like painting a ghost face or a skeleton face, always inspire more creativity in my projects. If you’re curious about the best techniques for painting different surfaces, painting techniques can elevate your artistic vision.
Before You Start Your Deer Skull Painting Project
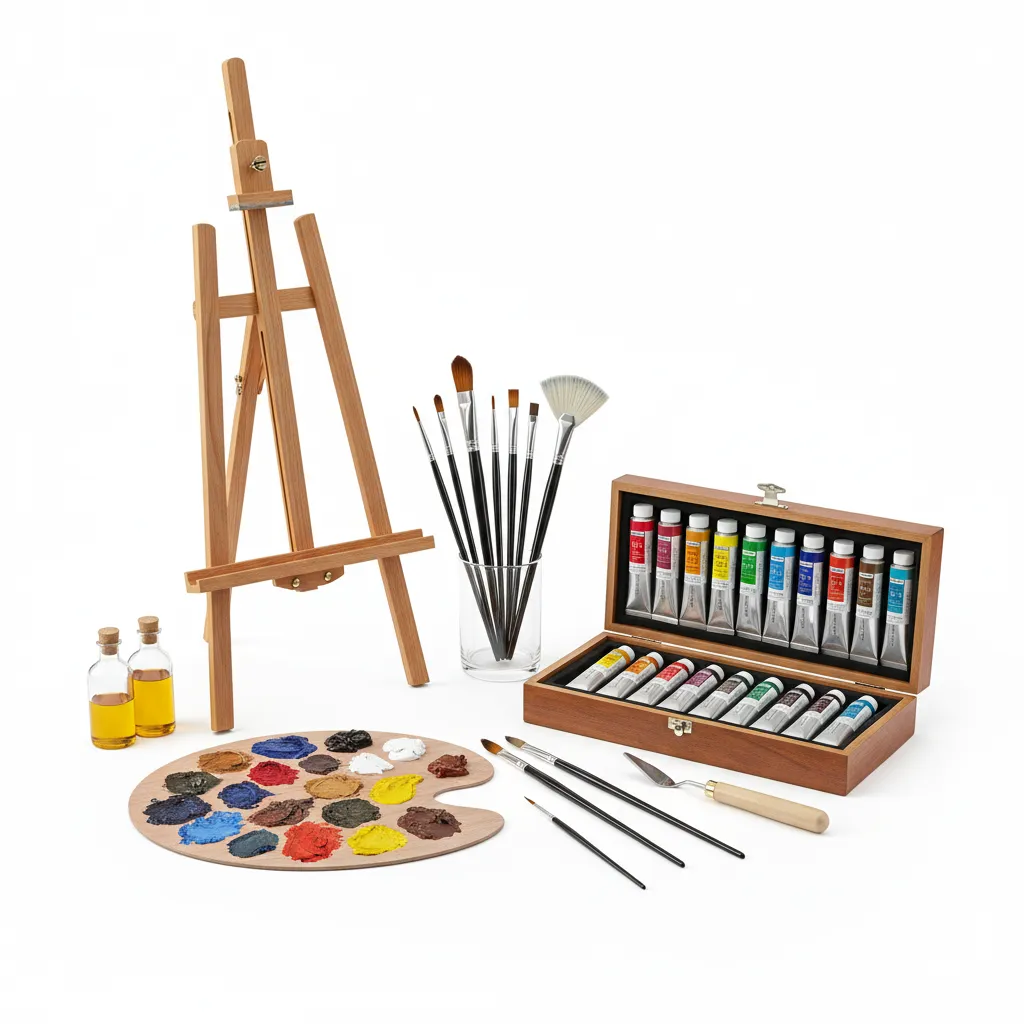
What do you need before starting this artistic adventure?
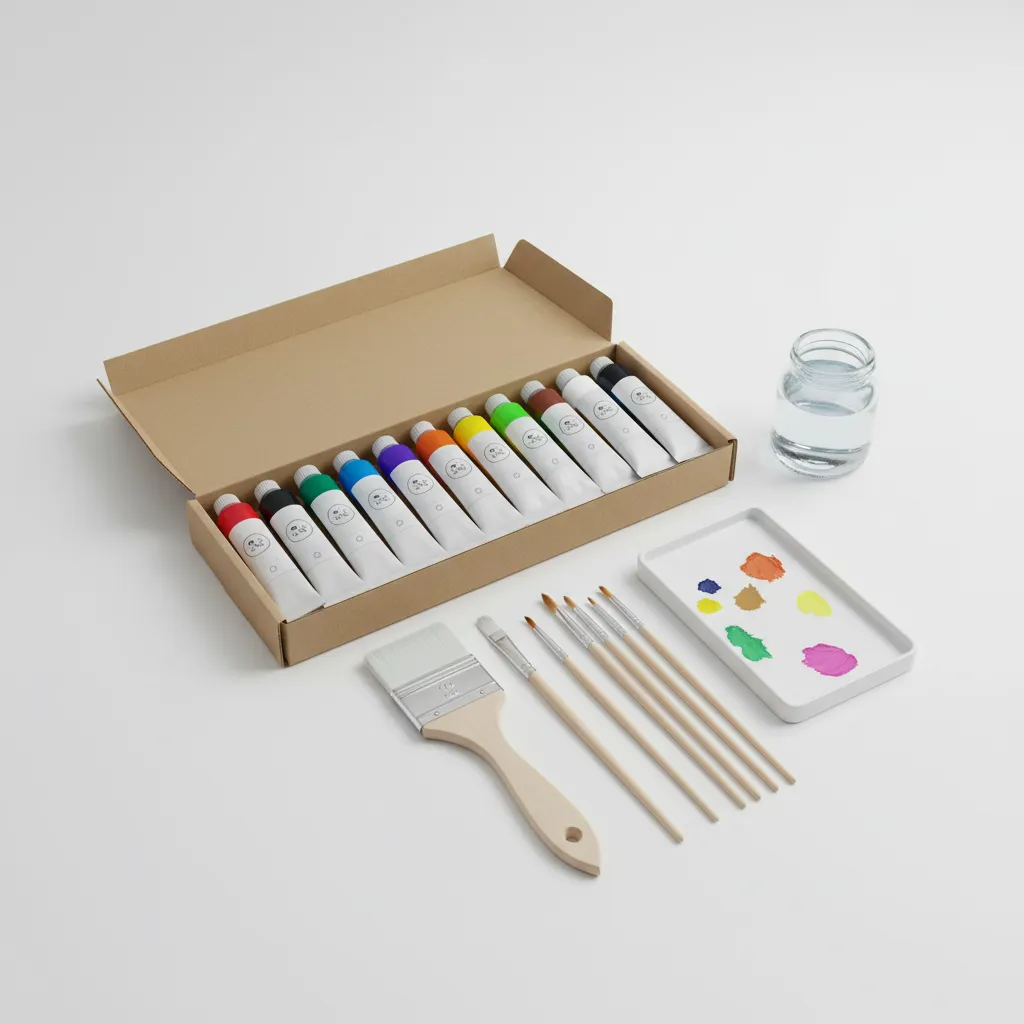
- Quality Acrylic Paints: Use high-quality acrylics like Liquitex or Golden. They provide vibrant colors and excellent coverage on the skull’s surface.
- Fine Tip Brushes: Get fine-tip brushes, such as Winsor & Newton round detail brushes. They’re crucial for intricate work and tiny details in your skull design.
- Primer: Use a good primer like Rust-Oleum Zinsser. It creates a solid base, ensuring the paint adheres well to the skull surface.
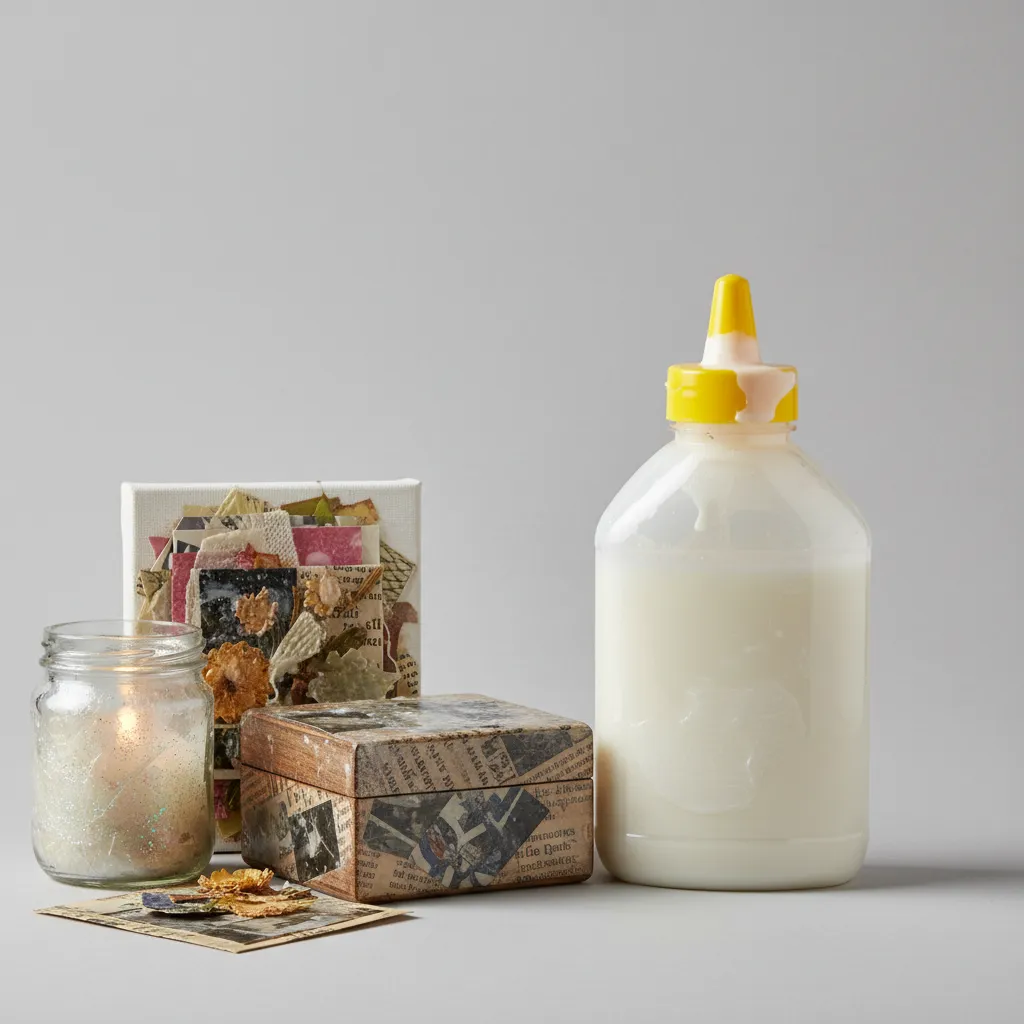
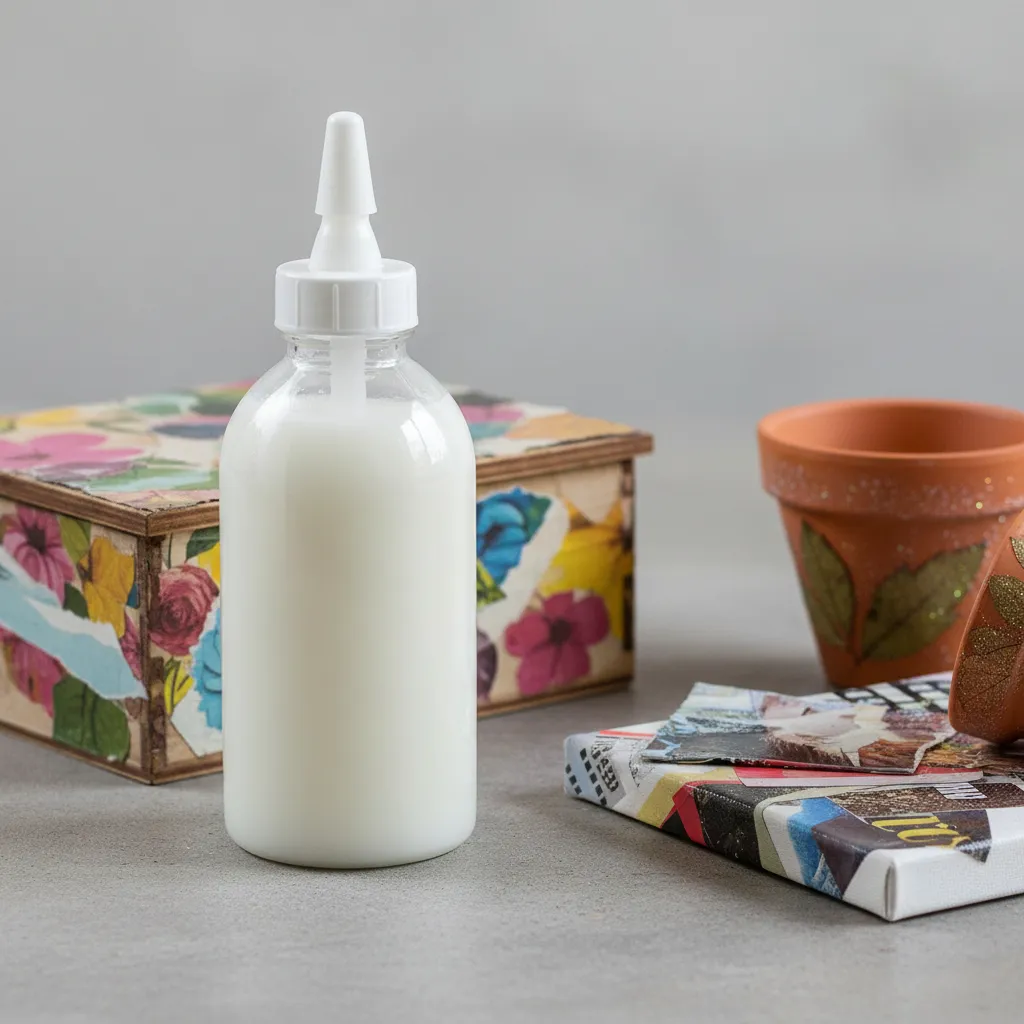
- Protective Sealer: A protective sealer, such as Mod Podge or Krylon, is essential to seal your design and protect it from wear.
- Dust Mask: An inexpensive dust mask is important; it keeps you safe from inhaling particles during preparation.
So far we covered the essentials of starting your deer skull painting project. Let’s look at choosing the right deer skull next.
Also See: How Do You Paint a Concrete Birdbath? Quick Steps!
Considerations for Choosing the Right Deer Skull for Painting
Choosing the right deer skull can enhance your art experience and final piece. Here’s how to make the best choice.
- Size: Select a skull size that suits your space. Common lengths range from 20-35 cm (7.9-13.8 inches). Smaller skulls work for decor; larger ones work as statement pieces.
- Condition: Look for a skull with minimal damage. Ensure no major cracks or chips that could affect your painting. A clean, intact piece is a joy to work on!
- Type of Deer: Consider which deer species you prefer. Whitetail and mule deer skulls are popular. Each species has unique features that can influence your design choices.
You should now have a good understanding of factors for selecting a deer skull for painting. In the next part, we’ll discuss merging art methods for skull painting.
Blending Art Techniques for Deer Skull Painting
Merging different art techniques can yield stunning results. Here are some techniques to consider:
| Technique | Description | Recommended Use |
|---|---|---|
| Layering | Build up colors gradually for depth. | Use for background effects or complex designs. |
| Dry Brushing | Slightly dry brush for a textured finish. | Great for highlighting edges and creating shadows. |
| Watercolor Effects | Thin paints with water for a soft, blended feel. | Ideal for creating light washes or ethereal designs. |
| Metallic Accents | Add shiny metallic paints to create highlights. | Perfect for adding a touch of glam to the piece. |
So far we covered blending artistic methods for painting deer skulls. Let’s look at the steps to successfully paint one next.
Steps to Successfully Paint a Deer Skull
Here are the steps to transform a deer skull into a stunning piece of art. Follow closely to watch your vision come to life.
-
Clean and Prepare the Deer Skull
First, scrub the skull with a soft brush and water (About 10-25°C or 50-77°F) to remove debris. Use a dish soap solution to clean it deeply without damaging the bone.
Then, soak it in hydrogen peroxide 🔥 Deal: 6% Food Grade → for about 12 hours. This step whitens and disinfects the skull, so be patient—it’s worth it!
-
Apply the Base Coat
Use an acrylic primer for the base coat. Aim for one solid layer for good coverage; a spray can work well, or a paintbrush can offer better control.
Let it dry for at least 1-2 hours until the surface feels tacky. If you rush this step, the paint won’t adhere well—trust me, I learned the hard way!
-
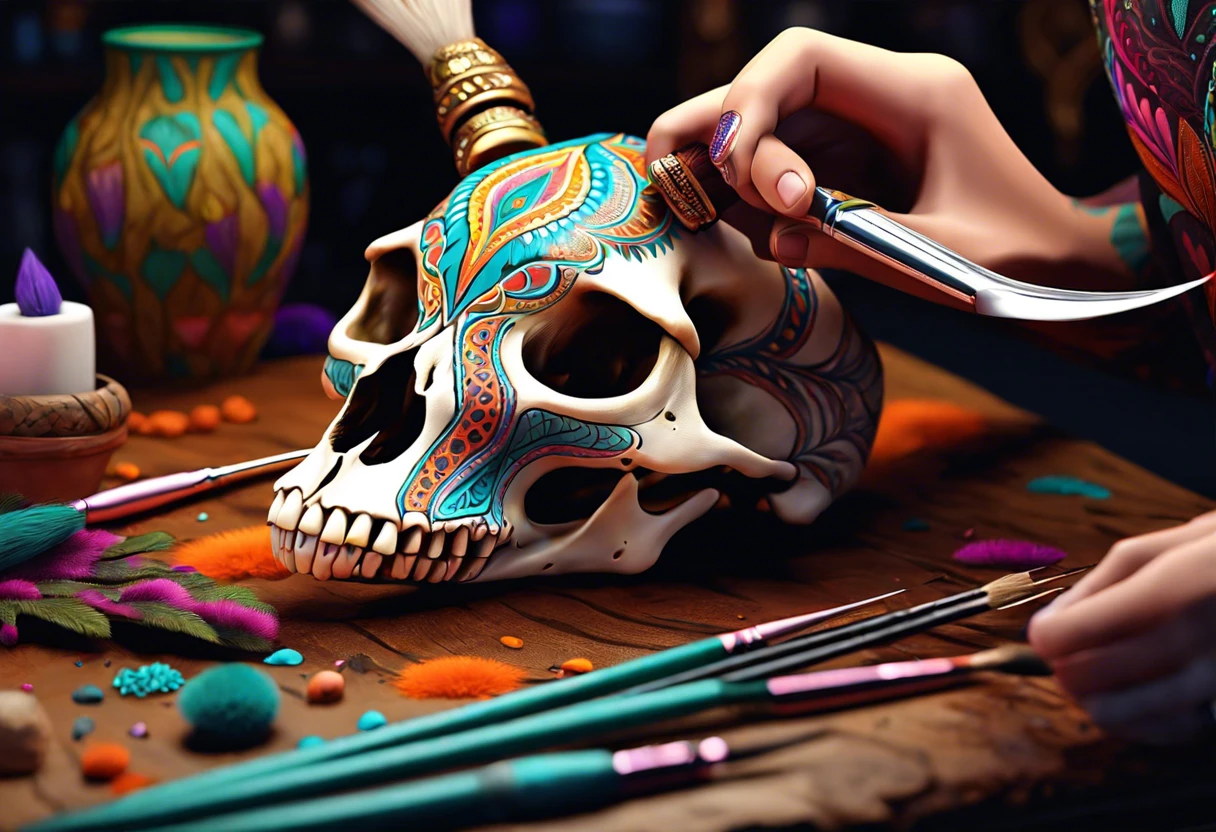
Add Decorative Elements
Get creative with designs! Use small brushes for intricate patterns. Floral designs or geometric shapes work well on bone.
Consider using stencils or templates for precision. Layer colors smartly; it adds depth. A darker shade underneath and a lighter shade on top can create a striking visual effect!
-
Seal the Paint Job
Once your artwork is dry, seal it with a clear acrylic spray. This protects your piece from wear and helps colors stay vibrant.
Spray from at least 12 inches (30 Cm) away, using even strokes to avoid drips. Let it dry completely for 2-3 hours before displaying.
You should now have a good understanding of effectively painting a deer skull. In the next part, we’ll discuss suggested color choices.
Recommended Color Palette for Painting a Deer Skull
I recommend a “Rustic Earthy” theme for painting a deer skull; it captures nature’s timeless beauty with an appealing and harmonious color blending.
| Color Box | Hex Code | Color Name |
|---|---|---|
| #8B4513 | Saddle Brown | |
| #DEB887 | Burlywood | |
| #FFFFFF | White | |
| #A0522D | Sienna | |
| #2F4F4F | Dark Slate Gray |
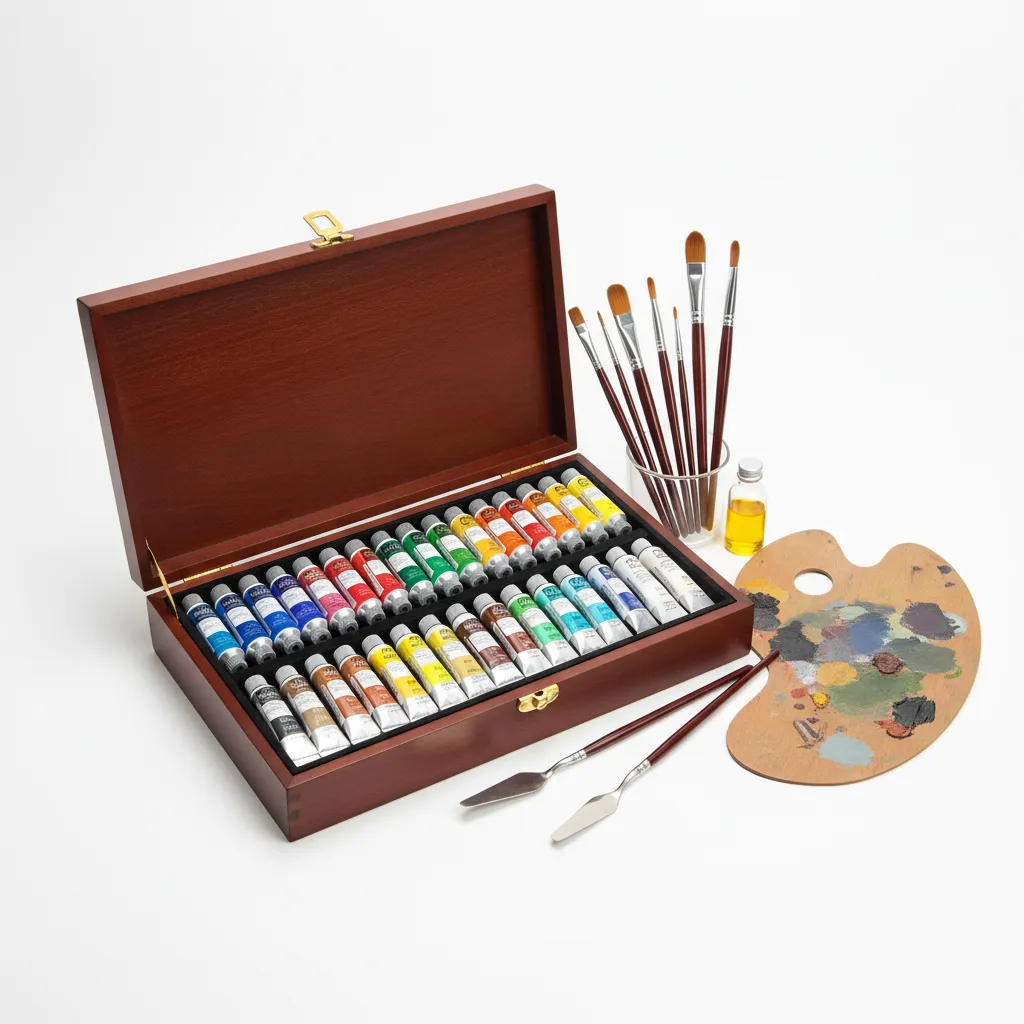
Types Of Paint Suitable for Deer Skull Painting
Let’s discuss the types of paint best for deer skull painting: Acrylic, Oil, Spray, and Tempera.
-
Acrylic Paint
Acrylic paint is water-based and dries quickly, making it ideal for detailing deer skulls. It comes in a range of colors and can be diluted with water for thin applications.
-
Oil Paint
Oil paint offers rich colors and a glossy finish. It takes longer to dry, so plan for extended sessions when painting your deer skull.
Recommended SuppliesAs an Amazon Associate, I earn from qualifying purchases. Images are representative. -
Spray Paint
Spray paint provides a smooth application. It’s great for covering larger areas, but beware of overspray; control your distance for the best results.
-
Tempera Paint
Tempera is beginner-friendly, especially for kids. It brushes on smoothly but is less durable outdoors and won’t last as long on a trophy skull.
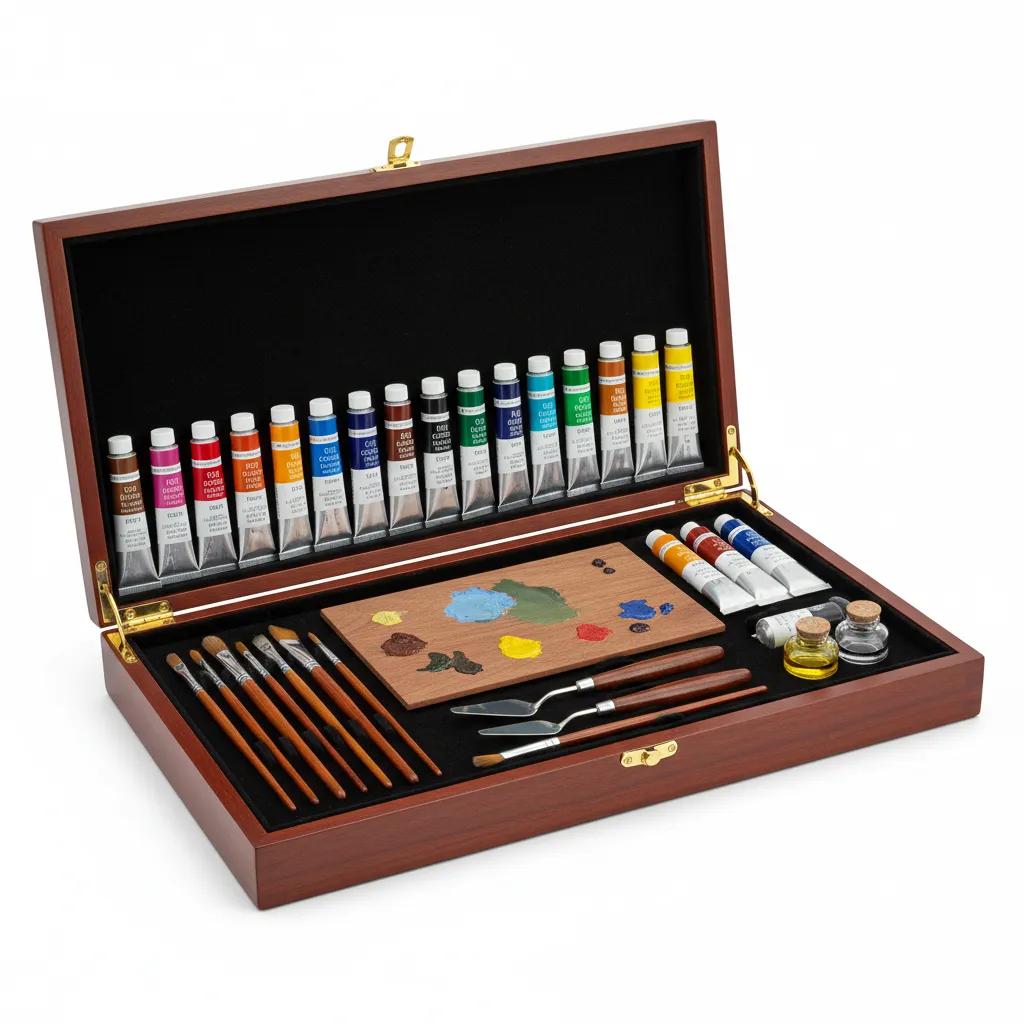
From hands-on experience, I prefer acrylic paint for deer skulls. Its quick drying time allows me to add layers and details without long waits, making the process smoother.
DIY Project Ideas: Creative Uses for Painted Deer Skulls
How about turning a painted deer skull into a striking wall decoration? You could also transform it into a unique lamp base—talk about a conversation starter!
For these projects, you’ll need some acrylic paints, a clear sealant, and a lamp kit. I’d say budget around $30 (25 USD) and spend a couple of hours on painting and assembling.
If you’re looking for alternatives, consider using natural dyes like turmeric or beet juice for a vibrant twist on how to paint a deer skull. You could even add texture with materials like dried moss or leather scraps for an earthy vibe! When planning your artistic project, it’s crucial to budget for materials and potential professional help, which is why researching tile painting materials can provide valuable context.
Frequently Asked Questions (FAQs)
What Materials Are Best for Painting a Deer Skull?
For painting a deer skull, you’ll want high-quality acrylic paints. Acrylics are water-resistant once dry and adhere well to the bone. Look for paints that are durable and UV resistant to prevent fading, especially if displayed outdoors.
How Do I Prepare a Deer Skull for Painting?
Preparing a deer skull involves cleaning it thoroughly. Clean the skull with hydrogen peroxide (H2O2) and water. This process eliminates bacteria and prepares the surface for paint, promoting better adhesion. If you’re concerned about potential paint damage during the cleaning process, you might want to check out paint protection tips.
What Techniques Can I Use for Painting Patterns on a Deer Skull?
You can use stenciling, sponging, or freehanding to add patterns on a deer skull. Each technique offers unique textural effects and personalization options, allowing for creativity in your artwork. If you’re curious about exploring alternative painting techniques, acrylic paint can provide versatile options.
How Long Does the Paint Take to Dry on a Deer Skull?
The paint typically takes about 1-2 hours to dry on a deer skull, but drying times can vary based on humidity and paint type. Ensure it’s completely dry before applying any sealants or additional layers. If you accidentally spill paint or need to remove unwanted paint marks, you might want to explore effective paint removal techniques.
Can I Display a Painted Deer Skull Outdoors?
Yes, you can display a painted deer skull outdoors, but make sure to use weather-resistant paint and sealant. Protection against UV rays and moisture helps prevent fading and peeling, extending the life of your artwork. When selecting the right paint, consider choosing colors that mask surface flaws.
What Type Of Sealant is Best for a Painted Deer Skull?
A clear acrylic sealant works best for a painted deer skull. It protects against moisture and UV light, keeping your colors vibrant and your artwork looking fresh for longer.
Can I Use Spray Paint on a Deer Skull?
Yes, you can use spray paint on a deer skull, but choose a paint designed for multiple surfaces. Spray paint allows for even coverage, and choosing a high-quality, durable brand means better adherence to the bone’s surface. If you’re planning to transport your artwork, you might want to check artwork transportation guidelines to ensure safe travel.
What’s the Best Way to Clean a Painted Deer Skull?
To clean a painted deer skull, use a soft, damp cloth. Avoid soaking it in water or using harsh chemicals, as they can damage the paint. Regular gentle cleaning keeps your artwork looking great! If you’re concerned about potential paint damage during cleaning, you might want to check how chemicals affect painted surfaces.
Conclusion
We’ve explored the essentials of painting a deer skull, including what it is, preparation steps, recommended colors, suitable paint types, factors affecting outcomes, common challenges, finishing touches, and creative DIY project ideas.
In summary, gather your materials and follow the outlined steps to successfully paint a deer skull. For additional guidance on this or other painting projects, don’t hesitate to reach out.
For more information, visit Paint Answers.
Useful Resources
- Loomis, A. (2011). Figure Drawing for All It’s Worth. New York, NY: Titan Books.
- Painting a Deer Skull | Taxidermy.net Forum
- Paint Dipping a Deer Skull – YouTube
Isabella is a Filipino-American art writer and critic specializing in contemporary painting, blending her Filipino heritage with global art trends. She holds a BFA from California State University, Long Beach, and a Minor in Art History from the University of the Philippines. Isa has experience as a Gallery Assistant, Art Appraisal Specialist, and Social Media Creative for Art & Design.
Material, Tile


