
How to Paint A Maple Leaf?
Published on: February 20, 2025 | Last Updated: January 7, 2025
Written By: Alisha Winters
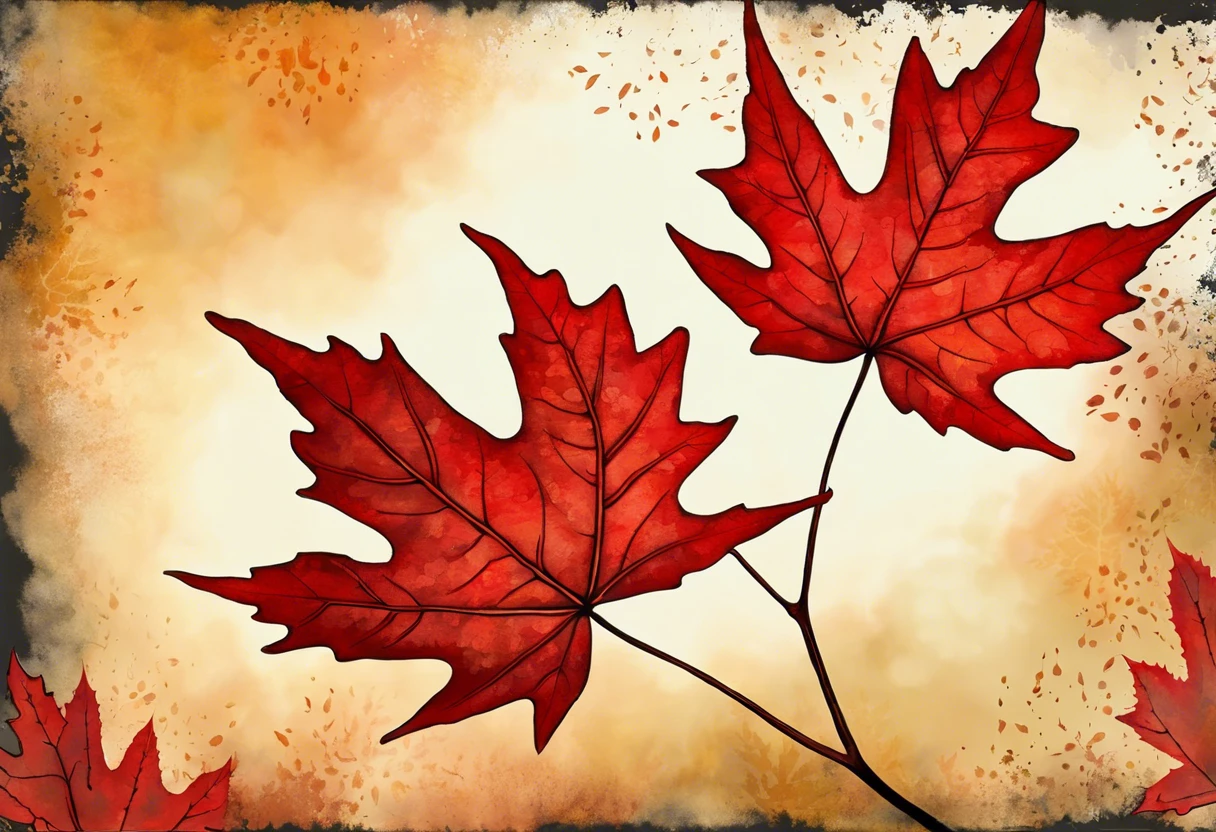
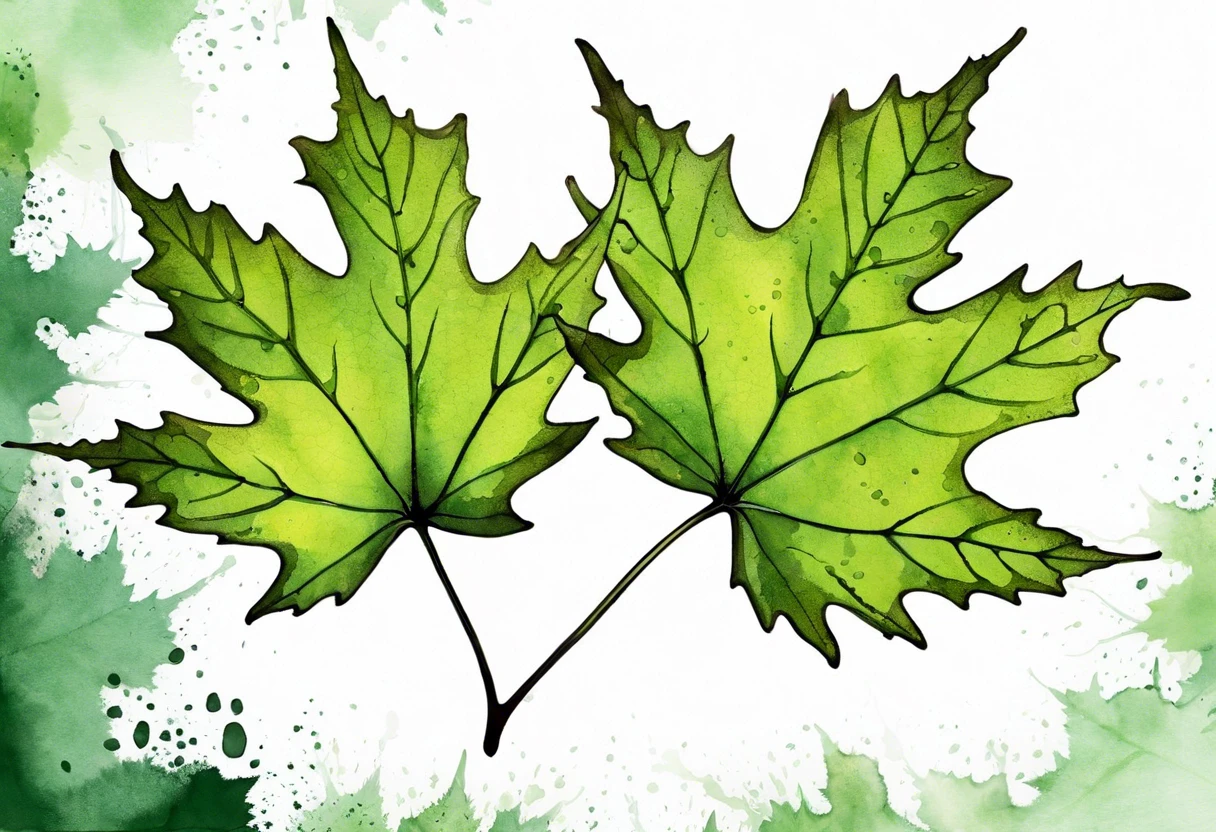
A maple leaf is the leaf of a maple tree, which comes in different colors and shapes. It’s like nature’s artwork, turning shades of red, yellow, or orange in the fall, especially for a five-year-old, that’s a super cool leaf!
Learning how to paint a maple leaf is essential because it teaches creativity and observation. I remember my first attempt, the happiness of mixing colors and making my own masterpiece was unforgettable.
In this guide, you’ll discover essential preparations before painting, step-by-step instructions, color palette recommendations, various techniques, and common issues when you paint a maple leaf. Additionally, we’ll share DIY project ideas and answer frequently asked questions about how to paint a maple leaf.
Contents
- 1 How to Paint a Maple Leaf?
- 2 What is a Maple Leaf?
- 3 Essential Preparations Before You Start Painting
- 4 Step-by-step Instructions for Painting a Maple Leaf
- 5 Recommended Color Palette for a Maple Leaf Painting
- 6 Various Techniques for Painting a Maple Leaf
- 7 Factors Affecting the Outcome Of Your Maple Leaf Painting
- 8 Common Issues When Painting a Maple Leaf
- 9 Adding Finishing Touches to Your Maple Leaf Artwork
- 10 DIY Project Ideas Involving Painted Maple Leaves
- 11 Maple Leaf Painting Inspirations
- 12 Frequently Asked Questions About How to Paint a Maple Leaf
- 13 Conclusion
- 14 Additional Resources
How to Paint a Maple Leaf?
To paint a maple leaf, start by sketching its shape. Use red, orange, or yellow for colors, blending for depth. Apply the paint in layers, adding details like veins with a fine brush. If you’re interested in exploring more advanced painting techniques, painting interior surfaces requires similar skills. Let it dry, then admire your work!
What is a Maple Leaf?
The maple leaf is from trees of the genus Acer. Typically, they measure about 10 to 25 cm (4 to 10 Inches) wide, with five lobes and distinct serrated edges.
In art, I recall the delight of painting a maple leaf for the first time. The rich red and gold hues come alive on the canvas, creating an autumn masterpiece.
I’ve used it for several seasonal art projects. Capturing the nuances of a maple leaf helped me understand color blending and texture—especially while learning to paint it. Observing the veins and varied shades of green, red, and orange sharpened my skills, turning each stroke into a celebration of fall. When exploring artistic painting materials, I discovered some interesting alternatives for creative expression painting directly on skin surfaces.
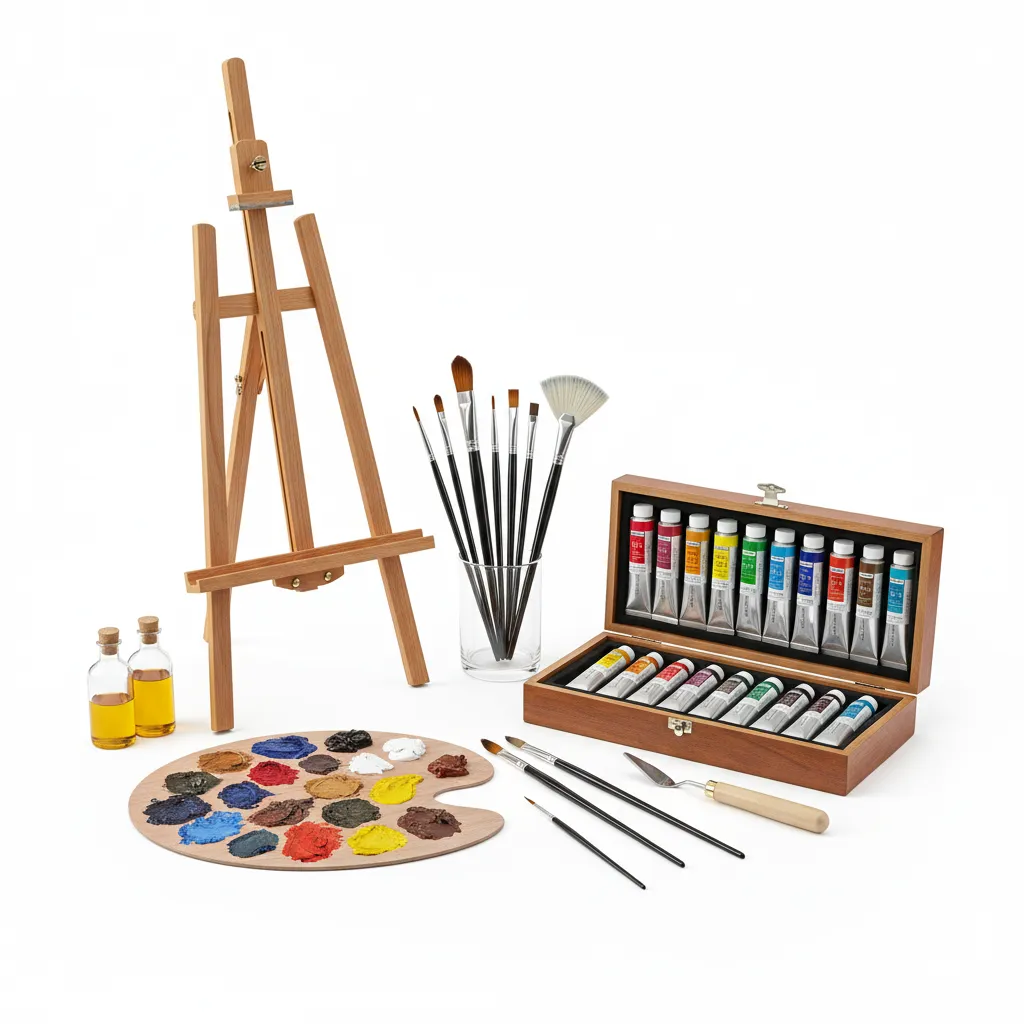
Essential Preparations Before You Start Painting
What do you need to get started?
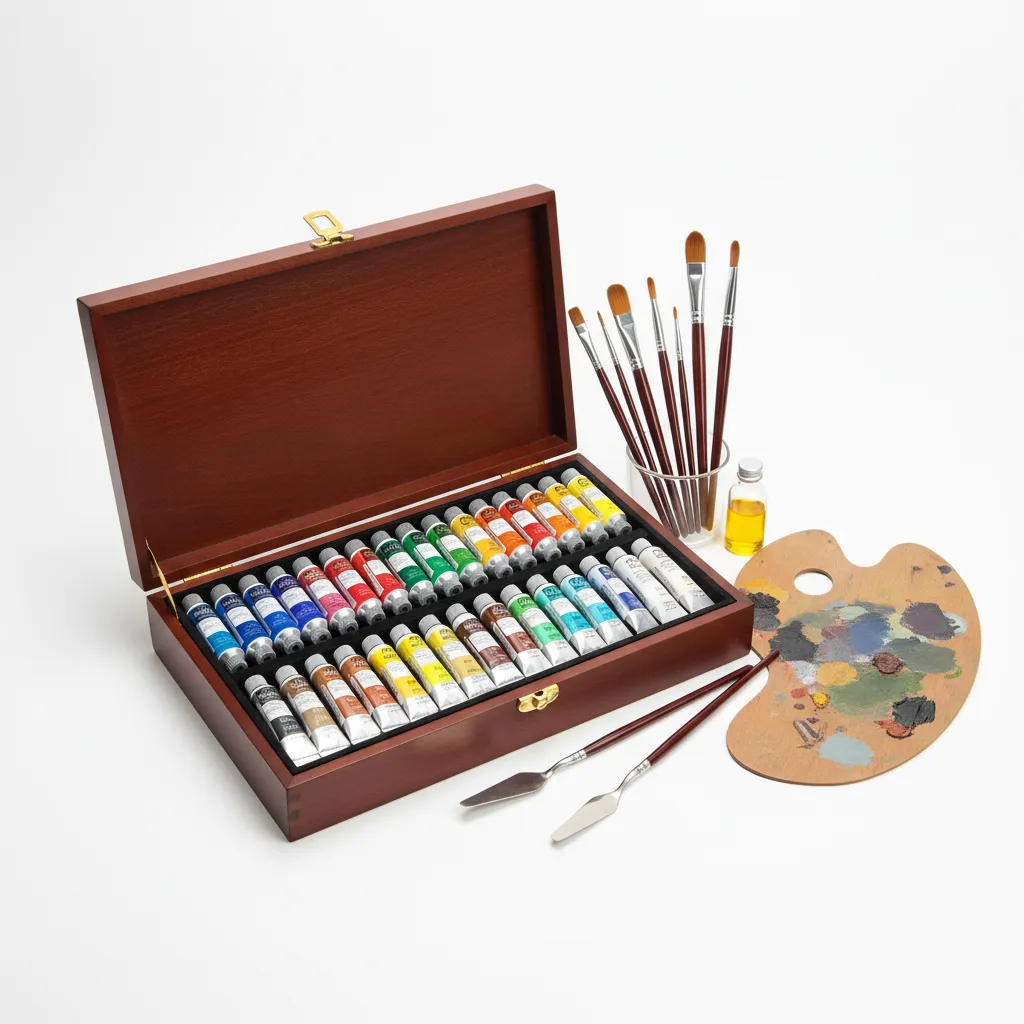
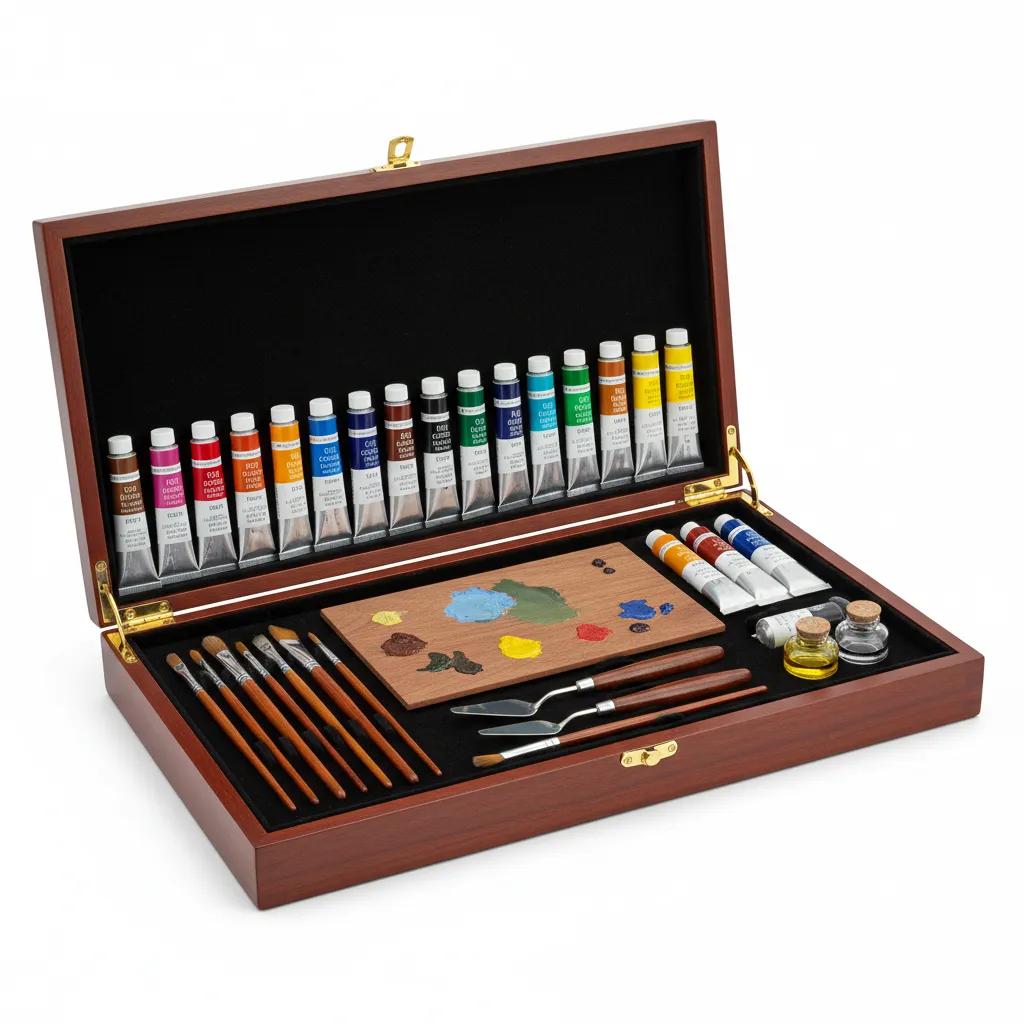
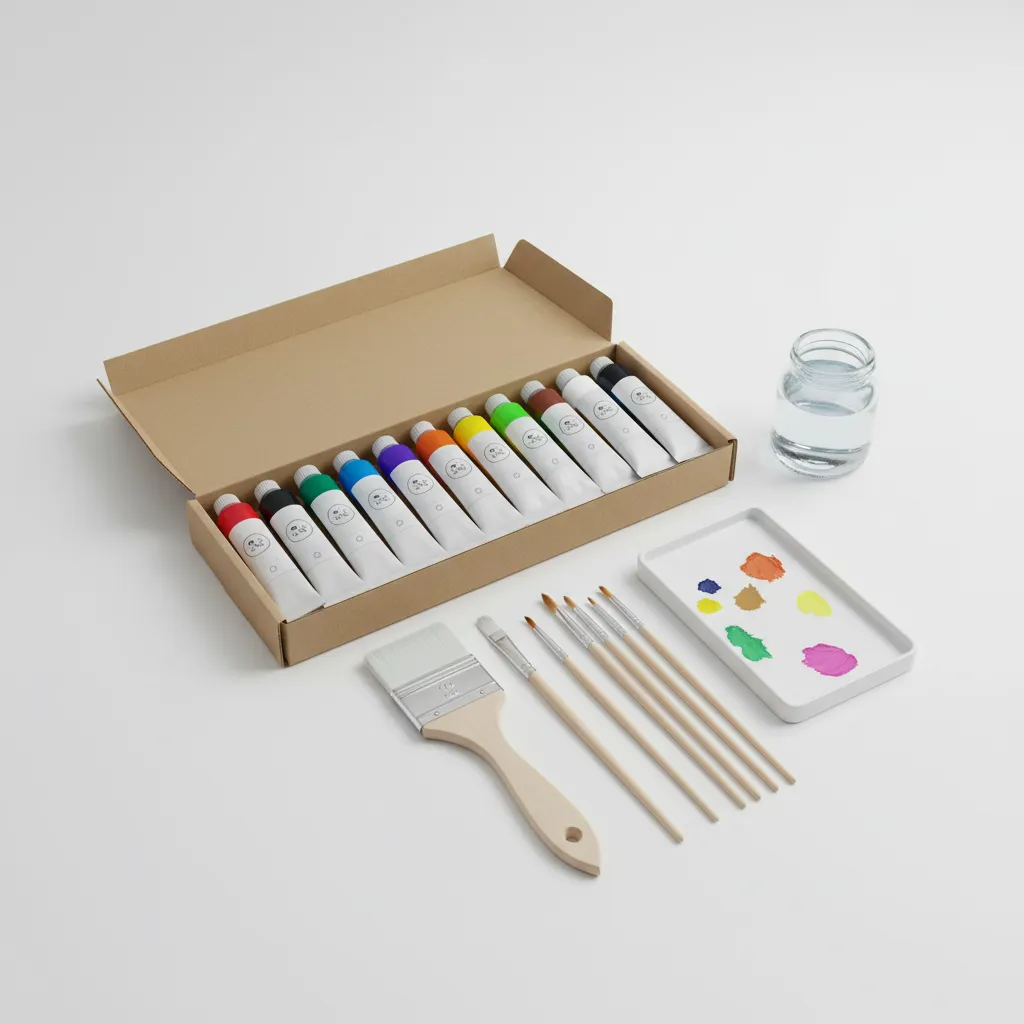
- High-Quality Acrylic Paint: Choose brands like Liquitex Basics or Golden Heavy Body for vibrant colors essential for realistic maple leaf shades.
- Soft-Angled Brush: Get a size 6 or 8 brush, such as a Princeton Catalyst, to create smooth transitions between colors for leaf details.
- Canvas or Watercolor Paper: Use 300 g/m² (140 Lb) watercolor paper or a sturdy canvas. They hold paint well, preventing leakage and distortion.
- Palette and Water Container: A sturdy plastic palette and a jar for water are vital for mixing and rinsing your brushes.
You should now have a good understanding of key preparations before painting. In the next part, we’ll discuss painting a maple leaf.
Also See: Why Do Guys Paint One Fingernail? It’s a Bold Trend!
Step-by-step Instructions for Painting a Maple Leaf
Now, let’s cover the steps to paint a maple leaf beautifully. Follow along and bring those vibrant colors to life!
-
Sketching the Outline
Start by drawing a simple outline of your maple leaf on your canvas or paper. Keep the proportions accurate; for example, the leaf should be about 15 cm (6 Inches) wide to capture its beauty.
Focus on the jagged edges, so don’t rush. Light pencil marks help because you can easily erase them later.
-
Choosing Your Base Color
Select a vibrant base color for your maple leaf. Shades like crimson, scarlet, or fiery orange work great—these can be mixtures close to 255, 0, 0 (RGB) for bright red.
Paint your entire outline with this color, ensuring even coverage. Use a rounded brush for smooth edges, then refine later.
-
Layering Additional Colors
After establishing your base, layer additional colors. Use deep reds, browns, and yellows for depth; mix equal parts of yellow and red for a bright sunshine effect.
Apply these colors from the corners to the center, allowing them to blend slightly. For realistic shading, use lighter shades at the tips to create the illusion of light hitting the leaf.
-
Adding Details and Textures
With your base and layers in place, add details to mimic the leaf’s structure. Use a fine brush to paint veins; these should range from 0.5 mm to 1 mm in width for contrast.
Consider using a stippling technique, applying tiny dots of color for texture. This creates a more organic look. Experiment a bit to find what feels right; it adds a personal touch.
-
Letting It Dry Completely
After adding all your colors and details, let your painting dry fully. This usually takes about 2-4 hours, depending on paint thickness and humidity.
Thicker layers might require more time, so be patient! It’ll be worth it when you see that gorgeous maple leaf come to life.
That covers step-by-step guidance for painting a maple leaf. Let’s now take a look at the suggested color palette.
Recommended Color Palette for a Maple Leaf Painting
For a maple leaf painting, I suggest using a “Warm Autumn Embrace” color palette because it beautifully captures the rich hues of fall foliage.
| Color Box | Hex Code | Color Name |
|---|---|---|
| #D95F0E | Burnt Orange | |
| #A95D28 | Rust Brown | |
| #FFD700 | Gold | |
| #4682B4 | Steel Blue |
That covers the suggested color scheme for painting a maple leaf. Let’s now take a look at different methods for painting it.
Various Techniques for Painting a Maple Leaf
Let’s discuss different painting techniques: Watercolor, Acrylic, Oil, and Gouache.
-
Watercolor
Watercolor creates transparent effects and delicate details. You use water to dissolve pigment, producing softer hues ideal for a maple leaf’s veins.
-
Acrylic
Acrylic paint dries quickly and is versatile. You can layer it effectively, allowing for depth in your maple leaf’s vibrant reds and oranges.
-
Oil
Oil painting offers rich colors that blend smoothly. Its longer drying time lets you manipulate textures on the leaf’s surface for extra dimension.
Recommended SuppliesAs an Amazon Associate, I earn from qualifying purchases. Images are representative. -
Gouache
Gouache is opaque and retains lively colors well. Use it when you want your maple leaf to stand out with boldness and clarity.
Through years of practice, I’ve found that acrylic paint offers the best balance of color and quick results. I love how I can layer it and see the results almost instantly.
You should now have a good understanding of different methods to paint a maple leaf. In the next part, we’ll discuss elements influencing your painting’s results.
Factors Affecting the Outcome Of Your Maple Leaf Painting
What factors influence your technique while painting a maple leaf?
-
Color Choice: The colors you choose can drastically change the leaf’s mood.
-
Brush Type: Different brushes create unique textures; a fan brush provides a feathery effect.
-
Lighting Conditions: Natural light reveals true colors; dim areas can distort your perception.
-
Paper Quality: High-quality paper absorbs paint differently, significantly affecting results.
Common Issues When Painting a Maple Leaf
My friend struggled to blend the vibrant reds and oranges while painting a maple leaf. The colors looked flat and lifeless.
To fix this, she used a wet-on-wet technique for better depth, blending at least three shades: crimson (Approximately 25°C / 77°F), pumpkin, and burnt sienna for rich tones.
Adding Finishing Touches to Your Maple Leaf Artwork
After you paint your maple leaf, let your artwork dry for 24 hours at room temperature (20°C or 68°F). Seal it with a matte clear coat spray for lasting vibrancy.
Check your maple leaf for smoothness. If there are rough patches, lightly sand them with 400-grit sandpaper ⭐ Top Rated: Assorted Grit Sandpaper → (1 Mm). Use products like Krylon to enhance the shine.
As an expert, consider layering with glazing techniques to add depth—it’ll make colors pop, especially hues like Cadmium Red often used in maple leaves.
DIY Project Ideas Involving Painted Maple Leaves
Wanna try something fun? How about crafting a vibrant maple leaf wreath or creating unique bookmarks? Both will show off your artistic side!
For the wreath, gather about 20 leaves and a foam ring from a craft store. You’re looking at around $15 for materials, plus just an afternoon of your time—easy peasy!
Have you thought of painting a maple leaf and then pressing it in a scrapbook? Or you could mix white glue with food coloring for a cool textured effect—so unexpected, but it really pops!
Maple Leaf Painting Inspirations
Need some creative ideas? Here are a few inspirations to spark your imagination:
| Project Type | Description | Materials Needed |
|---|---|---|
| Canvas Art | Create a large-scale painting featuring a colorful maple leaf as the centerpiece. | Acrylic paints, brushes, canvas, palette. |
| Greeting Cards | Design handmade cards with painted maple leaves for seasonal greetings. | Cardstock, watercolor paints, brushes, envelopes. |
| Home Decor | Use painted maple leaves to decorate wooden coasters or trivets. | Wooden bases, acrylic paints, varnish. |
| Textile Art | Print maple leaf designs onto fabric for a unique touch. | Fabric paint, stencils, plain fabric. |
Frequently Asked Questions About How to Paint a Maple Leaf
What Are the Best Techniques for Painting a Maple Leaf?
Yes, the best techniques for painting a maple leaf include layering, wet-on-wet, and dry brushing. These techniques allow for depth and texture, creating a more dynamic appearance in only a few layers of paint.


What Type Of Paint Works Best for Watercolor Vs. Acrylic?
Watercolor paint works best for a light, translucent effect, while acrylic paint is ideal for vibrant color and fast drying. Watercolors allow you to blend gently, whereas acrylics offer stronger, opaque finishes. When choosing the right paint for your project, you might also want to explore painting aluminum surfaces.
How Can I Make My Painted Maple Leaf Look More Realistic?
You can make your painted maple leaf look more realistic by paying attention to shadows and highlights. Using complementary colors enhances depth, and adding fine details like veins will make it pop. If you want professional tips on painting surfaces like fences, check out painting techniques for fences.
What Surfaces Can I Paint a Maple Leaf on?
You can paint a maple leaf on various surfaces including canvas, watercolor paper, and wood. Canvas is versatile and durable, while watercolor paper absorbs moisture better, enhancing effects for watercolor techniques. If you’re looking to refine your painting approach, spray gun techniques offer precision for achieving smooth, professional finishes on different artistic surfaces.
How Do I Preserve My Painted Maple Leaf Artwork?
To preserve your painted maple leaf artwork, use a UV-protective spray or varnish. This step shields the painting from sunlight, keeping colors vibrant for years while protecting against dust and moisture. If you’re looking to enhance your painting’s longevity, you might want to explore professional painting techniques and finishes.
What Colors Are Essential for Painting a Maple Leaf?
Key colors for painting a maple leaf include reds, yellows, and browns. These shades reflect the natural fall colors of a maple leaf, enhancing realism and vibrancy in your artwork.
Can I Paint a Maple Leaf Using Digital Tools?
Absolutely! You can paint a maple leaf using digital tools like Procreate or Photoshop. Digital painting offers flexibility, allowing you to undo mistakes and experiment without wasting materials. If you’re looking to expand your digital art skills beyond digital canvases, you might want to explore painting traditional subjects like hay bales.
How Can I Incorporate a Maple Leaf Into a Larger Artwork?
You can incorporate a maple leaf into a larger artwork by using it as a focal point or theme. Surround it with complementary elements, like trees or landscapes, creating a cohesive piece that tells a story. If you want to preserve your artwork’s texture and detail, you might want to explore baking salt dough techniques.
Conclusion
We’ve reached the end, and I appreciate you sticking around. We covered what a maple leaf is, essential preparations, step-by-step instructions, a recommended color palette, various painting techniques, factors affecting your outcome, common painting issues, adding finishing touches, and some DIY project ideas.
To summarize, painting a maple leaf involves understanding its shape, selecting the right colors, and employing various techniques, along with those personal touches that make your work unique. For further guidance on painting a maple leaf, feel free to reach out.
For more expert advice, visit Paint Answers.
Additional Resources
- Gurney, J. (2009). Color and Light: A Guide for the Realist Painter. Kansas City, MO: Andrews McMeel Publishing.
- Different strokes for different folks–painting the maple leaf | followmybrushmarks
- Acrylic Painting Tutorial on How to Paint an Autumn Maple …
- How To Paint A Fall Maple Leaf Floating In Water – Step By Step Painting Tutorial – YouTube
Experienced interior designer with 15+ years in transforming spaces, blending artistry with expertise in color and design. Rhode Island School of Design graduate, specializing in restorations and modern makeovers.
Aluminium, Material
Also See: Can You Paint Plastic? Tips for Transforming Items!


