
How to Paint A Watercolour Sky With Clouds?
Published on: December 24, 2025 | Last Updated: October 1, 2025
Written By: paint_answered
What’s a watercolour sky? Imagine the bright blue above you, mixing with fluffy white clouds—it’s a painting of the sky using colors and water!
Learning how to paint a watercolour sky with clouds is super important. When I first tried it, I realized how different pigments blend, giving life to the canvas. It makes your artwork pop!
In this guide, you’ll discover the basics of watercolour skies, essential materials, step-by-step painting techniques, recommended colors, types of clouds to paint, common mistakes, and finishing touches. Get ready to explore how to paint a watercolour sky with clouds in a fun and colorful way!
Contents
- 1 How to Paint a Watercolour Sky With Clouds?
- 2 A Watercolor Sky is a technique using watercolors to create the illusion of a luminous sky. Artists typically mix pigments with water to achieve various transparency levels, allowing light to shine through the layers; pigment concentrations of 5-15% yield vibrant hues. If you’re looking to explore creative painting techniques beyond traditional canvas, watercolor painting techniques can transform ordinary surfaces into artistic statements. To create this effect, artists blend colors like cerulean blue and alizarin crimson, transitioning smoothly between tones. I remember the first time I painted a sunset; the blending felt magical. When you want to explore advanced techniques for mixing perfect blue paint shades, professional methods can elevate your artistic skills. I used this technique often for landscapes. The Watercolor Sky enhanced the clouds, transforming my pieces remarkably. When focusing on painting a watercolor sky with clouds, mastering flow was essential. I added more saturated colors for depth, creating captivating moods. This technique deepened my love for depicting nature boldly. Before You Start Painting Your Watercolor Sky
- 3 Steps to Paint a Beautiful Watercolor Sky With Clouds
- 4 Recommended Colour Palette for Painting Skies and Clouds
- 5 Factors Affecting Watercolor Sky Techniques
- 6 Common Issues When Painting a Watercolor Sky With Clouds
- 7 Techniques for Enhancing Your Watercolor Sky
- 8 Using Light and Shadow in Your Watercolor Sky
- 9 Experimenting with Textures in Your Watercolor Sky
- 10 Time of Day and Its Influence on Sky Colors
- 11 Finishing Touches for Your Watercolor Sky Artwork
- 12 Frequently Asked Questions About How to Paint a Watercolour Sky With Clouds
- 13 Conclusion
- 14 Additional Resources
How to Paint a Watercolour Sky With Clouds?
To paint a watercolour sky with clouds, wet your paper first. Then, use a big brush to blend blues and whites. Add soft strokes for clouds, letting the colors flow. Finally, layer colors for depth and contrast! When mixing different paint types, you might want to explore paint mixing techniques carefully.
A Watercolor Sky is a technique using watercolors to create the illusion of a luminous sky. Artists typically mix pigments with water to achieve various transparency levels, allowing light to shine through the layers; pigment concentrations of 5-15% yield vibrant hues. If you’re looking to explore creative painting techniques beyond traditional canvas, watercolor painting techniques can transform ordinary surfaces into artistic statements.
To create this effect, artists blend colors like cerulean blue and alizarin crimson, transitioning smoothly between tones. I remember the first time I painted a sunset; the blending felt magical. When you want to explore advanced techniques for mixing perfect blue paint shades, professional methods can elevate your artistic skills.
I used this technique often for landscapes. The Watercolor Sky enhanced the clouds, transforming my pieces remarkably. When focusing on painting a watercolor sky with clouds, mastering flow was essential. I added more saturated colors for depth, creating captivating moods. This technique deepened my love for depicting nature boldly.
Before You Start Painting Your Watercolor Sky
What do you need to get started?
- Quality Watercolor Paint: You’ll need a set like Winsor & Newton Cotman Watercolor, which offers excellent pigmentation. Quality paint makes your sky vibrant and realistic.
- Watercolor Brushes: Use brushes like the Princeton Neptune Series in round sizes 8 and 12. These help you achieve precise details and blended washes.
- Watercolor Paper: Choose 300 gsm (140 Lb) cold-pressed paper, such as Arches. This type prevents warping and absorbs water well, making your work easier.
- Pencil and Eraser: A light pencil, such as HB, is essential for sketching, while a kneaded eraser corrects mistakes without damage.
We covered essential tips for preparing to paint your watercolor sky. We will now cover the steps to create a beautiful sky with clouds.
Also See: What Do You Need to Start Oil Painting? Key Tools
Steps to Paint a Beautiful Watercolor Sky With Clouds
Here are the steps to create a stunning watercolor sky with clouds.
-
Prepare Your Work Surface
Ensure you have a flat, waterproof surface. Use a board or a large piece of paper (11 X 14 Inches or 28 X 36 Cm) to allow water to flow without spills.
Once set up, tilt the surface slightly to help the paint blend smoothly, creating the lovely gradient effect we want for our sky!
-
Establish the Base Layer
Wet your paper with clean water using a wide brush. Quickly apply a light blue wash (Cerulean Blue Works Well) as the base for your sky, as it blends well with watery clouds.
Use a 1:4 dilution (One Part Paint, Four Parts Water) for a transparent effect. I once overloaded my brush, making my sky look muddy instead of crisp!
-
Add Depth With Different Shades
Vary your blues! Use a deeper shade like ultramarine for shadowy areas. Apply this at the top and blend down to give your sky the needed depth.
Mix in lighter tones as well. A bit of white helps create fluffy, illuminated areas. Remember, using plenty of water aids smooth blending!
-
Create and Shape Your Clouds
Use a dry brush technique by dabbing clean, dry brushes into lighter paint, like a mix of white and a touch of blue. Lightly flick or dab this onto the wet surface to form cloud shapes.
Vary your pressure: more pressure creates denser clouds, while a gentle touch forms soft wisps. Don’t rush; the lingering wetness helps blending as you shape!
-
Define Cloud Edges
Once everything’s dry, define the edges using a very light gray (Mix a Touch Of Blue With Brown). This adds subtle contrast, helping your clouds pop against the sky.
Focus on the underside, letting it remain softer. It’s okay to stray a bit; clouds aren’t perfectly formed! I find spontaneity adds character to my skies.
We covered steps to paint a beautiful watercolor sky with clouds. We will now cover a recommended color palette for skies and clouds.
Recommended Colour Palette for Painting Skies and Clouds
I recommend a serene morning palette, featuring soft blues, warm whites, and gentle pinks for a calming sky effect.
Color Box
Hex Code
Color Name
#A4D8E1
Sky Blue
#FCF4D2
Light Cream
#F8B1C5
Pale Pink
We have now covered suggested color combinations for painting skies and clouds. The next section discusses factors influencing watercolor sky techniques.
Factors Affecting Watercolor Sky Techniques
What factors influence creating a stunning watercolor sky with clouds?
-
Water Quality: Clean, soft water enhances blending for a dreamy sky effect.
-
Paper Type: The texture of your paper, such as cold-pressed versus hot-pressed, affects how colors interact.
-
Paint Consistency: Thinner paint creates translucent washes; thicker paint forms bold, opaque clouds.
-
Brush Technique: Different strokes, like tapping or sweeping, can significantly change cloud shapes.
We have now covered the elements that influence watercolor sky techniques. The next section addresses typical challenges when painting clouds.
Common Issues When Painting a Watercolor Sky With Clouds
My friend once struggled to create the perfect blue gradient for her sky. She mixed too much water with the paint, leading to a washed-out look.
To fix this, I recommend a mix ratio of 1:2 paint to water. Using a size 10 round brush, she can highlight clouds with pure white to add depth.

Techniques for Enhancing Your Watercolor Sky
Discover techniques to elevate your watercolor skies beyond basic painting.
-
Wet-on-Wet Technique
This involves applying wet paint onto wet paper. It creates beautiful, soft edges. It’s perfect for skies where colors seamlessly blend.
-
Color Lifting
You can lift color by using a damp brush or paper towel to remove wet paint. This technique is handy to correct mistakes or add highlights, especially in cloud formations.
-
Salt Technique
Sprinkling salt onto wet paint creates unique textures as it absorbs water. It can mimic the look of distant clouds or atmospheric effects.
Using Light and Shadow in Your Watercolor Sky
Light and shadow add realism to your watercolor sky. They create depth, making your clouds pop against the backdrop.
-
Understand the Light Source
Consider where the light comes from—this determines shadow placement. If the sun’s in the right corner, shadows fall opposite it. Think about how that affects your colors!
-
Layering for Depth
Apply thin layers of color gradually. Start light, then slowly build darker shades. For instance, begin with a wash of cerulean blue, then add darker blues and subtle grays as shadows.
-
Highlighting Edges
To give clouds a 3D effect, use bright whites or pale yellows along their tops and edges. This contrast makes them look lit from above!
Experimenting with Textures in Your Watercolor Sky
Adding textures brings your watercolor sky to life, making it engaging and interesting.
-
Scraping Technique
Once your paint’s dry, use a palette knife or even an old credit card to gently scrape areas. This can create the illusion of wispy clouds or lighter backgrounds.
-
Masking Fluid
Before painting, apply masking fluid to preserve areas of white. This creates bright highlights, especially useful for bright cloud effects!
-
Spattering
Try spattering paint with a toothbrush to mimic distant stars or raindrops on your sky. Use diluted paint for soft effects and bold colors for drama.
Time of Day and Its Influence on Sky Colors
The time of day can shift your palette significantly!
- Morning: Soft pinks and blues typically dominate the sky. Aim for lighter hues.
- Noon: Bright blue skies with white clouds are common. Use vibrant shades for clarity.
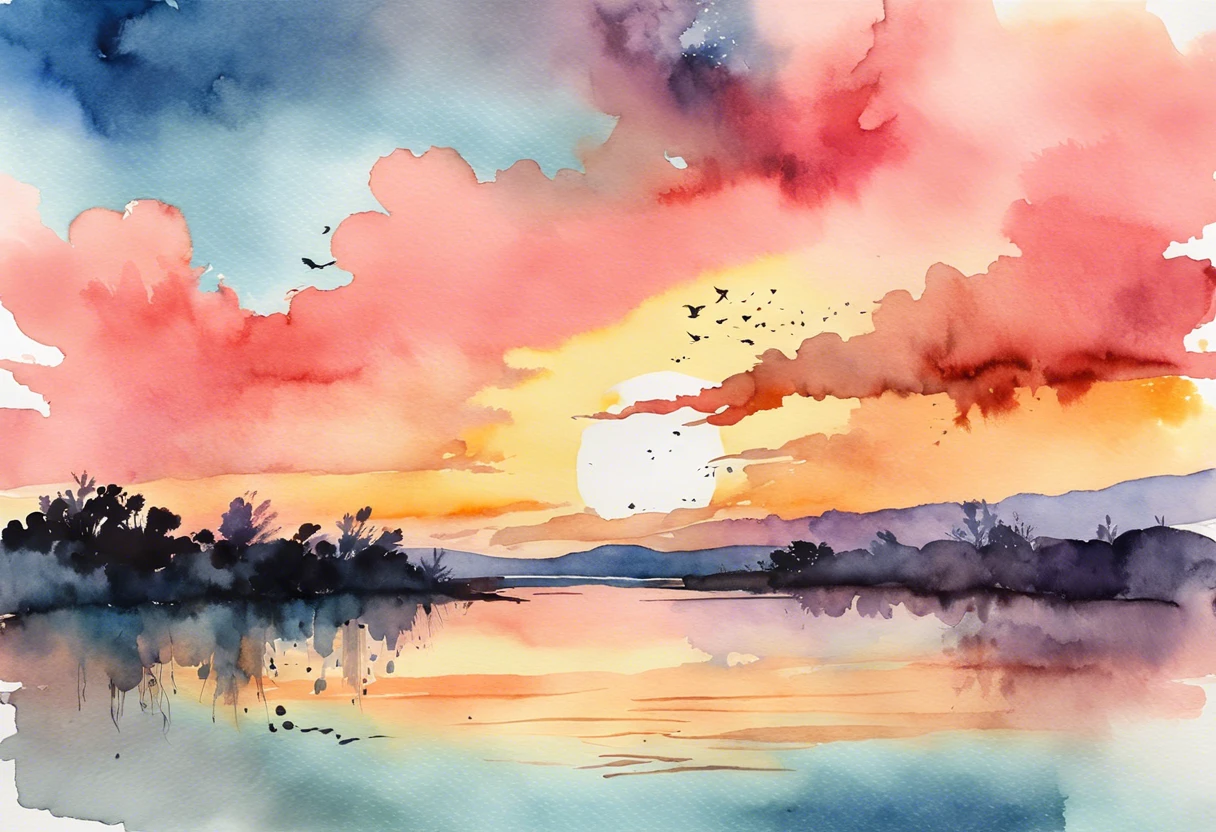
- Sunset: Yellows, oranges, and deep reds can create stunning effects. Experiment with blending warm colors.
Finishing Touches for Your Watercolor Sky Artwork
After you master the brush strokes in your sky painting, let your artwork dry for at least 24 hours to prevent smudging. Use a flat, deacidified backing board to support the paper.
Inspect your watercolor sky closely for glare spots, especially in vibrant blue hues. Use a white, acid-free eraser, like Prismacolor, to gently fix any stray details within 100 mm (Approximately 4 Inches).
Here’s a pro-level tip from my past projects: Use a mop brush, such as a 1-inch Da Vinci, for advanced blending, ensuring your cloud transitions stay smooth and airy at a 90° working angle.
Frequently Asked Questions About How to Paint a Watercolour Sky With Clouds
What Materials Do I Need to Paint a Watercolour Sky?
To paint a watercolour sky, you need watercolour paints, brushes, and watercolour paper. Quality materials are key because they enhance your work and modify the paint’s behaviour. A good brush set typically costs between $15-$50, while high-quality watercolour paper runs about $1-$5 per sheet (A4 Size).
How Do I Achieve a Gradient Effect in the Sky?
You can achieve a gradient effect in the sky with wet-on-wet techniques and careful water management. By diluting your paint and adjusting water levels, you get smoother transitions between colours, which is essential for realistic skies. If you’re curious about exploring creative painting techniques, you might want to experiment with different approaches.
What is the Best Paper for Watercolour Painting?
The best paper for watercolour painting is 100% cotton, 300 gsm (Grams Per Square Meter), or 140 lb (Pounds), known for its texture and absorbency. This paper helps handle water without buckling, enhancing your painting process. If you’re exploring advanced painting techniques, you might want to discover optimal airbrush paint methods.
Can I Use Acrylics for a Watercolour Sky?
No, using acrylics for a watercolour sky isn’t ideal, as acrylics dry quickly and don’t blend like watercolours. Watercolours allow for layering and transparency that simulate a sky’s airiness, something acrylic can’t replicate effectively. When you want to achieve smooth color transitions, you might need some expert techniques for seamlessly blending paint techniques.
How Do I Fix Mistakes in My Painting?
You can fix mistakes by lifting wet paint with a clean, damp brush or paper towel, especially on watercolour paper. If it’s dry, use a razor blade or sandpaper 🔥 Deal: Assorted Grit Sandpaper → to “erase” areas, but use that as a last resort. When you want to add some extra flair to your painting, you might consider experimenting with glitter paint techniques.
What is the Best Brush Size for Painting Clouds?
The best brush size for painting clouds usually ranges from 1/2 inch to 1 inch (1.27 Cm to 2.54 Cm) wide. A wider brush allows smooth strokes that create fluffy, realistic cloud shapes without overworking the paint. If you accidentally get paint on your clothing during this process, you can remove acrylic paint ⭐ Top Rated: Heavy-Duty Paint Cleaning → stains effectively.
How Much Water Should I Use When Painting a Sky?
Using about 50% water to paint ratio gives you a vibrant sky effect. Too much water can make paints runny and hard to control, while too little can lead to blotchy finishes. Balance is key!
Conclusion
I’m glad we could cover this together. We discussed what a watercolor sky is, how to prepare for painting, steps to create the sky with clouds, recommended color palettes, various types of clouds, factors that influence technique, common painting issues, and some finishing touches you can apply.
Hopefully, I was able to share valuable insights on painting a watercolor sky with clouds. By familiarizing yourself with colors, understanding different cloud types, and practicing various techniques, you can create remarkable art that evokes the beauty of a sky.
For further insights and resources, feel free to visit Paint Answers.
Additional Resources
Prepare Your Work Surface
Ensure you have a flat, waterproof surface. Use a board or a large piece of paper (11 X 14 Inches or 28 X 36 Cm) to allow water to flow without spills.
Once set up, tilt the surface slightly to help the paint blend smoothly, creating the lovely gradient effect we want for our sky!
Establish the Base Layer
Wet your paper with clean water using a wide brush. Quickly apply a light blue wash (Cerulean Blue Works Well) as the base for your sky, as it blends well with watery clouds.
Use a 1:4 dilution (One Part Paint, Four Parts Water) for a transparent effect. I once overloaded my brush, making my sky look muddy instead of crisp!
Add Depth With Different Shades
Vary your blues! Use a deeper shade like ultramarine for shadowy areas. Apply this at the top and blend down to give your sky the needed depth.
Mix in lighter tones as well. A bit of white helps create fluffy, illuminated areas. Remember, using plenty of water aids smooth blending!
Create and Shape Your Clouds
Use a dry brush technique by dabbing clean, dry brushes into lighter paint, like a mix of white and a touch of blue. Lightly flick or dab this onto the wet surface to form cloud shapes.
Vary your pressure: more pressure creates denser clouds, while a gentle touch forms soft wisps. Don’t rush; the lingering wetness helps blending as you shape!
Define Cloud Edges
Once everything’s dry, define the edges using a very light gray (Mix a Touch Of Blue With Brown). This adds subtle contrast, helping your clouds pop against the sky.
Focus on the underside, letting it remain softer. It’s okay to stray a bit; clouds aren’t perfectly formed! I find spontaneity adds character to my skies.
Water Quality: Clean, soft water enhances blending for a dreamy sky effect.
Paper Type: The texture of your paper, such as cold-pressed versus hot-pressed, affects how colors interact.
Paint Consistency: Thinner paint creates translucent washes; thicker paint forms bold, opaque clouds.
Brush Technique: Different strokes, like tapping or sweeping, can significantly change cloud shapes.
Wet-on-Wet Technique
This involves applying wet paint onto wet paper. It creates beautiful, soft edges. It’s perfect for skies where colors seamlessly blend.
Color Lifting
You can lift color by using a damp brush or paper towel to remove wet paint. This technique is handy to correct mistakes or add highlights, especially in cloud formations.
Salt Technique
Sprinkling salt onto wet paint creates unique textures as it absorbs water. It can mimic the look of distant clouds or atmospheric effects.
Understand the Light Source
Consider where the light comes from—this determines shadow placement. If the sun’s in the right corner, shadows fall opposite it. Think about how that affects your colors!
Layering for Depth
Apply thin layers of color gradually. Start light, then slowly build darker shades. For instance, begin with a wash of cerulean blue, then add darker blues and subtle grays as shadows.
Highlighting Edges
To give clouds a 3D effect, use bright whites or pale yellows along their tops and edges. This contrast makes them look lit from above!
Scraping Technique
Once your paint’s dry, use a palette knife or even an old credit card to gently scrape areas. This can create the illusion of wispy clouds or lighter backgrounds.
Masking Fluid
Before painting, apply masking fluid to preserve areas of white. This creates bright highlights, especially useful for bright cloud effects!
Spattering
Try spattering paint with a toothbrush to mimic distant stars or raindrops on your sky. Use diluted paint for soft effects and bold colors for drama.


