


What Grit Of Sandpaper to Remove Paint?
Published on: April 25, 2025 | Last Updated: January 7, 2025
Written By: Alisha Winters
Sandpaper is a special paper that feels rough. It helps us make things smooth by rubbing away bumps!
Knowing what grit of sandpaper to remove paint is essential for doing a good job. I’ve learned the hard way—using the wrong grit can ruin your project. Trust me, you don’t want that!
In this guide, we’ll cover what sandpaper is, how to pick the right grit for different surfaces, common issues when selecting grit, tips for paint prep, and how to finish your project beautifully. You’ll find info on what grit sandpaper for stripping paint, as well as how to clean wood after sanding before painting.
Contents
- 1 What Grit Of Sandpaper to Remove Paint?
- 2 What is Sandpaper?
- 3 What You Need to Know Before You Start
- 4 Steps to Choose the Right Grit Of Sandpaper
- 5 Choosing the Right Sanding Technique
- 6 Understanding Abrasive Materials
- 7 Understanding Sandpaper Grit Ratings
- 8 How Grit Affects Finish Quality
- 9 Types Of Sandpaper Grits for Paint Removal
- 10 Factors Affecting Your Grit Selection
- 11 Common Issues When Choosing Grit for Paint Removal
- 12 Finishing Touches After Sanding
- 13 DIY Project Ideas Related to Paint Removal
- 14 Frequently Asked Questions
- 15 Conclusion
- 16 Useful Resources
What Grit Of Sandpaper to Remove Paint?
For removing paint, use 80-grit sandpaper. It effectively strips layers without damaging the surface. If you want a smoother finish afterward, switch to 120-grit. Always remember to sand in the direction of the grain! When working with specific surfaces like painting brick pavers properly, additional preparation techniques might be necessary.

The Finishing Touch
A freshly painted wall is a blank canvas. The best way to bring your room to life is with a single piece of statement art that ties everything together.
Browse Wall Art at Big Wall DecorWhat is Sandpaper?
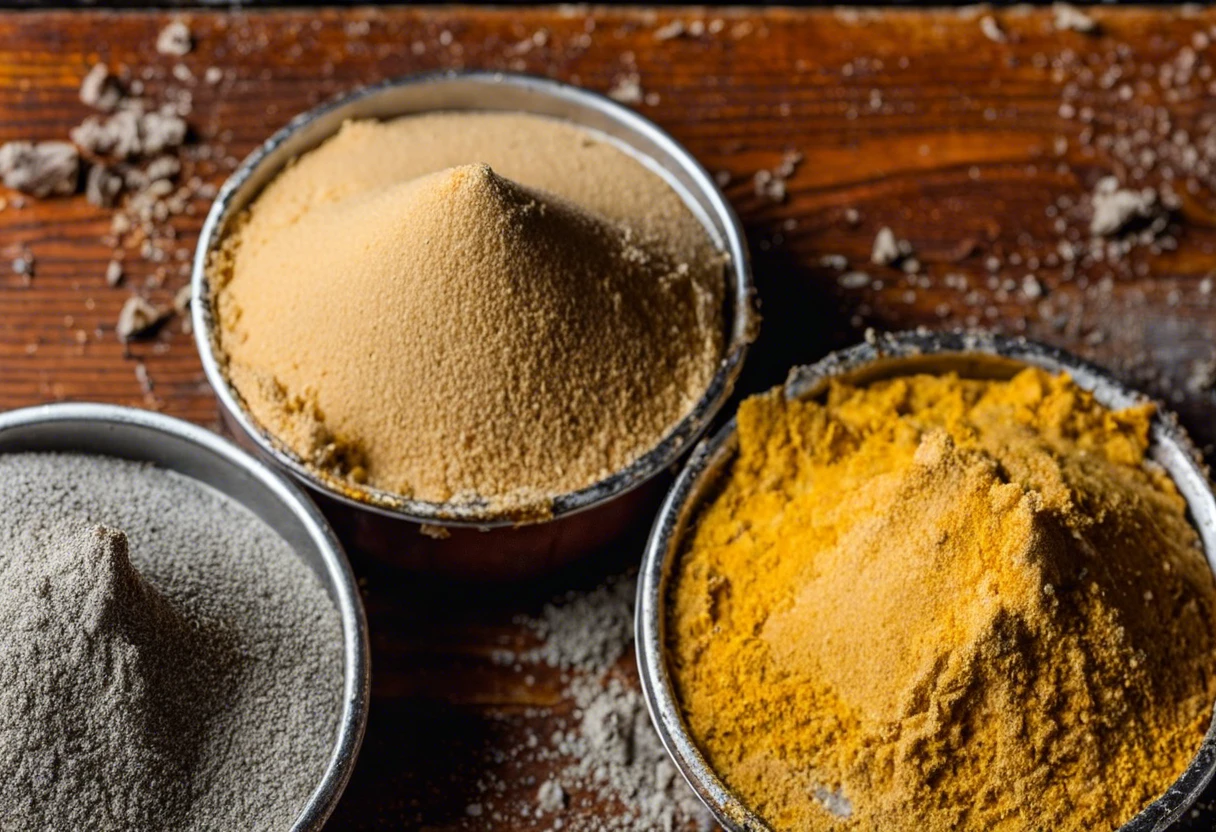
Sandpaper is a flexible material coated with abrasive particles. It comes in various grades, measured by grit size, ranging from 40 (Coarse) to 2000 (Fine). The lower the number, the rougher the texture. Manufacturers often use aluminum oxide and silicon carbide for durability, allowing sandpaper to effectively scrub and shape surfaces.
When removing paint, choosing the right grit is crucial. I remember starting a painting project with 80 grit; it worked well for stripping old paint but needed a follow-up with finer grits for a smooth finish. If you’re considering alternative surface treatments, you might want to explore painting ceramic floor tiles for a fresh look.
For a cabinet refinishing project, sandpaper helped me achieve great results. I learned that using 120 grit between paint layers is ideal, resulting in a silky, flawless surface. Knowing how to clean wood after sanding before painting was essential too. It made all the difference in my finishing touches.
What You Need to Know Before You Start
What do you need to prepare for removing paint?
- Sandpaper Kit: You need a quality sandpaper kit, like the 3M Pro-Premium Sandpaper set with grits 80, 120, and 220. This variety helps you tackle different surfaces and paint thicknesses.
- Orbital Sander: Have an orbital sander, such as the BLACK+DECKER BDERO100, for quicker paint removal. It smooths surfaces and saves time compared to manual sanding.
- Dust Mask: Use an N95 dust mask to protect against paint dust. Breathing fine particles can be harmful, so this gear is essential.
- Safety Goggles: Wear safety goggles, like the DEWALT DPG82-11C, to protect your eyes from airborne debris. Eye protection prevents injuries while sanding.
- Paint Stripper: Consider a good eco-friendly paint stripper, such as Citristrip, for stubborn paint spots. It softens old paint, making sanding easier.
So far we covered essential information before starting. Let’s look at the steps for selecting the appropriate sandpaper grit next.
Also See: What Color Makes Orange Paint? Find Out!
Steps to Choose the Right Grit Of Sandpaper
Here are the steps to select the proper grit of sandpaper for effective paint removal.
The Finishing Touch
A freshly painted wall is a blank canvas. The best way to bring your room to life is with a single piece of statement art that ties everything together.
Browse Wall Art at Big Wall Decor-
Assess the Type Of Paint
Identify if the paint is oil-based or latex-based. Oil-based paints usually need a coarser grit, like 60-80, for initial removal, while latex-based paints typically require a medium grit of 120-150.
If you’re unsure about the paint type, scrub a small area. For example, oil-based versions often take longer to remove. Different types of paint can also guide you toward suitable sandpaper choices. When preparing cedar surfaces for painting, you’ll want to explore specific techniques for preparing cedar wood effectively.
-
Determine the Surface Material
Your surface material greatly impacts the sanding process. Painted wood usually requires softer, finer grits (Around 150), while metal may need something closer to 80 grit.
Choosing incorrectly can damage the substrate; harder materials typically need more aggressive abrasives. Be cautious of depth; avoid sanding too aggressively into the material.
-
Start With Coarse Grit
Start with coarse grit (Around 60 or 80 for Tougher Jobs) for thick layers of paint. Coarse grits cut through paint but may leave scratches, so be prepared to smooth things out later.
I recommend applying consistent pressure and maintaining an even surface as you sand. Be gentle; excessive force can cause damage, so keep your touch light and steady.
-
Move to Medium Grit
Switch to medium grit, between 120 and 150, after removing the main layers. This step refines the surface, smoothing out the scratches left by the previous grit.
I suggest regularly checking the surface for evenness as you progress. An even texture is essential for proper paint adherence and appearance.
-
Finish With Fine Grit
Conclude with fine grit sanding (Around 220 or Finer). This final stage creates a perfectly smooth surface for paint application. Proper sanding in this phase significantly improves the finish’s durability and appearance.
Skipping fine sanding can lead to crumbling or chipping of paint later, which I’ve seen happen before. Make polishing a habit to protect your hard work and ensure long-lasting beauty.
We have now covered how to select the appropriate grit of sandpaper. Next, we will explore the best sanding techniques.
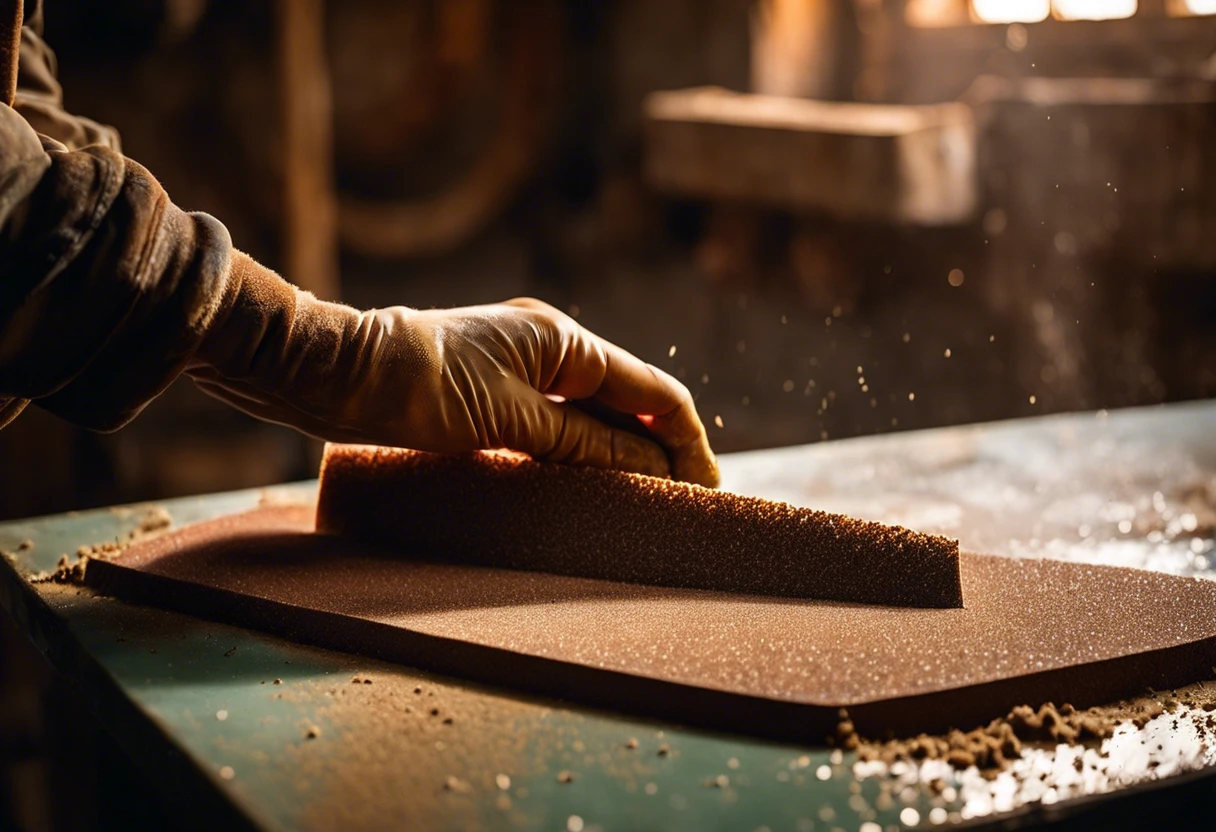
Choosing the Right Sanding Technique
Not all sanding methods are the same. Understanding which technique to use can impact your paint removal process.
Hand Sanding vs. Power Sanding
So, what’s the difference? Let’s break it down:
- Hand Sanding: This method gives you control. It’s great for detailed areas or if you want to avoid damaging the surface. Use 80-grit sandpaper for heavy removal and finish with 220-grit for a smooth touch.
- Power Sanding: This technique is faster and ideal for large surfaces. An orbital sander with 80-grit works wonders for heavy paint. Just remember to be gentle, or you risk gouging the wood.
When to Use Each
Here’s when to pick one over the other:
| Technique | Best For | Recommended Grit |
|---|---|---|
| Hand Sanding | Intricate details, curved surfaces | 80-120 (initial), 220 (finishing) |
| Power Sanding | Large flat surfaces, quick jobs | 60-80 (initial), 120 (smoothing) |
We’ve wrapped up selecting the appropriate sanding methods here. Let us turn our attention to understanding abrasive materials next.
Understanding Abrasive Materials
The material used in sandpaper affects its performance. Let’s look at a few common options:
- Aluminum Oxide: Durable and perfect for wood. It lasts long and works well for several projects.
- Silicon Carbide: Ideal for harder materials like metal and plastic. It cuts faster but wears down quicker than aluminum oxide.
- Garnet: A natural option, great for a smoother finish on wood. It wears faster, so it’s best for lighter sanding tasks.
Choosing the right abrasive can seriously alter your sanding experience. So, did you know certain materials pair better with specific surfaces? This knowledge can save you time and headaches down the road!
We have now covered the characteristics of abrasive materials and their applications. The next section will explore sandpaper grit ratings.
Understanding Sandpaper Grit Ratings
Before diving into paint removal, it’s helpful to understand how sandpaper grits are rated.
| Grit Number | Abrasiveness Level | Typical Use | Ideal Materials |
|---|---|---|---|
| 40-60 | Coarse | Heavy paint removal, shaping wood | Softwood, adjust for harder materials |
| 80-120 | Medium | Final paint removal, prepping for painting | Wood, drywall, soft metals |
| 150-180 | Fine | Smoothing surfaces before painting | All wood types |
| 220+ | Very Fine to Ultra Fine | Finishing touches and between coats | Furniture and detailed woodworking |
How Grit Affects Finish Quality
The grit you choose directly impacts how your project will look. Every grit has its role.
- Coarse Grit: Removes a lot of material quickly but can leave scratches. Keep this for heavy-duty tasks.
- Medium Grit: Useful for refining surfaces after the coarse grit phase. It balances removal and smoothing.
- Fine Grit: Essential for achieving a smooth surface ready for paint. It’s your final step before the finish.
Types Of Sandpaper Grits for Paint Removal
Let’s move on to different types of sandpaper grits: coarse, medium, fine, extra fine, and ultra-fine.
-
Coarse Grit (40 to 60)
Coarse grit sandpaper removes paint quickly. It’s ideal for heavy prep, stripping old paint, and smoothing rough surfaces.
-
Medium Grit (80 to 120)
Medium grit sandpaper is perfect for smoothing surfaces after using coarse grit. It prepares your material for primer or finish with less roughness.
-
Fine Grit (150 to 180)
Fine grit sandpaper offers a smoother finish and removes small imperfections. Use it before applying paint for a clean, professional look.
-
Extra Fine Grit (220 to 240)
Extra fine grit is great for final sanding between coats of paint. It ensures smooth surfaces that the next coat will adhere to beautifully.
-
Ultra-fine Grit (320 and Above)
Ultra-fine grit sandpaper is used for finishing touches. It’s ideal for giving a delicate sheen, especially on cabinets and high-quality furniture.
I prefer fine grit sandpaper (150-180) for prepping surfaces. It strikes the perfect balance between smoothing and preparing without overly distressing the wood.
The Finishing Touch
A freshly painted wall is a blank canvas. The best way to bring your room to life is with a single piece of statement art that ties everything together.
Browse Wall Art at Big Wall Decor
Factors Affecting Your Grit Selection
What factors influence your choice of sandpaper grit for paint removal?
-
Type of Surface: The material—wood, metal, or painted—determines the best grit.
-
Existing Paint Condition: The thickness and condition of the paint dictate whether to use a coarser or finer grit.
-
Desired Finish: A smoother finish requires using finer grits after initial removal.
-
Work Period: The time you have can affect your choices, as finer grits take longer to use.
Common Issues When Choosing Grit for Paint Removal
My friend once picked too-fine a grit to remove paint from an old chair. It took forever! They should’ve started with 80-grit (2 Mm) to kick off the process.
To fix this, I recommended a step-by-step approach: start with 80-grit, then move to 120-grit (0.3 Mm) for smoothing. This two-stage sandpaper strategy made a huge difference!
Finishing Touches After Sanding
After selecting your sandpaper grit, vacuum the surface to remove dust. Wipe it down with a damp cloth, keeping the wood wet but not soaked, to prepare for painting.
Use an inspection light to check for smoothness. If you feel bumps, use 120-grit (0.12 Mm) sandpaper, like 3M Pro-Grade, refining until it feels as smooth as butter.
From one expert to another, try varying pressures across different areas to ensure even sanding. Adjusting pressure by a factor of 5 can yield optimal results on tough surfaces.
DIY Project Ideas Related to Paint Removal
Feeling stuck with a paint job? Try making a funky home decor piece using reclaimed wood and paint strips! You can use old wooden pallets, strip off the paint, and transform them into beautiful shelves or rustic art. When working with exterior painting projects, it’s crucial to know the right temperature conditions for optimal results painting techniques and tips.
To tackle this, grab some 80-grit sandpaper (Around $5 for a Pack) and spend about 2-3 hours sanding down those rough edges. Don’t forget a face mask; dust isn’t your friend! It’ll feel like a workout, but it’s totally worth it!
If you want quick results, you can soak the item in soapy water in the tub or use a heat gun to bubble the old paint. Also, try some scooby-glue technique with kitchen bags for quicker paint removal—just stick it on those stubborn spots and peel it off! When exploring alternative paint techniques, you might find chalk paint on fabric offers interesting creative possibilities.
Frequently Asked Questions
Can I Use the Same Grit for Different Surfaces?
Yes, you can use the same grit for different surfaces, but it’s not always best. Each surface type, like wood versus metal, reacts uniquely to sandpaper. Typically, a finer grit works better on delicate surfaces to avoid damage.
How Do I Prevent Dust When Sanding Paint?
You can prevent dust when sanding paint by using a damp cloth or vacuum. These methods trap dust particles, reducing airborne debris. Keeping the work area clean helps maintain visibility while sanding and protects your lungs from inhaling dust. If you’re considering applying chalk paint after sanding, you might want to explore chalk paint application techniques.
Is It Necessary to Clean the Surface After Sanding?
Yes, it’s necessary to clean the surface after sanding. Cleaning removes dust and debris to ensure better paint adhesion. A clean surface leads to smoother finishes, which can save you time and materials in the long run. If you’re curious about applying paint to different surfaces, acrylic paint techniques can provide additional guidance for your project.
What Should I Do if I Damage the Surface While Sanding?
If you damage the surface while sanding, you should repair the area before continuing. Depending on the damage, you might need wood filler, sand, and repaint the area. Quick action can help you achieve a flawless finish.
How Do I Choose the Right Sandpaper Grit for Final Touches?
For final touches, a higher grit (220-400) is best after initial sanding. Choosing the right grit smooths the surface without compromising the prior work. A softer finish enhances paint adhesion and improves overall appearance. If you’re curious about exploring digital painting techniques, you might want to discover 3D paint animation methods.
What’s the Difference Between Wet and Dry Sanding?
Wet sanding uses water or a lubricant, while dry sanding does not. Wet sanding reduces dust, leaving a smoother finish, especially on automotive projects. It often yields a finer result, especially when working with lacquer finishes.
How Does the Grit Number Impact Sanding Efficiency?
The grit number significantly impacts sanding efficiency. Lower numbers like 40 work fast but leave surface marks; higher numbers, like 320, smooth quickly. A well-chosen grit enhances both time spent and quality finish achieved.
Also See: How to Paint 3D Printed Models? Easy Tips!
Conclusion
I’m glad we could cover this together. We discussed what sandpaper is, what you need to know before you start, how to choose the right grit, types of sandpaper grits, factors affecting grit selection, common issues when selecting grit, finishing touches after sanding, and even some DIY project ideas for paint removal.
Hopefully, I was able to impart some of my experience on what grit of sandpaper to remove paint, suggesting coarser grits like 60 or 80 for heavy removal and progressing to finer grits like 120 or higher for paint prep on surfaces like wood and metal.
For additional insights and in-depth guidance, check out Paint Answers to continue your journey in painting and refinishing.
Useful Resources
- Smith, R. (2003). The Artist’s Handbook of Materials and Techniques (5th ed.). New York, NY: Knopf.
- How to remove paint by sanding – Your Home Style
- How to Remove Paint From Wood: Sanding vs. Stripping
Experienced interior designer with 15+ years in transforming spaces, blending artistry with expertise in color and design. Rhode Island School of Design graduate, specializing in restorations and modern makeovers.
Removing, Topics


