
Can You Use Tempera Paint on Pumpkins?
Published on: January 11, 2025 | Last Updated: January 7, 2025
Written By: Sarah McClintock
What are pumpkins? They’re bright, round fruits that look like the sun! You can carve them, eat them, or paint them for fun!
So, can you use tempera paint on pumpkins? It’s super important to know because it helps your art stick and look amazing. When I painted a pumpkin with tempera last year, the colors popped, and I loved how it turned out!
In this article, you’ll explore essential preparations before painting, a step-by-step guide, recommended colors, types of tempera paint, factors affecting adherence, common issues, finishing touches, and creative DIY ideas. You’ll learn not just about can you use tempera paint on pumpkins but also how to make your designs shine!
Contents
- 1 Can You Use Tempera Paint on Pumpkins?
- 2 What Are Pumpkins?
- 3 Essential Preparations Before You Start
- 4 Step-by-step Guide to Painting Pumpkins With Tempera Paint
- 5 Recommended Color Palette for Pumpkin Painting
- 6 Types Of Tempera Paint Suitable for Pumpkins
- 7 Factors Affecting Tempera Paint Adherence on Pumpkins
- 8 Common Issues With Tempera Paint on Pumpkins
- 9 Finishing Touches for Your Painted Pumpkins
- 10 Creative DIY Project Ideas With Tempera Painted Pumpkins
- 11 Creative Techniques with Tempera Paint on Pumpkins
- 12 Tips for Enhancing Your Tempera Painted Pumpkins
- 13 Comparative Benefits: Tempera vs. Other Paints for Pumpkins
- 14 Frequently Asked Questions
- 15 Conclusion
- 16 Useful Resources
Can You Use Tempera Paint on Pumpkins?
Yes, you can use tempera paint on pumpkins! It’s non-toxic and easy to wash off. Just remember, tempera isn’t waterproof, so keep your pumpkin indoors or out of the rain. For longer-lasting designs, try sealing them afterward. When you’re done creating your masterpiece, you’ll want to know how to properly clean brushes.
What Are Pumpkins?
Pumpkins are a type of squash, scientifically classified as Cucurbita pepo. These vibrant fruits can weigh from 1 kg to over 100 kg (2.2 Lbs to More Than 220 Lbs). They’re mainly grown in North America, which produces about 90% of the world’s pumpkin supply.
You might wonder if you can use tempera (A Type Of Paint) on pumpkins. I once spent an afternoon painting pumpkins with friends. While the colors looked great, we soon realized the paint didn’t adhere well. If you’re considering painting pumpkins, it’s worth exploring professional painting techniques that can help you estimate painting project costs.
While working on a Halloween project, I explored different paint types. I found that some paints work better than others for achieving vibrant colors and durability on the pumpkin’s surface.
Essential Preparations Before You Start
What do you need to prepare?
- Tempera Paint: Use high-quality tempera paint like Crayola Washable Tempera or Royal Langnickel Tempera. These provide vibrant color and good coverage on pumpkin surfaces.
- Brushes: Get a set of soft brushes, such as Winsor & Newton, for fine detail and smooth application on the pumpkin’s curves.
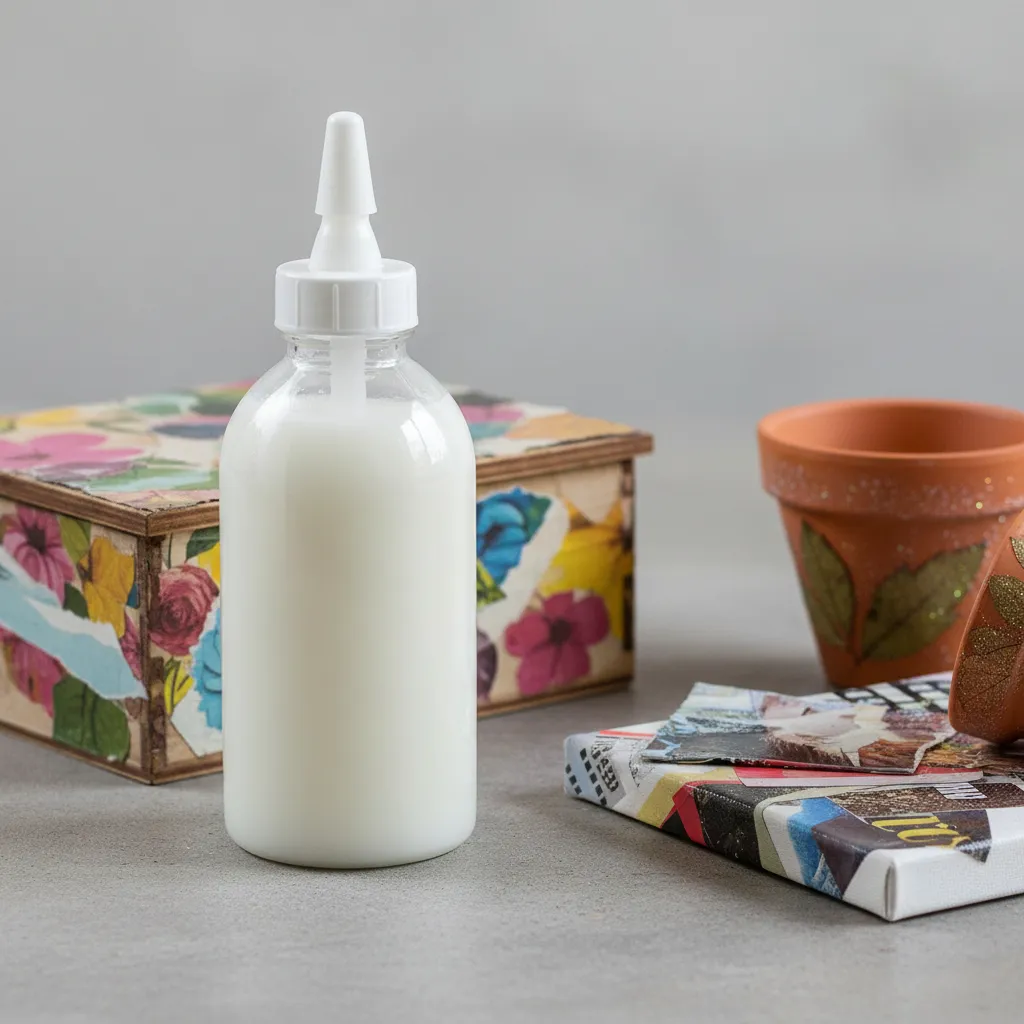
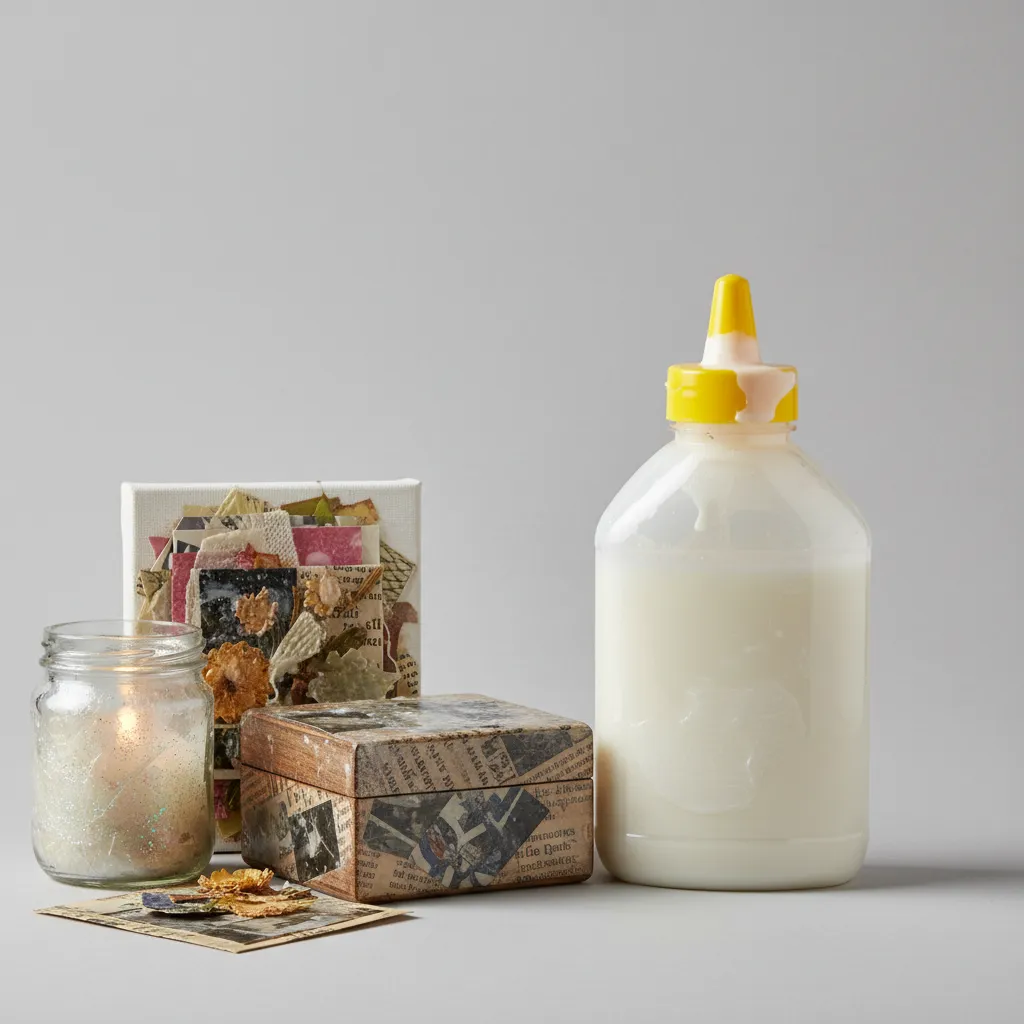
- Pumpkin Sealer: Use a product like Mod Podge or a spray sealant to protect your artwork and prolong its lifespan.
- Water Container: Keep a small container, about 500 mL (16.9 Fl Oz), for rinsing brushes and mixing colors.
- Paper Towels: These are essential for cleanup and dabbing excess paint from your brushes.
We have now covered essential preparations before starting. The next section will provide a step-by-step guide for painting pumpkins with tempera paint.

Also See: Can You Paint on MDF? Tips for Best Results
Step-by-step Guide to Painting Pumpkins With Tempera Paint
Here are the steps to use tempera paint on your pumpkins. Follow them for the best results!
-
Prepare the Pumpkin Surface
First, clean your pumpkin with warm water (Not Exceeding 40°C or 104°F) to remove dirt and residue. Wipe it dry with a soft cloth to create an ideal painting surface.
Consider lightly sanding the area you plan to paint; this helps the tempera stick better. Use fine-grit sandpaper ⭐ Top Rated: Assorted Grit Sandpaper → and keep your movements gentle to avoid damage.
-
Choose Your Design
Plan your design before painting! Sketch it on paper or use a washable marker to outline it on the pumpkin. Keep it simple if you’re new, as intricate designs can be tricky with tempera.
Bold colors stand out, so consider using bright tones. For Halloween, classic designs like jack-o’-lantern faces work well, but don’t shy away from creative patterns!
-
Start Painting!
Now’s the fun part! Grab your brushes and dip them into the tempera, but don’t overload them. It’s better to apply a few thin layers than one thick one for vibrant looks.
Try using a sponge brush for textured areas. It’s easy to work with and gives a neater finish. Trust me, finesse matters here.
-
Seal Your Artwork (Optional)
If you want to keep your design shiny, consider sealing it with a clear acrylic spray after it dries for 24 hours. This will help protect it from moisture and fading, especially if displayed outdoors. When exploring alternative surface treatments, you might want to explore painting ceramic tile techniques.
However, sealing may change the paint’s finish, so test it on a small area first. Sometimes experimentation here leads to the most creative results.
We covered a step-by-step approach to painting pumpkins with tempera paint. We will now cover a suggested color palette.
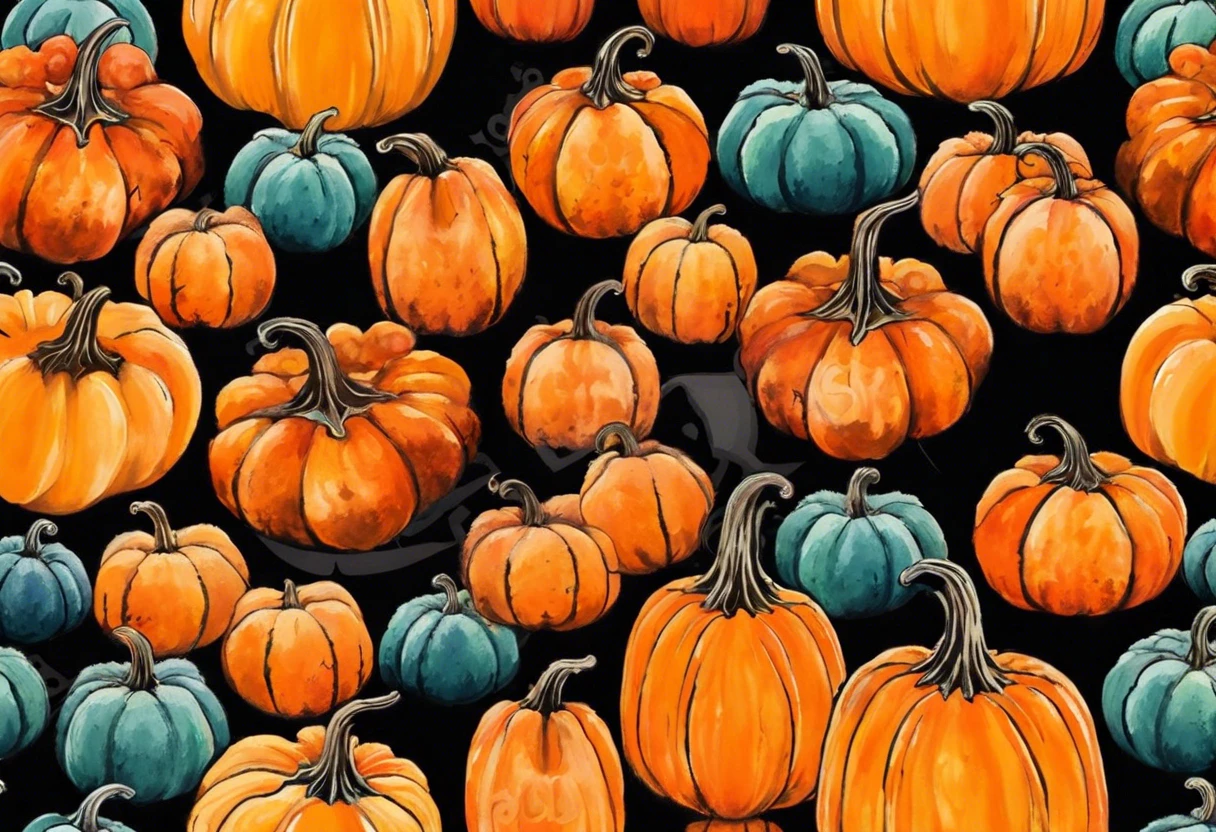
Recommended Color Palette for Pumpkin Painting
I recommend a vibrant Autumn Harvest palette for your pumpkin painting. This theme combines warm tones that harmonize perfectly, ensuring your pumpkins truly pop!
| Color Box | Hex Code | Color Name |
|---|---|---|
| #E78C2E | Harvest Orange | |
| #843B23 | Deep Red | |
| #F3F17C | Sunshine Yellow |
We have now covered the suggested color schemes for pumpkin painting. Next, we will explore suitable tempera paint options.
Types Of Tempera Paint Suitable for Pumpkins
Let’s explore the different types of tempera paint: traditional, washable, opaque, and metallic tempera.
-
Traditional Tempera
Traditional tempera paint combines pigment with a water-soluble binder. It adheres well to pumpkins, drying to a matte finish, which is great for detailed work.
-
Washable Tempera
Washable tempera paint is ideal if you’re worried about mess. It’s easily removable with soap and water, perfect for kids who may want to frequently change their pumpkin designs.
-
Opaque Tempera
This paint provides solid color coverage on pumpkins, making intricate designs pop. Opaque tempera blocks light effectively, ensuring vibrant artworks that stand out during Halloween.
-
Metallic Tempera
Metallic tempera delivers a shiny finish, adding flair to your pumpkin. This paint reflects light beautifully and creates eye-catching effects with shimmering details for special spooky nights. If you encounter unexpected paint bubbling during your crafting, aluminium paint application techniques.
Here’s a tip I’ve learned: traditional tempera is my go-to for its versatility. Whether I’m creating detailed designs or covering large areas, it works like a charm!
You should now have a good understanding of suitable tempera paint types for pumpkins. In the next part, we’ll discuss factors influencing adherence.

Factors Affecting Tempera Paint Adherence on Pumpkins
What factors influence how well tempera paint sticks to your pumpkin?
-
Surface Texture – Smoother pumpkins can cause paint to peel off more easily.
-
Moisture Level – Wet or damp surfaces prevent proper adhesion, leading to smudging.
-
Temperature – Cooler temperatures (Temps) slow drying time, affecting paint binding.
-
Type of Pumpkin – Hard-skinned varieties may need more preparation for better paint application.
Common Issues With Tempera Paint on Pumpkins
When my friend used tempera paint on pumpkins, it washed off easily in the rain. She wasn’t happy after all that work!
To fix this, she applied a spray sealant (Like Mod Podge). This helps the paint last longer and stay vibrant. Just wait 24 hours for it to dry completely!
Finishing Touches for Your Painted Pumpkins
After using tempera paint, seal your pumpkins with a clear acrylic spray, like Krylon Crystal Clear, to protect the colors. Apply two light coats, leaving 30 minutes between layers.
Inspect your pumpkins for chips or paint wear. Focus on the stem and grooves, as these areas show the most wear over time.
For advanced tips, mix mediums like glossy gel to enhance the sheen of your pumpkins. Use 50 mL of gel per 100 g of tempera paint for better durability and finish.
Creative DIY Project Ideas With Tempera Painted Pumpkins
How about turning your pumpkins into vibrant little masterpieces? Maybe make a pumpkin family, each with its own personality, or create a themed pumpkin set for Halloween!
To tackle these projects, grab some tempera paint, brushes, and an assortment of pumpkins—about $10 to $20 for materials. You’ll need around 2-3 hours of fun to complete it, depending on how intricate your designs are. If you want to preserve your painted pumpkins longer, you might want to explore techniques for sealing painted surfaces.
Sure, tempera works wonders on pumpkins, but why not try it on other surfaces? You can jazz up a flower pot or even create a cool decor piece using cardboard—you won’t believe how fun it can be! If you’re curious about expanding your painting techniques, exploring different paint compatibility can open up exciting creative possibilities.
Creative Techniques with Tempera Paint on Pumpkins
Let’s explore some unique methods to elevate your pumpkin painting game!
-
Use Stencils for Precision
Want clean lines? Try using stencils! You can create intricate designs effortlessly. Simply place the stencil on the pumpkin and dab the tempera with a sponge for a neat finish.
-
Embrace Mixed Media
Why stop at just paint? Add glitter, stickers, or fabric. Mixing materials can make your pumpkin stand out even more, creating a 3D effect.
Recommended SuppliesAs an Amazon Associate, I earn from qualifying purchases. Images are representative. -
For the Kids: Handprints and Footprints
Turn pumpkin painting into a family activity! Use your kid’s handprints or footprints for an adorable keepsake. Just make sure to wash their hands after!


Tips for Enhancing Your Tempera Painted Pumpkins
Want to take your pumpkin painting to the next level? Here are some pro tips!
-
Add Texture
Use sponges or fabric to stamp patterns onto your pumpkin. This adds visual interest and makes your pumpkin unique.
-
Layer Colors
Try painting layers. Let one color dry before applying the next. This creates a rich, dynamic look that’s eye-catching.
-
Use Glow-in-the-Dark Paint
Incorporate glow-in-the-dark tempera paint for nighttime magic! Just apply it over your existing design.
-
Play with Glitter
Sprinkle some glitter over wet paint to add a sparkly touch. It catches the light beautifully!
Comparative Benefits: Tempera vs. Other Paints for Pumpkins
Understanding how tempera stacks up against other paints can help you choose what’s best for your project.
| Paint Type | Durability (Days) | Ease of Cleanup | Vibrancy | Water Resistance |
|---|---|---|---|---|
| Tempera Paint | 1 – 3 | Easy | Good | Low |
| Acrylic Paint | 5 – 10 | Moderate | Excellent | High |
| Spray Paint | 10 – 14 | Hard | Very Good | High |
This table highlights the pros and cons, so you can choose wisely. Whether you go with tempera or another paint, make it a fun project!
Frequently Asked Questions
Can Tempera Paint Be Used Outdoors on Pumpkins?
Yes, you can use tempera paint outdoors on pumpkins. Tempera paint is water-based and not very weather-resistant, which means it might wash away with rain or moisture within a few hours.
How Long Does Tempera Paint Last on Pumpkins?
Tempera paint typically lasts 1 to 3 days on pumpkins. Its durability decreases significantly when exposed to the elements, making it less ideal for long-term displays.
Is Tempera Paint Safe for Children to Use on Pumpkins?
Yes, tempera paint is safe for children to use on pumpkins. It’s non-toxic and made from natural pigments, which makes it a popular choice for kids’ art projects.
Can You Remove Tempera Paint From Pumpkins?
Yes, you can remove tempera paint from pumpkins with soap and water. Since it’s water-based, it doesn’t bond strongly, allowing for easy cleanup.
What Are Alternative Paints for Pumpkin Decorating?
Alternatives to tempera paint for pumpkin decorating include acrylic paint, spray paint, and vegetable dye. Acrylic paint offers better durability and is suitable for outdoor use.
What Type Of Paint Sticks Best to Pumpkins?
Acrylic paint sticks best to pumpkins. It provides strong adhesion and forms a durable finish that withstands outdoor elements.
What Kind Of Paint is Recommended for Plastic Pumpkins?
Acrylic paint is recommended for plastic pumpkins. It bonds well and survives changes in temperature while providing vibrant colors.
Also See: What Are Diamond Painting? Enjoy Sparkling Art!
Conclusion
I’m glad we could cover this together. We explored what pumpkins are, essential preparations, a step-by-step guide for painting with tempera paint, a recommended color palette, types of tempera paint, factors affecting paint adherence, common issues, finishing touches, and creative DIY project ideas.
I trust these insights have been helpful. In summary, you can certainly use tempera paint on pumpkins by ensuring you choose the right paint, prepare properly, and unleash your creativity. Happy painting!
For more updates and articles, feel free to visit our homepage at Paint Answers.
Useful Resources
- Gurney, J. (2009). Color and Light: A Guide for the Realist Painter. Kansas City, MO: Andrews McMeel Publishing.
- 5 Pumpkin Painting Ideas for Kids
- Pumpkin Painting Party – Mamapedia™
- 5 Toddler-Friendly Ways to Decorate a Pumpkin | Totschooling – Toddler, Preschool, Kindergarten Educational Printables


