How Can You Test for Lead Paint?
Published on: March 3, 2025 | Last Updated: January 7, 2025
Written By: Sarah McClintock
Lead paint is a type of paint that used to have a special ingredient called lead. It helped paint stick better, but lead can be harmful, especially for little ones!
So, how can you test for lead paint? It’s crucial to know if you have this kind of paint in your home because it can be dangerous. I once found lead paint in an old house and it scared me, but testing for it gave me peace of mind.
In this guide, I’ll cover what lead paint is, steps to test for lead, different methods to check it, and common issues people face during testing. You’ll also get tips on color palettes for safe homes, and even some DIY projects to make your space lead-safe. Let’s dive into how you can test for lead paint!
How Can You Test for Lead Paint?
You can test for lead paint using a lead testing kit, available at home improvement stores. Just follow the instructions; it’s usually as simple as applying a solution to the paint surface. If the color changes, lead is present. Always take safety precautions when handling suspected lead paint.
What is Lead Paint?
Lead paint refers to any paint containing lead compounds. Commonly used in the U.S. before 1978, it can have lead concentrations as high as 1,000 parts per million (Ppm).
Testing for lead paint is crucial for safety. I remember a friend whose home had unexpected lead in the walls—it caught us all off guard!
I once helped a family address lead paint concerns, which opened my eyes. Their experience with testing highlighted how important it is to carefully detect dangerous materials.
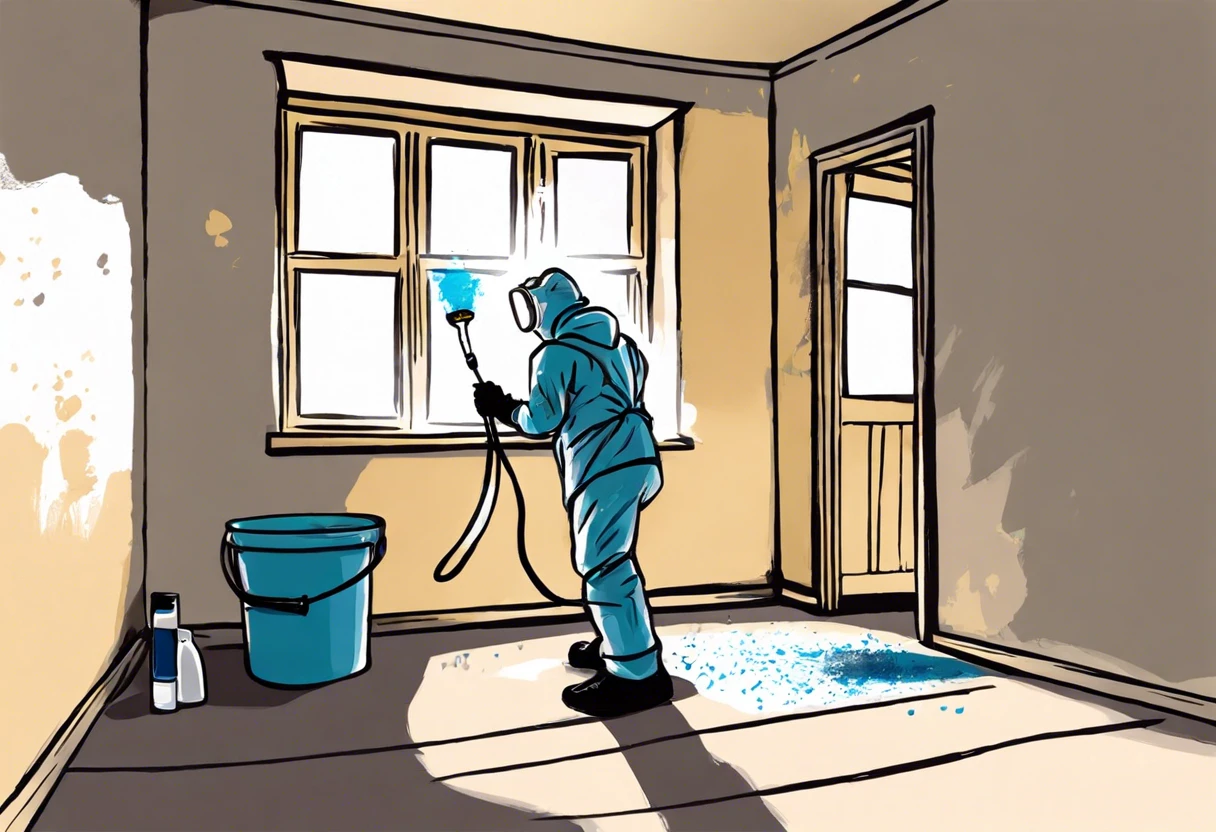
Before You Start Testing for Lead Paint
What do you need to begin?
- Lead Test Kit: You’ll need a reliable test kit, such as the 3M LeadCheck or D-Lead Test Kit, for accurate lead detection in paint.
- Safety Goggles 💰 Save on Anti-Fog Safety Goggles → : You’ll need safety goggles like the Xavoh Safety Goggles to protect your eyes from splashes or dust during testing.
- Gloves: You’ll need disposable nitrile gloves, such as AMMEX Gloveworks, to prevent skin contact with hazardous materials.
- Mask: You’ll need a respirator mask, like the 3M 7502, especially when sanding or scraping paint to avoid inhaling lead dust.
We covered important preparations for testing lead paint. We will now cover effective methods for conducting lead paint tests.
Also See: Can You Paint Over Asbestos? Risks & Best Practices
Steps to Effectively Test for Lead Paint
Now, let’s dive into how you can efficiently test for lead paint.
-
Identify Areas to Test for Lead Paint
Focus on surfaces like windows, doors, and floors built before 1978. Over 90% of homes from that era contain lead-based paint.
Check high-risk spots, especially areas with deteriorating paint or frequent friction, like windows and doors. Corners often collect layers—ideal for testing!
-
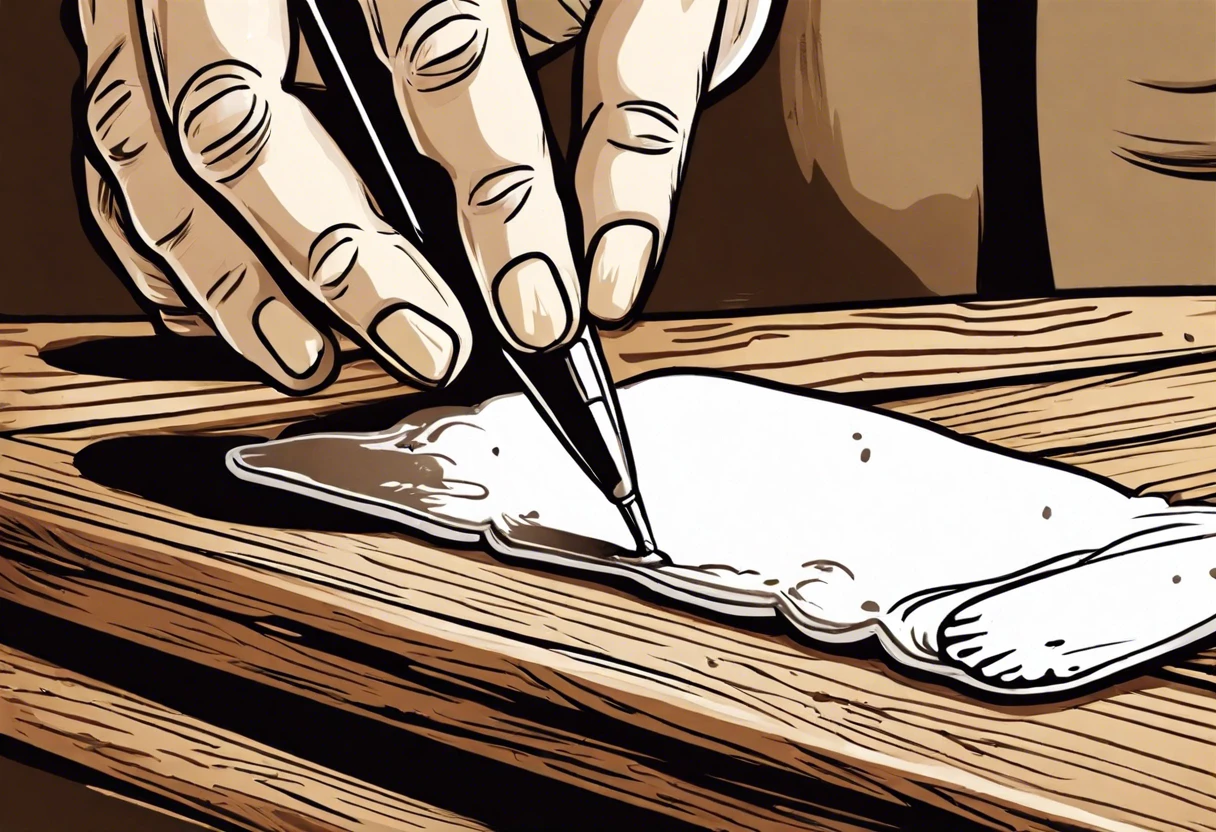
Perform a Lead Test
Use a lead testing kit to take samples. Kits typically include swabs and test tubes that show results within minutes, making the process quick and easy.
Follow the kit’s instructions for thoroughness. Accuracy is key; missing an area could skew the results.
-
Analyze Samples
If you’re using a test kit, read the indicated color change. Many kits reference levels, like 0.5 mg/cm², which require immediate action.
Some kits indicate safe versus unsafe levels. Protecting yourself from toxicity is critical—measure accurately and distinguish between safe and high warnings!
-
Interpret the Results
Decide your next steps by interpreting the readings. The EPA has set 1.0 mg/cm² as a concerning lead level, indicating the potential need for lead paint removal.
If you find high levels, consult a professional. Acting promptly can save both health and money in the long run!
We’ve wrapped up the steps for effectively testing for lead paint here. Let us turn our attention to the various lead paint testing methods.
Types Of Lead Paint Testing Methods
Let’s move on to the types of lead paint testing methods. We’ll cover X-Ray Fluorescence, EPA-Approved Kits, Lab Analysis, and Visual Inspection.
-
X-ray Fluorescence (XRF)
XRF testing uses gamma rays to detect lead content directly on surfaces. It’s fast and can pinpoint lead levels in just a few seconds—providing accurate measurements in mg/cm².
-
Epa-approved Lead Testing Kits
These kits, available at hardware stores, offer a DIY method for testing. With a simple wipe or swipe of a test swab, you can determine lead presence in minutes!
-
Lab Analysis
This method involves sending paint samples to a lab for detailed analysis. Results usually come back in a week, providing precise data about lead concentration—often in PPM (Parts Per Million). If you’re working with specialized surfaces like aluminum, you might want to explore advanced painting techniques for metal.
-
Visual Inspection
While basic, trained professionals can identify chipping or peeling paint. Visual cues, combined with specific measurements, help assess risk factors for lead exposure.
From both successes and failures, I’ve learned that using EPA-approved kits can be a game changer. They’re convenient and often provide immediate results, which are essential when time’s of the essence.
We’ve wrapped up the different methods for testing lead paint here. Let us turn our attention to the factors influencing testing accuracy.
Factors Affecting Lead Paint Testing Accuracy
What factors influence your strategy for checking lead paint presence?
-
Sample Location: Testing different surfaces, like walls or furniture, may yield different results.
-
Testing Method: Choosing between DIY kits and professional tests significantly impacts accuracy.
-
Environmental Conditions: Humidity and temperature can affect the reliability of test results.
-
Age of Paint: Older paint layers are more likely to contain lead, so context is important.
We covered aspects impacting lead paint testing accuracy. We will now cover environmental factors that influence lead paint testing results.
Environmental Factors Influencing Lead Paint Testing
Your testing results can change based on where you test. Let’s look at how the environment affects your findings.
-
Humidity
High humidity levels (above 50%) can cause paint to deteriorate faster. Damp environments may trigger lead dust release, skewing test results.
-
Temperature
Extreme temperatures can affect paint adhesion. For testing accuracy, perform tests in stable conditions—ideally between 60°F (15°C) and 80°F (27°C).
-
Presence of Dust
Thick layers of dust can falsely lower lead detection. Clean the area before testing to obtain valid results. Result variability can occur in dirty vs. clean environments!
Testing Lead Paint in Different Environments
Did you know where you test for lead paint can change your results? Let’s break down testing in various settings.
-
Indoor Testing
For indoor settings, focus on common areas like living rooms and kitchens—places where kids play. Testing surfaces like window sills and door frames is essential because they’re often painted with lead-based paint.
-
Outdoor Testing
When testing outside, look at fences, playsets, and patio furniture. Lead paint was often used on these items for durability. Ensure you select areas with peeling paint, as those spots may reveal lead exposure risks more readily. If you need guidance on paint testing techniques, carefully collect samples from affected surfaces.
-
Renovation Sites
When renovating or remodeling, always test before starting work. Homes built before 1978 are likely to contain lead paint. Checking walls, ceilings, and any layered paint can prevent exposure during the demolition process. If you’re planning a comprehensive home exterior update, you might want to explore the average cost of painting exteriors.
Lead Paint Testing Costs
Let’s get down to the numbers. How much does testing really cost? Here’s what you can expect:
| Testing Method | Average Cost (USD) | Time Required |
|---|---|---|
| Diy Test Kits | $10 – $40 | 30 minutes |
| Professional Inspection | $200 – $500 | 1 – 3 hours |
| Lab Analysis | $50 – $150 | 1 week |
Choosing the right method depends on your budget and urgency. DIY kits are affordable and quick but might not be as precise as professional services. Get budgets in check before deciding!
Lead Paint Testing Regulations and Standards
Understanding regulations is crucial for safe lead paint testing. The guidelines add an essential layer to your process.
| Regulation | Year Enacted | Description |
|---|---|---|
| Residential Lead-Based Paint Hazard Reduction Act | 1992 | Mandates disclosure of lead-based paint in homes before sale or lease. |
| EPA’s Lead Renovation, Repair and Painting Rule | 2008 | Requires lead-safety practices for contractors on homes built before 1978. |
| HUD Guidelines on Lead-Based Paint | 1995 | Establishes protocols for assessing and controlling lead hazards in housing. |
Common Issues When Testing for Lead Paint
My friend faced issues when testing for lead paint. She used a home test kit, but it returned mixed results. Frustrating, right?
For reliable results, I recommend using an EPA-certified lab. They typically analyze samples in parts per million (Ppm) to measure lead levels accurately. This ensures safety and compliance.
Finishing Touches: Cleaning Up After Testing
After testing for lead presence, damp-wipe surfaces with disposable cloths. Use a cleaner like TSP (Trisodium Phosphate, 15 G/l) and glyphosate mixed in warm water.
Inspect for debris and chips, especially around windows (Keep Screens Tightly Fitted). Use a high-powered HEPA vacuum with a filtration rate of 99.97% at 0.3 µm instead of standard vacuums.
Here’s a pro tip: when repainting, encapsulate (Shield) areas with high lead levels using special paints that meet ASTM standards. Ensure a minimum thickness of 200 microns.
Frequently Asked Questions About Testing for Lead Paint
What Are the Most Common Lead Test Kits?
Some of the most common lead test kits include EPA-recognized products like LeadCheck and 3M LeadCheck Swabs. These kits typically allow you to test surface paint, dust, or soil samples quickly and easily, providing reliable results in about 30 seconds.
How Accurate Are DIY Lead Test Kits?
DIY lead test kits can be fairly accurate, but their precision often varies. Many kits boast over 95% accuracy when used correctly, still, they can’t match professional laboratory results that measure lead content in parts per million (Ppm).
What Should I Do if I Find Lead Paint?
If you discover lead paint, you should take immediate safety measures. It’s best to contact certified professionals for lead-safe removal, especially since over 1 million American homes contain lead hazards, posing serious health risks. When preparing for paint removal, you might want to explore painting techniques for different surfaces.
Can I Test for Lead Paint Myself?
Yes, you can test for lead paint yourself using commercial lead test kits easily available online or at hardware stores. However, if results indicate lead presence, always consult experts for safe handling and remediation. If you’re curious about alternative paint techniques and safety, you might want to explore how different paint methods work.
What Are the Health Risks Of Lead Paint Exposure?
Lead paint exposure is hazardous, particularly for children under six. Lead poisoning can cause developmental issues, learning disabilities, and in severe cases, seizures or death. Even low levels can harm, emphasizing health risks. If you’re working with older surfaces, you might want to explore safe painting health precautions that minimize potential contamination and protect your family’s health by preparing surfaces carefully.
How Can I Remove Lead-based Paint Safely?
To remove lead-based paint safely, you must follow strict guidelines. Methods such as wet scraping or using chemical strippers help to minimize lead dust and exposure. It’s crucial to wear protective gear and adhere to local safety regulations. If you’re unsure about the specific techniques for painting over different surface materials, consulting a professional can ensure proper application and safety.
What Are the Signs Of Lead Paint in Older Homes?
Older homes built before 1978 might contain lead paint. Signs include chipped or peeling paint, or work that disturbs surfaces. If you suspect lead, consulting a professional for testing is wise to avoid health risks. When dealing with potential lead paint, you might need to know how to modify paint for safe removal.
What Should I Look for in a Lead Paint Recovery Professional?
When hiring a lead paint recovery professional, focus on their credentials, certifications, and experience. Confirm they are certified by the EPA as Lead-Safe Certified Firms, ensuring compliance with safety regulations for effective lead paint management.
Conclusion
We covered what lead paint is, ways to test for it, the steps to prepare before testing, the types of testing methods, and the importance of cleaning up after testing.
Hopefully, I was able to impart some of my experience on how you can test for lead paint by checking for symptoms, using test kits, or hiring professionals to ensure your space is truly lead-safe.
For further insights and comprehensive information, be sure to visit Paint Answers.
Additional Resources
- Smith, R. (2003). The Artist’s Handbook of Materials and Techniques (5th ed.). New York, NY: Knopf.
- Lead Paint Testing – MN Dept. of Health