How to Blend Touch Up Paint on Walls?
Published on: December 21, 2025 | Last Updated: October 1, 2025
Written By: paint_answered
Touch up paint is special paint that fixes little spots on your wall. Think of it as a magic potion that helps make your walls perfect again!
Learning how to blend touch up paint on walls is super important. I once had a big mess after moving furniture, and trust me, blending made all the difference!
In this guide, you’ll discover before starting tips, effective blending steps, recommended colors, types of touch-up paint, and common blending issues. This will help you learn how to blend wall paint like a pro!
Contents
- 1 How to Blend Touch Up Paint on Walls?
- 2 What is Touch-up Paint?
- 3 Before You Start Blending Touch-up Paint
- 4 Steps to Effectively Blend Touch-up Paint
- 5 Recommended Color Palette for Blending Touch Up Paint
- 6 Understanding Different Paint Finishes for Blending Touch-up Paint
- 7 Understanding the Importance of Paint Sheen in Blending
- 8 Using Color Theory for Enhanced Blending
- 9 Color Matching Techniques for Touch-up Paint
- 10 Types Of Touch-up Paint for Walls
- 11 Factors Affecting the Blending Of Touch-up Paint on Walls
- 12 Common Issues When Blending Touch-up Paint on Walls
- 13 Finishing Touches for a Seamless Wall Appearance
- 14 Frequently Asked Questions About Blending Touch Up Paint on Walls
- 15 Conclusion
- 16 Additional Resources
How to Blend Touch Up Paint on Walls?
To blend touch up paint on walls, choose the same base color. Apply a small amount on the spot using a brush. Feather the edges with a slight dab or stroke for a smooth wall painting technique. Let it dry completely before assessing. If you’re considering a more comprehensive painting project, you might want to explore professional painting techniques.
What is Touch-up Paint?
Touch-up paint is specially formulated to cover small defects on walls, furniture, or cars. It comes in small containers, usually 0.25 liters (8.5 Fluid Ounces) or less, making it easy to manage for quick fixes. If you’re working on specialized surfaces like marine equipment, you might want to explore painting boat surfaces effectively.
I’ve experimented with blending touch-up paint on walls. Last summer, I tackled a mismatched spot after rearranging some furniture, and it took a few tries to get it right!
In my experience, I used it to repair minor blemishes on an office wall. Knowing how to blend wall paint can transform a room, hiding imperfections with subtle but skillful applications.
Before You Start Blending Touch-up Paint
What do you need to get ready for?
- Paint Leveler: Use a product like Zinsser Smart Prime. It ensures an even surface for a smooth blend.
- Paintbrush: Invest in a high-quality brush like Wooster Ultra Pro. It allows precise application for a seamless match.
- Touch-Up Paint: Use brand-specific paint, such as Benjamin Moore Regal Select. This ensures color accuracy for the best finish.
- Painter’s Tape: Get some 3M ScotchBlue. It’s essential for clean lines around your repair area to prevent messy overlaps.
We covered preparation, tools, and techniques for blending touch-up paint here. We will now cover effective blending steps.
Also See: Can You Return Paint to Lowe’s? Here’s How!
Steps to Effectively Blend Touch-up Paint
Here are the steps to seamlessly blend touch-up paint on your walls.
-
Assess the Area Needing Touch-up
Start by examining the specific area. Look for stains, scratches, or color fading that need your attention.
Choose the right paint that matches the existing color. Use a small swatch from the original paint can for accuracy.
-
Prepare the Wall Surface
Clean the area with a damp cloth to remove dirt. Let it dry completely before proceeding; moisture can prevent proper paint adhesion.
If needed, lightly sand the surface to improve paint adhesion, focusing on areas with peeling or imperfections.
-
Apply the Touch-up Paint
Carefully apply the touch-up paint with a small brush or roller. A roller is best for larger areas; it creates a smoother finish than a brush alone.
Try a mock-up on a piece of paper first to perfect your technique. Don’t overload the brush; a thin layer is better for desirable results.
-
Blend and Feather the Edges
After applying the paint, quickly blend the edges with a dry brush or roller. Use light strokes to push the new paint into the surrounding area.
Feathering reduces visible lines. If the edges are too stark, apply a second layer of the old wall color around them once the touch-up dries.
-
Allow to Dry and Inspect
Allow the paint ample time to dry—usually about 2-4 hours is ideal without compromising texture.
Once dry, evaluate the coverage under different lighting. If more blending is needed, repeat the earlier steps for a flawless look.
We have now covered the steps to effectively blend touch-up paint. The next section will discuss a recommended color palette.
Recommended Color Palette for Blending Touch Up Paint
I recommend a calming “Ocean Breeze” theme for your touch-up paint. It not only complements various room designs but also ensures seamless blending with existing colors.
| Color Box | Hex Code | Color Name |
|---|---|---|
| #0077B3 | Deep Blue | |
| #B3E2D5 | Mint Green | |
| #F4FFFF | Soft White | |
| #F1C40F | Sunshine Yellow |
That covers the suggested color palette for blending touch-up paint. Let’s now take a look at various paint finishes.
Understanding Different Paint Finishes for Blending Touch-up Paint
Different paint finishes play a big role in how well your touch-up blends with existing paint.
-
Matte Finish
This finish has no shine and is great for hiding imperfections. Use a matte touch-up paint for the best blend.
-
Eggshell Finish
Eggshell has a slight sheen and works well in living rooms. Choose eggshell touch-up paint to match this finish.
-
Satin Finish
Satin has a soft glow and is popular in kitchens. When touching up satin walls, be sure to use satin paint.
-
Gloss Finish
This finish reflects light well and is durable. Use a gloss touch-up paint for high-traffic areas like hallways.
We have now covered various paint finishes for effective touch-up blending. Next, we will explore the significance of paint sheen.
Understanding the Importance of Paint Sheen in Blending
Paint sheen can make or break your touch-up results.
-
Why Sheen Matters
Sheen affects how light reflects off your walls. Matching sheen ensures your touch-up blends perfectly.
-
Types of Sheen
Here’s how different sheens affect blending:
Sheen Type Characteristics Best Use Flat No shine, hides imperfections well Ceilings, low-traffic areas Eggshell Soft sheen with some durability LIVING rooms and bedrooms Satin Gives a slight glow and is easy to clean Kitchens and bathrooms Glossy Highly reflective and durable Trim, doors, and high-traffic areas -
Testing Sheen
To test sheen, apply a small spot of paint on a hidden area and wait until it dries. Check how it reflects light against your existing wall.
Using Color Theory for Enhanced Blending
Color theory can guide you for a better blending experience.
-
The Color Wheel
Use the color wheel to understand complementary and analogous colors. This knowledge helps in making your touch-up look natural.
-
Creating Harmonious Blends
Complementary colors sit opposite each other on the wheel. For instance, soft blue works well with warm oranges. Use this to enhance your touch-up finesse.
-
Tips for Blending
Follow these tips:
- Choose colors that are next to each other on the wheel for subtle blends.
- Test a patch on scrap material if you’re unsure.
- Incorporate colors from surrounding decor to maintain harmony.
Color Matching Techniques for Touch-up Paint
Getting the right color is key to blending paint seamlessly.
| Technique | Tools Needed | Description |
|---|---|---|
| Color Sample | Paint Chip, Color Fan | Use samples to match your wall’s shade accurately. |
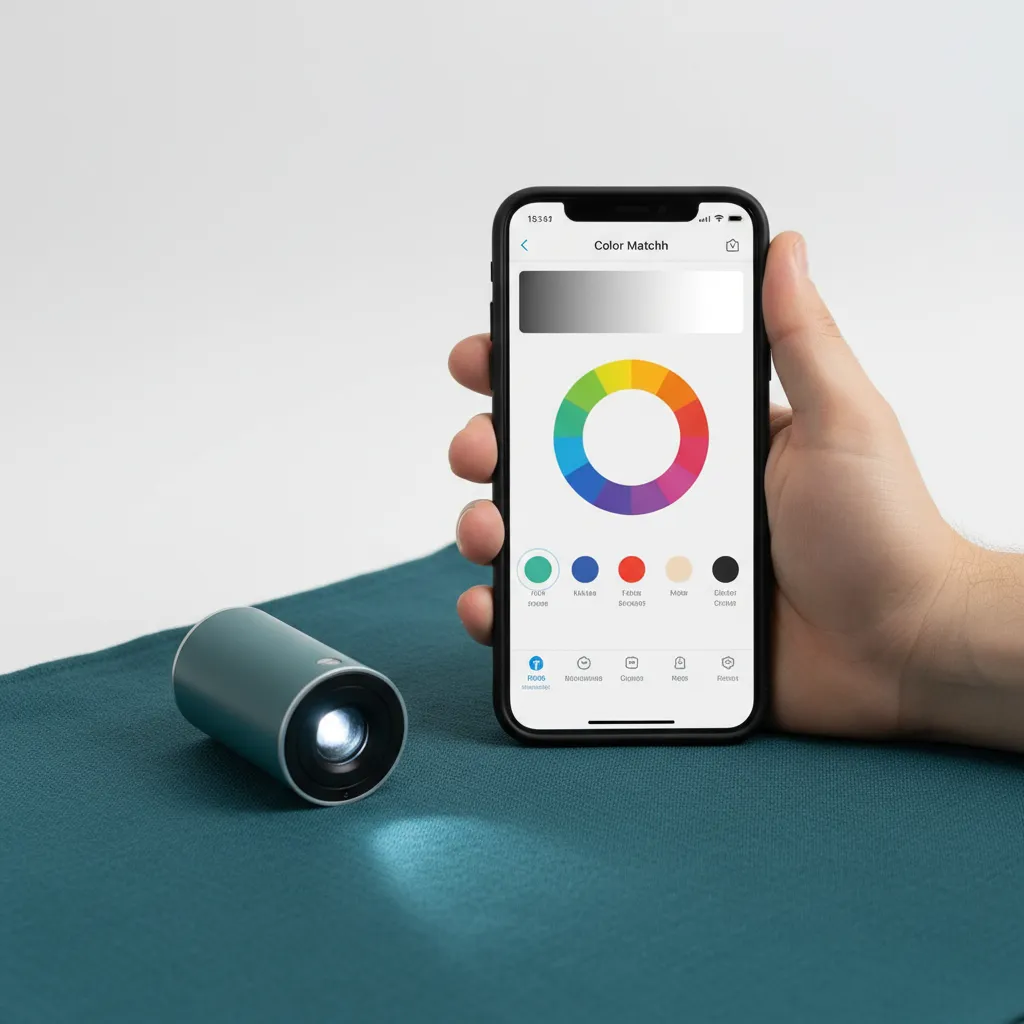
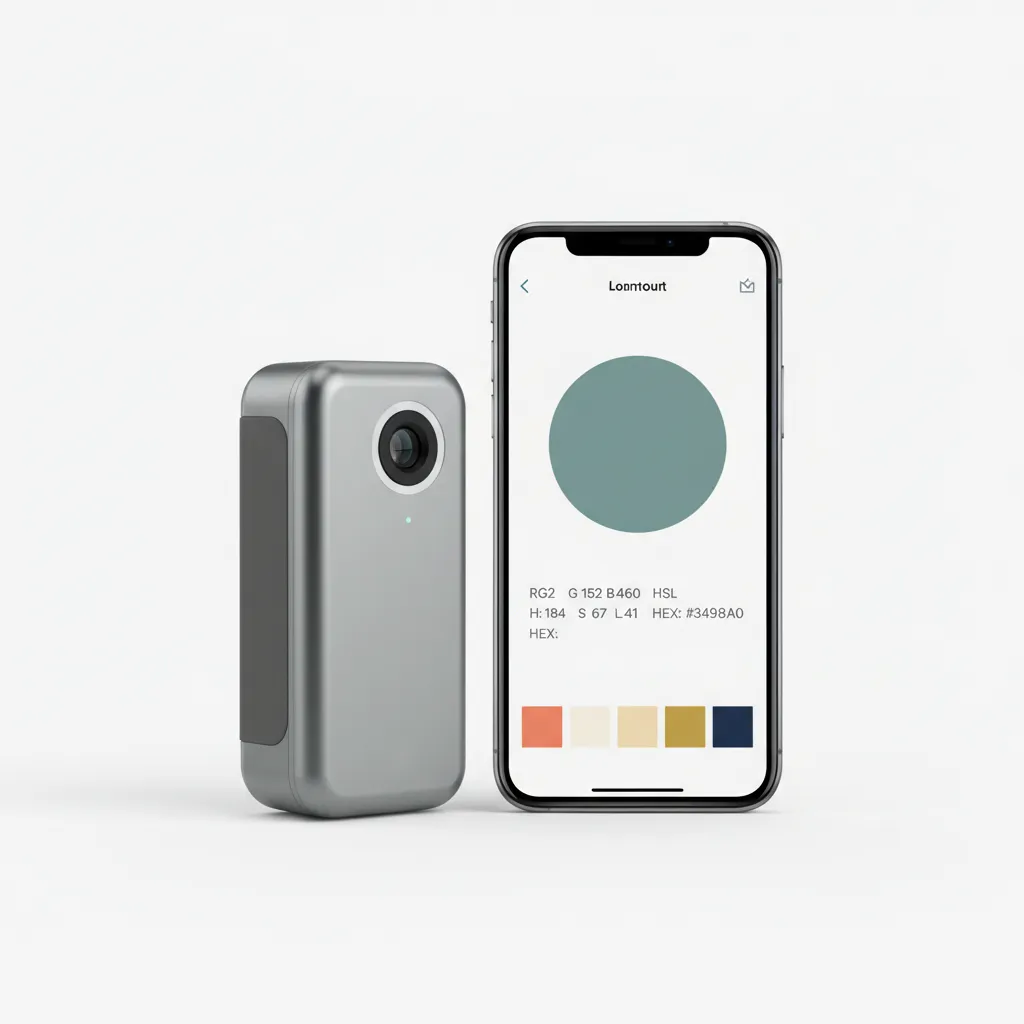
| Color Matching Apps | Smartphone App | Apps can analyze the color of your wall and suggest matches. |
| Visual Comparison | Swatches | Hold different paint swatches against your wall under various lights. |
| Test Patch | Brush, Small Canvas | Create a small patch to see how the color looks when dry. |
Types Of Touch-up Paint for Walls
Let’s explore the types of touch-up paint: oil-based, latex, spray paint, and primer.
-
Oil-based Touch-up Paint
Oil-based paints offer a durable finish, ideal for high-traffic areas. They take longer to dry—up to 24 hours—but blend seamlessly with existing oil-based paints.
-
Latex Touch-up Paint
Latex paints dry quickly and are water-resistant. With a drying time of about 1 to 2 hours, they simplify blending by adding a soft texture.
-
Spray Paint
Spray paint provides an even coat, especially in hard-to-reach spots. Spray from about 12 in (30 Cm) away to avoid drips while ensuring good coverage.
-
Primer
Using primer helps mask imperfections and improve topcoat adhesion. It’s especially useful on patchy walls or varying textures after blending touch-up paint.
Having faced similar challenges, I prefer latex touch-up paint. It’s fast-drying, and its flexibility makes blending with existing wall paint easier.
Factors Affecting the Blending Of Touch-up Paint on Walls
What factors influence the blending of touch-up paint on your walls?
-
Paint type: Using the wrong paint type can lead to mismatched textures and finishes.
-
Color matching: Not mixing the exact shade can result in noticeable patches.
Recommended SuppliesAs an Amazon Associate, I earn from qualifying purchases. Images are representative. -
Application technique: Poor brush strokes or rolling methods create uneven surfaces.
-
Surface preparation: Not cleaning and priming the wall affects paint adhesion and blending.
Common Issues When Blending Touch-up Paint on Walls
When my friend tried to blend touch-up paint on her living room wall, she encountered a color mismatch. The fresh paint looked brighter than the aging wall.
To fix this, she added a dash of water (About 10%) to the touch-up paint. This helped it match the wall’s sheen, creating a seamless look.
Finishing Touches for a Seamless Wall Appearance
After blending your touch-up paint, wait 15-30 minutes for it to dry. Then, lightly sand (Smooth) the edges with 220-grit sandpaper 💰 Save on Assorted Grit Sandpaper → for a flawless finish.
Inspect three key details: check the sheen level against the wall, compare color in daylight, and verify texture consistency. Consider products like Valspar ColorMatch for better results.
An insider tip—apply a second, diluted coat mixed with a 10% water ratio. This trick ensures even absorption and color matching across your painted surfaces.
Frequently Asked Questions About Blending Touch Up Paint on Walls
What is the Best Way to Match Touch Up Paint?
To match touch up paint effectively, use the same brand and color code as the original paint. Most paint retailers have exact color matching tools, which can make this task easier and gives you a better chance of a perfect match.
How Long Does Touch Up Paint Take to Dry?
Your touch up paint usually takes about 1 to 2 hours to dry but can require a full 24 hours to cure completely. Weather, temperature, and humidity can affect this, so keep those factors in mind when timing your touch up work. If you accidentally spill brake fluid during your repair process, you might want to know how to handle potential paint damage quickly.
Can I Blend Touch Up Paint Without Professional Help?
Yes, you can blend touch up paint without professional help. Many DIYers successfully blend paint using simple techniques like pad painting or feathering with a brush, saving you the cost of hiring a professional. If you encounter persistent paint issues like uneven coverage or unexpected peeling, you might want to diagnose potential ceiling paint problems.
What Type Of Paint Should I Use for Touch Ups?
For touch ups, use the same type of paint (Like Latex or Oil-based) as the original. Matching the finish, such as matte, eggshell, or satin, keeps your work seamless and visually appealing.
Will Touch-up Paint Last As Long As the Original Paint?
Touch-up paint can last as long as the original if applied correctly. Proper application techniques and high-quality paint make for a durable finish, but often they may be more prone to fading or wear depending on traffic areas. When working on detailed paint jobs, you might encounter tricky spots like painting painting behind tight spaces.
What Supplies Do I Need for Blending Touch Up Paint?
You’ll need sandpaper, primer, brushes, paint trays, and the touch up paint itself. Having these on hand streamlines the process and ensures you do a professional-quality job.
How Do I Prepare the Surface for Touch Up Paint?
To prepare the surface for touch up paint, clean it well and lightly sand any rough patches. A smooth surface allows for better adhesion, which is crucial for a flawless finish.
Also See: Can You Paint Brick Pavers? Yes, and It’s Easy!
Conclusion
I trust this information will assist you with your exterior painting project. We discussed essential aspects such as touch-up paint, blending techniques, color palette suggestions, types of paint, blending challenges, common issues, finishing touches, and DIY ideas.
For effective blending of touch-up paint on walls, remember to prepare the area, choose the appropriate paint, and apply it with care. Keep these strategies in mind for a flawless finish. If you need further guidance on blending touch-up paint, feel free to reach out!
For more expert advice, visit Paint Answers.
Additional Resources
- Loomis, A. (2011). Figure Drawing for All It’s Worth. New York, NY: Titan Books.
- r/paint on Reddit: Screwed up doing touch up paint on wall, what do I do now?
- How To Blend Touch Up Paint (Step-by-Step Guide) | Upgradedhome.com