How Do You Remove Paint Transfer From a Car?
Paint transfer happens when paint from another surface sticks to your car, like getting a hug from a colorful wall. It’s like a sneeze of paint: unexpected and messy.
So, how do you remove paint transfer from a car? It’s super important to tackle it quickly to keep your car looking sharp. I once let a paint mark sit too long and ended up needing a lot more elbow grease to fix it.
In this guide, I’ll cover what paint transfer is, the tools you need, a step-by-step removal method, and common issues you might face. You’ll learn techniques to remove paint transfer from a car without damaging the original paint, plus tips on touch-ups and DIY projects.
Contents
- 1 How Do You Remove Paint Transfer From a Car?
- 2 What is Paint Transfer?
- 3 Before You Start Removing Paint Transfer
- 4 Step-by-step Guide to Removing Paint Transfer
- 5 Types Of Paint Transfer and Their Removal Techniques
- 6 Factors Affecting Paint Transfer Removal Success
- 7 Common Issues When Removing Paint Transfer
- 8 Finishing Touches After Paint Transfer Removal
- 9 What to Do if Paint Transfer Removal Fails?
- 10 Essential Maintenance Tips to Prevent Paint Transfer
- 11 Professional Repainting Options for Severe Cases
- 12 Frequently Asked Questions About Removing Paint Transfer From Cars
- 13 Conclusion
- 14 Additional Resources
How Do You Remove Paint Transfer From a Car?
To remove paint transfer from a car, gently wash the area with soap and water. Use a soft cloth and polish with rubbing compound or a detailing spray. For tough spots, try a clay bar. Always test in an inconspicuous area first! If you’re worried about paint stains on your clothing during the process, you might want to know how to handle paint stains on fabric.


What is Paint Transfer?
Paint transfer occurs when paint from one object, like a car, accidentally gets applied to another surface. This typically happens during contact, such as in a fender bender, and may involve a thin layer of paint approximately 0.1 to 0.3 millimeters (Mm) thick.
To remove paint transfer from a car, people often recommend using automotive soaps, clay bars, and rubbing compounds. From my experience, using a smooth microfiber cloth 💰 Save on Microfiber Cleaning Cloth → along with specialized detailing products makes a significant difference. If you’re curious about modifying paint consistency, you might want to explore paint thickening techniques.
In my experience, I used a clay bar to carefully eliminate paint transfer from a car without harming the original finish. It’s impressive how simple techniques can yield such great results, especially when you know how to remove paint transfer from a car properly.
Before You Start Removing Paint Transfer
What do you need to get ready?
- Car Rubbing Compound: You’ll need a product like Meguiar’s Ultimate Compound. It’s essential for safely buffing out paint transfer without harming your finish.
- Polishing Pad: A foam polishing pad, like the Chemical Guys Hex-Logic pad, ensures even application and effective results.
- Microfiber Towels: Use high-quality towels such as AmazonBasics Microfiber Cloths. They’re crucial for removing residues and preventing scratches on your paint.
- Car Wash Soap: A pH-balanced soap like Adam’s Car Wash Shampoo is vital for cleaning the area before treatment. Clean surfaces yield better results.
- Water Spray Bottle: You’ll want a spray bottle filled with water to keep surfaces moist while you work. It helps prevent dust and further damage.
We covered precautions, tools needed, and techniques for paint transfer removal here. We will now cover a step-by-step guide.
Also See: How to Paint a Motorbike Frame? Quick Guide
Step-by-step Guide to Removing Paint Transfer
Here are the steps to remove paint transfer like a pro.
-
Assess the Damage
Examine the affected area closely to determine how deep the paint transfer is. A light surface stain is easier to handle than deeper scuffs.
Look for scratches or marks; these clues indicate how much effort you’ll need to put in. Quick tip: If you can feel the paint transfer with your fingernail, it’s likely more than just surface damage.
-
Choose the Right Cleaning Solution
Select a cleaning solvent that matches your car’s paint type; common options include rubbing compound or a specialized auto paint cleaner. For deep or stubborn stains, choose a product with micro-abrasives. If you’re curious about the composition of these automotive finishes, automotive paint chemistry reveals fascinating details about their protective properties.
Free ToolOpen Calculator →Car Paint Cost EstimatorBody shops charge thousands. See exactly what it costs to DIY vs Pro. Don't get ripped off on your quote.Read labels carefully and ensure the product is compatible with your paint finish, especially if your vehicle is clear-coated. Using incompatible products can cause further damage.
-
Apply the Cleaning Solution
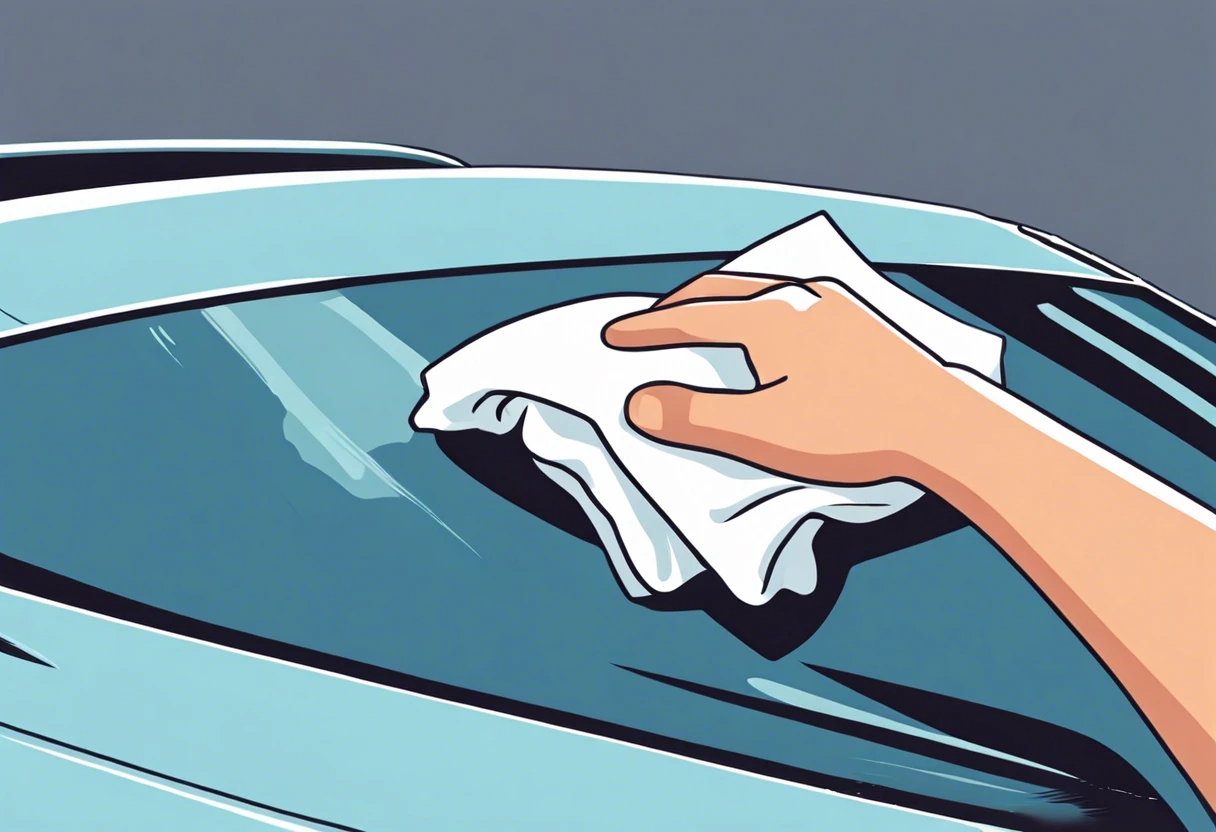
A little elbow grease goes a long way! Grab a microfiber cloth, dampen it with your cleaning solution, and gently rub the area in a circular motion. Start slowly.
This step is crucial; you want to lift the paint without damaging your car’s original finish. Reapply the solution as it dries, but remember—less is more.
-
Inspect Your Progress
After a few minutes of gentle rubbing, step back and check your work. See if the paint transfer is lifting; if not, you may need to apply more force or use a stronger cleaner.
You might need to switch to a more aggressive product temporarily, but do this sparingly to avoid harming your finish. Continuously assess to find the right technique.
-
Rinse and Dry
When you’re satisfied with the results, rinse the area. Use clean water and a soft cloth to wash off any solution or residue; this helps maintain your car’s shine.
After rinsing, dry the area thoroughly with a fresh microfiber cloth. This step is important because letting water spots sit can cause further damage.
We covered methods for removing paint transfer in this section. We will now cover various types of paint transfer and removal techniques.
Types Of Paint Transfer and Their Removal Techniques
Let’s move on to types. We’ll cover common paint transfer scenarios, removal methods, tools, and strategies.
-
Overspray Paint Transfer
Overspray occurs when spray paint accidentally lands on your car. To remove it, use a detailing clay bar; it effectively lifts contaminants without harming the original paint.
-
Tape Residue Transfer
Sticky tape residue can be a hassle! A specialized tape residue remover or rubbing alcohol can help lift it off without damaging your car’s clear coat.
-
Road Paint Transfer
Road paint can cling stubbornly to your vehicle, especially when wet. Use a solvent like WD-40 and a soft microfiber cloth for effective removal.
-
Insect and Dirt Stains
Insects can leave more than just a mess; they can also transfer paint. A dedicated car wash solution helps clean this safely, typically with pH-balanced formulas.
Reflecting on my experiences, one thing stands out—overspray paint transfer. The clay bar technique has served me well multiple times, leaving my ride looking pristine without a scratch!
So far we covered different paint transfer types and how to remove them. Let’s look at the factors influencing removal success next.
Factors Affecting Paint Transfer Removal Success
What factors influence the success of removing paint transfer from a car?
-
Type of surface: Glossy surfaces are easier to clean than textured or matte ones.
-
Time elapsed: The longer paint sits, the harder it is to remove.
-
Removal method: Using incorrect techniques can damage the original paint.
-
Paint type: The type of paint on your car can affect how difficult it is to remove.
We have now covered the elements influencing paint transfer removal success. Next, we’ll discuss common issues encountered during this process.
Common Issues When Removing Paint Transfer
Once, my friend scraped their car against a pole. Ouch! They had stubborn blue paint streaks everywhere. Each wipe made it worse, and they weren’t sure how to start.
To fix it, use a clay bar or rubbing compound—like 3M Perfect-It (365 G). Apply it with a soft cloth. Use a microfiber (Microfibre) tool for safety. Remove the paint slowly to avoid scratching your car’s original paint. If you’re interested in exploring digital painting techniques that might complement your automotive restoration skills, you can discover animation possibilities in MediBang.
Finishing Touches After Paint Transfer Removal
After removing paint transfer, clear sealants create a protective layer. Apply a high-quality wax (Like Meguiar’s Ultimate) after 24 hours for best results.
Inspect edges for any remaining residue. Use a magnifying glass to check untouched areas, focusing on 1.5 mm strips of the car’s surface and touch up as needed.
An insider tip is to apply rubbing compound sparingly—in areas about 30 cm (12 in) in diameter—to blend finishes seamlessly and avoid oversaturation.
What to Do if Paint Transfer Removal Fails?
Sometimes, despite your best efforts, the paint transfer just won’t budge. Here’s how to handle that.
-
Evaluate Your Technique
First off, did you use the right products? Check if they’re suitable for your car’s finish. Sometimes, lesser-known brands don’t get the job done.
-
Consider Using Heat
Try applying a little heat with a heat gun 🔥 Deal: Dual-Temperature Heat Gun → or hairdryer. Warm up the paint transfer gently before using the clay bar again—it can help lift stubborn stains.
-
Switch to a Stronger Product
If the regular rubbing compounds aren’t working, consider trying a more robust automotive-grade solvent. Just test it on a tiny spot first to ensure it won’t mess up your finish.
Essential Maintenance Tips to Prevent Paint Transfer
Keeping your car looking pristine involves more than just removal; prevention is key.
- Regular Washes: Wash your car every two weeks. This keeps dirt and contaminants at bay. A clean surface reduces the chance of paint transfer.
- Use a Sealant: Applying a wax or sealant every few months protects the paint. It creates a barrier that helps prevent transfer from nearby surfaces.
- Park Smart: Choose parking spots away from others. Take the time to find a safe spot to avoid dings and paint transfer.
- Use Coverings: Invest in car covers for outdoor parking. They can shield your car from accidental paint exposure and environmental elements.
Professional Repainting Options for Severe Cases
In extreme scenarios, you might need professionals to take over. Here’s what to look for.
| Service | Description | Average Cost (USD) |
|---|---|---|
| Body Shop Touch-Up | Minor scratches filled and blended with original paint. | $100-$300 |
| Professional Detailing | Thorough cleaning and polishing by experienced detailers. | $50-$150 |
| Full Repaint | Complete respray of affected panels for a like-new finish. | $500-$3,000 |
Depending on your car’s condition and the severity of the paint transfer, weigh your options against the costs before proceeding!
Frequently Asked Questions About Removing Paint Transfer From Cars
What is the Best Way to Remove Paint Transfer From a Car?
Yes, the best way to remove paint transfer from a car involves using a few simple materials like a clay bar and a gentle rubbing compound. These methods clean the surface without harming the original paint, as an abrasive material can easily scratch your car’s finish.
Can Paint Transfer Damage My Car’s Finish?
Yes, paint transfer can damage your car’s finish. When two vehicles rub against each other, the transfer can lead to surface scratches and discoloration if not addressed quickly. Left untreated, it might require professional car paint repair. If you’re wondering about paint application techniques and potential solutions, painting methods can help restore surfaces.
How Long Does It Take to Remove Paint Transfer From a Car?
Removing paint transfer from a car typically takes 15 to 30 minutes. Depending on the severity, a simple buffing might fix it fast, while stubborn stains may need more time and different products for full removal. If you’re dealing with complex paint issues on surfaces like painting alloy rims professionally, specialized techniques could make a significant difference.
Is It Safe to Use Rubbing Alcohol to Remove Paint Transfer?
Yes, it’s safe to use rubbing alcohol to remove paint transfer. It’s non-abrasive, making it gentle on existing finishes while effectively breaking down unwanted paint. Always test a small area first to ensure no adverse reactions occur.
When Should I Seek Professional Help for Paint Transfer Removal?
You should seek professional help for paint transfer removal when the damage is extensive or involves deep scuffs and scratches. Many pros can restore your car’s finish, saving you time and ensuring the job’s done right without risking further damage. If you’re wondering about paint repair techniques, painting techniques can help restore surfaces.
How Do I Ensure Paint Transfer Doesn’t Happen Again?
To prevent paint transfer in the future, maintaining a safe distance between vehicles is key. Additionally, parking in well-lit, spacious areas can reduce the risk of accidental contact that leads to paint transfer.
Can I Use Household Items to Clean Paint Transfer?
Yes, household items like vinegar and baking soda can help clean paint transfer. However, while they’re gentler on the surface, they may not be as effective as commercial products specifically designed for automotive finishes.
What Steps Should I Take Before Attempting to Remove Paint Transfer?
Before attempting to remove paint transfer, first wash the affected area with soapy water. This prevents debris from scratching the paint further during removal. Water and a mild soap ensure your car remains safe during the cleaning process. If you’re looking to explore professional exterior paint options, Benjamin Moore Aura offers superior solutions.
Conclusion
We’ve gone through a lot; thank you for sticking with us. We explored what paint transfer is, how to prep your car, the step-by-step removal process, recommended color palettes for touch-ups, types of paint transfer and their removal techniques, factors affecting removal success, common challenges you might encounter, and final touches after removal.
In summary, removing paint transfer from your car requires careful application of a clay bar or rubbing compound, with a time investment of 15 to 30 minutes for the best results.
For additional resources and insights, check out Paint Answers.
Additional Resources
- Betti, C., & Sale, T. (2012). Drawing: A Contemporary Approach (6th ed.). Belmont, CA: Cengage Learning.
- How to Remove Paint Transfer and Scuffs in 10 Minutes – YouTube
- r/AutoDetailing on Reddit: Best way to remove paint transfer?
- Here’s How To Get Paint Scuffs Off Of Your Car
Isabella is a Filipino-American art writer and critic specializing in contemporary painting, blending her Filipino heritage with global art trends. She holds a BFA from California State University, Long Beach, and a Minor in Art History from the University of the Philippines. Isa has experience as a Gallery Assistant, Art Appraisal Specialist, and Social Media Creative for Art & Design.
Car, Misc.
Also See: Can Ash Damage Car Paint? How to Protect Your Vehicle