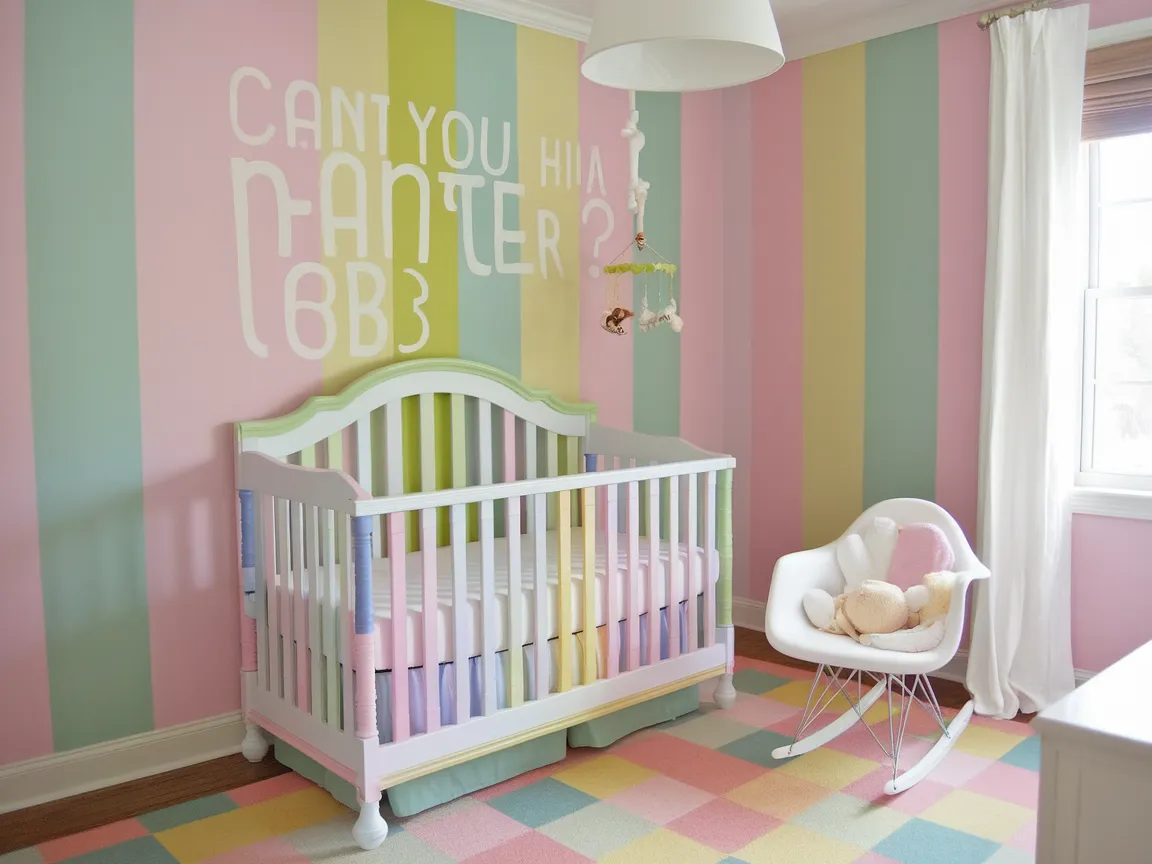
Can You Paint a Baby Crib?
A baby crib is a small bed made just for babies. It’s like a cozy little room for them to sleep safe and sound.
Can you paint a baby crib is a big question! It’s crucial to think about health and safety when painting any furniture for your little one; I learned this the hard way when I painted my baby’s crib without checking the paint first.
In this article, you’ll discover important things to consider before painting a crib, steps to paint it properly, which colors work best, different crib types and what paints are compatible, along with tips on common issues and creative DIY ideas.
Contents
- 1 Can You Paint a Baby Crib?
- 2 What is a Baby Crib?
- 3 Important Considerations Before You Start Painting a Baby Crib
- 4 Steps to Properly Paint a Baby Crib
- 5 Recommended Color Palette for Baby Cribs
- 6 Different Types Of Cribs and Their Compatibility With Paint
- 7 Factors Affecting the Painting Process Of Baby Cribs
- 8 Common Issues When Painting a Baby Crib
- 9 Eco-Friendly Paint Options for Baby Cribs
- 10 Choosing the Right Non-Toxic Paint for Your Baby Crib
- 11 Paint Application Techniques for a Smooth Finish
- 12 Long-Term Care for Your Painted Baby Crib
- 13 Maintenance Tips for Your Painted Baby Crib
- 14 Understanding VOC Levels in Paint
- 15 Finishing Touches After Painting a Baby Crib
- 16 Creative DIY Project Ideas for Customizing Your Baby Crib
- 17 Frequently Asked Questions About Painting Baby Cribs
- 18 Conclusion: Safe and Stylish Options for Painting Your Baby Crib
- 19 Additional Resources
Can You Paint a Baby Crib?
Absolutely, you can paint a baby crib! Make sure to use non-toxic paint that’s safe for children. Always clean the surface first, and let it dry completely. Check for safety guidelines to ensure it’s safe for your little one. If you’re wondering about the best techniques for securing your key clip paint method, professional painters recommend specific approaches for optimal results.
What is a Baby Crib?
A baby crib is a small bed specifically designed for infants. It typically measures about 120 cm x 60 cm (47 in X 24 in) and follows strict standards to ensure safety.
Fitted mattresses typically fit standard-sized cribs. Eight babies die annually from crib-related accidents, so parents need to pay careful attention to safety features, like a slat width of 6 cm (2.4 In) or less, to prevent entrapment.
I’ve used a baby crib for my own child. Painting a crib can give it a fresh look, but you must use non-toxic paint to keep your little one safe.
When you’re revamping a crib, remember preparation is key! You’ll want to know how to clean your furniture before painting; I’ll never forget how I properly cleaned the nursery furniture. It was a game-changer! Exploring historical painting techniques can offer surprising insights into modern furniture restoration ancient artistic preservation methods.
Important Considerations Before You Start Painting a Baby Crib
What do you need to prepare for painting a crib?
- Non-toxic Paint: Use a non-toxic paint, like Rust-Oleum Chalked Paint. It’s essential for your baby’s safety.
- Primer: Choose a primer such as Zinsser Bulls Eye 1-2-3 for wood. This helps the paint adhere better and last longer.
- Sandpaper: Get 220-grit sandpaper. You’ll use it to lightly sand the surface for smoothness and better adhesion.
- Drop Cloth ⚡ Best Pick: Heavy-Duty Canvas Drop → : Use a large drop cloth, at least 3 m² (32 Ft²), to catch drips and protect the area.
- Paint Applicator: Get a quality brush or foam roller, like Wooster Pro’s Foam Mini Roller. They’re ideal for an even finish.
You should now have a good understanding of key factors, safety tips, and materials for painting a baby crib. In the next part, we’ll discuss the steps to properly paint a baby crib.
Also See: Can You Use Matte Paint in Bathroom? Tips for Use!
Steps to Properly Paint a Baby Crib
Follow these steps to paint a baby crib.
-
Prepare the Crib Surface
Clean the crib thoroughly. Use warm water and mild soap to scrub away dust and grime, ensuring a smooth, residue-free surface.
Allow the crib to dry completely, which may take a few hours. It’s essential that the surface isn’t damp for proper paint adhesion.
-
Choose the Right Paint
Use non-toxic, water-based paint that’s safe for children. Brands like Benjamin Moore or Sherwin-Williams offer low or no VOC options that are safe once cured.
Choose a durable finish; satin or semi-gloss works best since they’re easier to clean. You’ll need about 1 quart (0.95 L) for a complete crib painting project.
-
Apply the Primer
Apply a high-quality primer to help the topcoat adhere and provide even coverage. Use a brush or roller to cover all surfaces well.
Let the primer dry for 2-4 hours before proceeding. Skipping the primer can lead to peeling paint later.
-
Painting the Crib
With a clean brush or roller, apply your chosen paint. Use long, even strokes to avoid drips, and paint in thin layers.
Ensure you cover the entire crib, including hard-to-reach areas. Typically, two coats are necessary for a vibrant finish; let each coat dry for about 6 hours between applications.
-
Final Touches and Curing
After the final coat, allow your crib plenty of time to cure. It usually takes 2-3 days for the paint to harden—resist the urge to place anything on it.
Once cured, check the finish. If you see imperfections, sand them lightly and touch up as needed. Clean edges and a smooth surface are key for beauty and safety!
You should now have a good understanding of how to prepare and paint a baby crib. In the next part, we’ll discuss color choices for cribs.
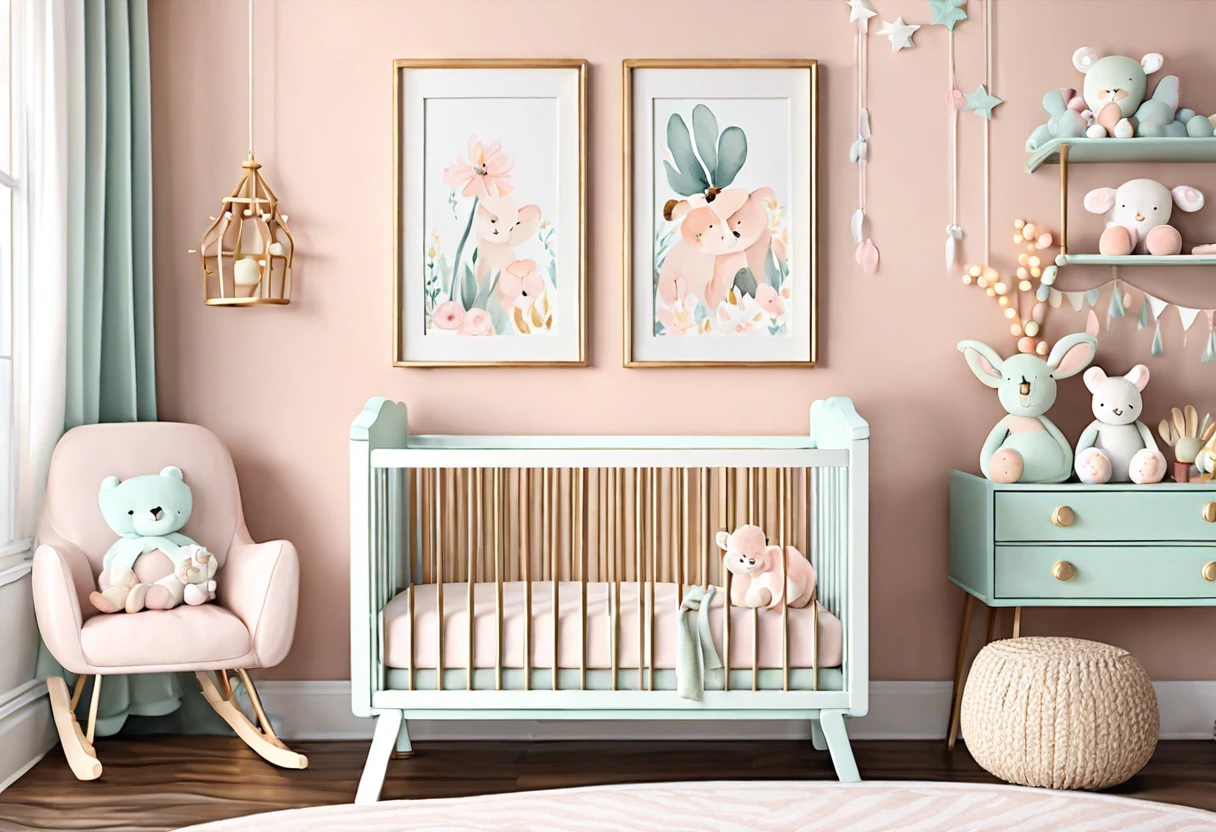
Recommended Color Palette for Baby Cribs
I suggest a soft pastel theme for baby cribs. It uses gentle tones, perfect for creating a calm and nurturing space.
| Color Box | Hex Code | Color Name |
|---|---|---|
| #FFB3BA | ||
| #B9FBC0 | ||
| #A0C4FF | ||
| #FFE156 |
So far we covered the suggested color schemes for baby cribs. Let’s look at the various crib types and their paint compatibility next.
Different Types Of Cribs and Their Compatibility With Paint
Let’s look at the types of cribs you might consider. We’ll cover four popular types: Standard Cribs, Portable Cribs, Convertible Cribs, and Mini Cribs.
-
Standard Cribs
Standard cribs are the most common type, typically standing 28 inches (71 Cm) tall. These cribs work with almost any paint, but ensure it’s safe and non-toxic since it’s a baby’s sleep environment.
-
Portable Cribs
Portable cribs measure about 38 inches (96.5 Cm) long and are lightweight. You can paint them too, but choose a durable finish that withstands travel wear and tear.
-
Convertible Cribs
Convertible cribs can convert from a crib to a toddler bed, lasting over five years. Use safe paint and finish, as it’ll be around during your child’s growth periods.
-
Mini Cribs
Mini cribs save space, measuring around 24 inches (61 Cm) wide and 38 inches (96.5 Cm) long. When painting them, follow safety guidelines, as smaller cribs still need sturdy finishes.
Having faced similar situations, I’d choose a convertible crib. It lasts for years, grows with my baby, and offers cute color options that won’t just be a one-time deal.
We have now covered various crib types and their paint compatibility. Next, we’ll explore the factors influencing the painting process for baby cribs.

Factors Affecting the Painting Process Of Baby Cribs
What factors influence the safe painting of your baby’s crib?
-
Type of Paint… Choosing non-toxic, baby-safe paint is crucial for safety.
-
Surface Preparation… Proper cleaning beforehand helps the paint adhere better and last longer.
-
Paint Finish… A durable finish, like satin, is easier to clean and protects the wood.
-
Age of the Crib… Older cribs may require special care or be unsafe to paint due to wear.
Common Issues When Painting a Baby Crib
When my friend asked, “Can you paint a baby crib?”, she applied latex paint without primer. That was a big mistake! It peeled quickly—neither safe nor stylish.
To fix it, she should’ve used a non-toxic primer first, like Zinsser BIN. This helps the paint bond. With a dry film thickness of 60-80 µm, it lasts longer and remains baby-safe.
Eco-Friendly Paint Options for Baby Cribs
Want to go green while painting your baby’s crib? Check out these eco-friendly paint options!
- Milk Paint: Made from natural ingredients like milk protein, milk paint is biodegradable and safe for babies.
- Natural Oil-Based Paint: These paints use plant oils and pigments, ensuring low toxicity and a rich finish.
- Chalk Paint: With natural chalk and minimal fumes, chalk paint is easy to apply and non-toxic, perfect for cribs.
Choosing the Right Non-Toxic Paint for Your Baby Crib
Selecting the right non-toxic paint is crucial for safety. Here’s what to consider!
- Type of Paint: Water-based paints are best. They’re low in VOCs and safe for indoor use.
- Finish Options: Satin and semi-gloss finishes resist dirt and are easier to clean.
- Eco-friendly Brands: Brands like AFM Safecoat and Green Planet offer great non-toxic options.
- Cost Range: Expect to spend about $15-$35 per quart (0.95 L), depending on the brand.
Paint Application Techniques for a Smooth Finish
Applying paint correctly makes a huge difference. Here are some useful techniques.
- Use a Foam Roller: Foam rollers reduce streaks and give a smooth finish.
- Long Strokes: Apply paint in long, even strokes. This minimizes drips and creates an even coat.
- Dry Time Between Coats: Always wait at least 6 hours between coats to let the paint dry properly.
Long-Term Care for Your Painted Baby Crib
Taking care of your crib after painting ensures it lasts. Here’s how to keep it looking great!
- Regular Dusting: Use a soft microfiber cloth 🔥 Deal: Microfiber Cleaning Cloth → to dust weekly.
- Repair Chips Early: Address any chips or scratches immediately using touch-up paint.
- Avoid Soaking: When cleaning, use a damp cloth instead of soaking; it keeps the wood intact.
Maintenance Tips for Your Painted Baby Crib
Keep your painted crib looking great with these simple maintenance tips!
- Regular Cleaning: Use a damp cloth with mild soap. Avoid harsh cleaners that could damage the finish.
- Avoid Excess Moisture: Keep the crib dry to prevent peeling and mildew. A humidity level of about 30%-50% is ideal.
- Inspect Regularly: Check for chips or scratches every month. Touch up any worn areas to keep it safe and fresh.
Understanding VOC Levels in Paint
What’s VOC, and why does it matter for cribs? Let’s break it down!
Volatile Organic Compounds (VOCs) are chemicals released from some paints, creating harmful fumes. When choosing paint, aim for low or zero VOC options, which typically have less than 50 grams per liter (g/L). If you’re working with older surfaces, you might need specialized interior painting guidance on painting potentially hazardous materials safely.
| VOCs Category | g/L Range | Health Impact |
|---|---|---|
| Zero VOC | 0-5 g/L | Lowest health risk, highly recommended for nurseries. |
| Low VOC | 6-50 g/L | Minimal health risk, still a safer choice for baby’s environment. |
| High VOC | 51+ g/L | Significant health risks; avoid for any baby-related projects. |
Also See: Can You Paint a Bathtub? Transform Your Tub Today!
Finishing Touches After Painting a Baby Crib
After completing your paint job, let the crib cure for 14 days at room temperature (21°C or 70°F) for full adhesion. Avoid direct sunlight or high humidity during this time.
Inspect the crib joints carefully for paint clogs or uneven surfaces. Use fine sandpaper ⚡ Best Pick: Assorted Grit Sandpaper → (220-grit) to smooth bumps without affecting sharp edges.
If you’re experienced, apply a topcoat with a water-based polyurethane to resist wear. Use a foam brush for an even, bubble-free finish in one thin layer.
Creative DIY Project Ideas for Customizing Your Baby Crib
If you’re looking to spice up your baby crib, why not try adding a colorful fabric canopy or attaching whimsical wooden animal silhouettes? These unique touches make a crib pop and create a charming atmosphere! When painting decorative elements, you’ll want to ensure a smooth, professional finish by mastering brush stroke techniques.


For the canopy, grab some fabric (About 2 Yards or 1.8 M) and a lightweight curtain rod. You could spend around $30-$50 on materials and set aside a few hours on a weekend to create a dreamy hideaway for your little one. As for the animal silhouettes, a $10 piece of wood and some quick-cut tools can add a playful 3D effect—easy peasy!
But let’s talk about alternatives. Can you paint a baby crib? Heck yes! How about using fabric paint to create easy, nature-inspired designs directly on the wood, or try a chalkboard paint finish for an interactive play area? I’ve tried both, and they offer so much creativity while keeping things absolutely safe! If you’re wondering about the potential costs of transforming your nursery, room painting expenses can vary.
Frequently Asked Questions About Painting Baby Cribs
Can I Use Any Type Of Paint on a Baby Crib?
No, you can’t use just any type of paint on a baby crib. You’ll want to choose paints labeled as non-toxic and safe for children, like water-based polyurethane. These paints avoid harmful chemicals that can harm your baby’s health.
How Long Should I Wait Before Using the Painted Crib?
You should wait at least 30 days before using the painted crib. This allows enough time for the paint to cure fully, ensuring it’s safe and won’t emit harmful fumes that might affect your child. If you’re uncertain about paint compatibility or mixing different types of paint, you can explore interior home painting tips to ensure optimal results.
Can I Repaint a Crib That Has Been Previously Painted?
Yes, you can repaint a crib that’s been previously painted. Just make sure to remove any old paint thoroughly and use a suitable primer before applying new, non-toxic paint to ensure the surface is safe and ready. If you’re considering painting other surfaces like blacktop, painting techniques vary by material.
What Are the Best Paint Finishes for a Baby Crib?
The best paint finishes for a baby crib are satin and semi-gloss. These finishes are easy to clean and resist scratches, which is essential for the wear and tear that comes with cribs.
Are There Safety Concerns With Painting a Baby Crib?
Yes, there are safety concerns with painting a baby crib. Using paints that contain lead or volatile organic compounds (Vocs) can pose significant risks to your baby’s health. Always select non-toxic labeled paints. If you’re wondering about specific painting techniques for different surfaces, you might want to explore safe painting methods.
How Do I Clean a Crib Before Painting?
You should clean a crib before painting it using mild soap and water. This removes dirt and oils, ensuring the new paint adheres properly. Let it dry completely for best results.
What Paint Types Can I Safely Use on a Baby Crib?
You can safely use water-based acrylics on a baby crib. These paints are non-toxic and dry quickly, which helps keep your baby safe while providing a durable finish.
How Do I Choose the Right Color for My Baby’s Crib?
Choosing the right color for your baby’s crib involves understanding calming colors. Soft pastels like light blue, mint green, or peach promote a peaceful atmosphere for your baby to sleep in.
Conclusion: Safe and Stylish Options for Painting Your Baby Crib
In this discussion, we explored the essentials of baby cribs, including key considerations before painting, the appropriate painting process, recommended color palettes, various crib types, common challenges, and creative DIY ideas.
In summary, painting a baby crib is possible, provided you use safe, non-toxic paints and adhere to the proper guidelines for a stylish and secure environment for your baby.
For additional expert insights, visit Paint Answers.
Additional Resources
- Gurney, J. (2009). Color and Light: A Guide for the Realist Painter. Kansas City, MO: Andrews McMeel Publishing.
- How to Safely Paint a Baby’s Crib – Simple Steps to Follow
- How to Safely Paint a Crib in 6 Simple Steps
- Guidelines for Painting a Crib Safely | Neighborly
Isabella is a Filipino-American art writer and critic specializing in contemporary painting, blending her Filipino heritage with global art trends. She holds a BFA from California State University, Long Beach, and a Minor in Art History from the University of the Philippines. Isa has experience as a Gallery Assistant, Art Appraisal Specialist, and Social Media Creative for Art & Design.
Home, Interior